Photoshoot Plan Template

Photoshoot Plan Template, within the Milanote app

Organize your entire shoot in one place

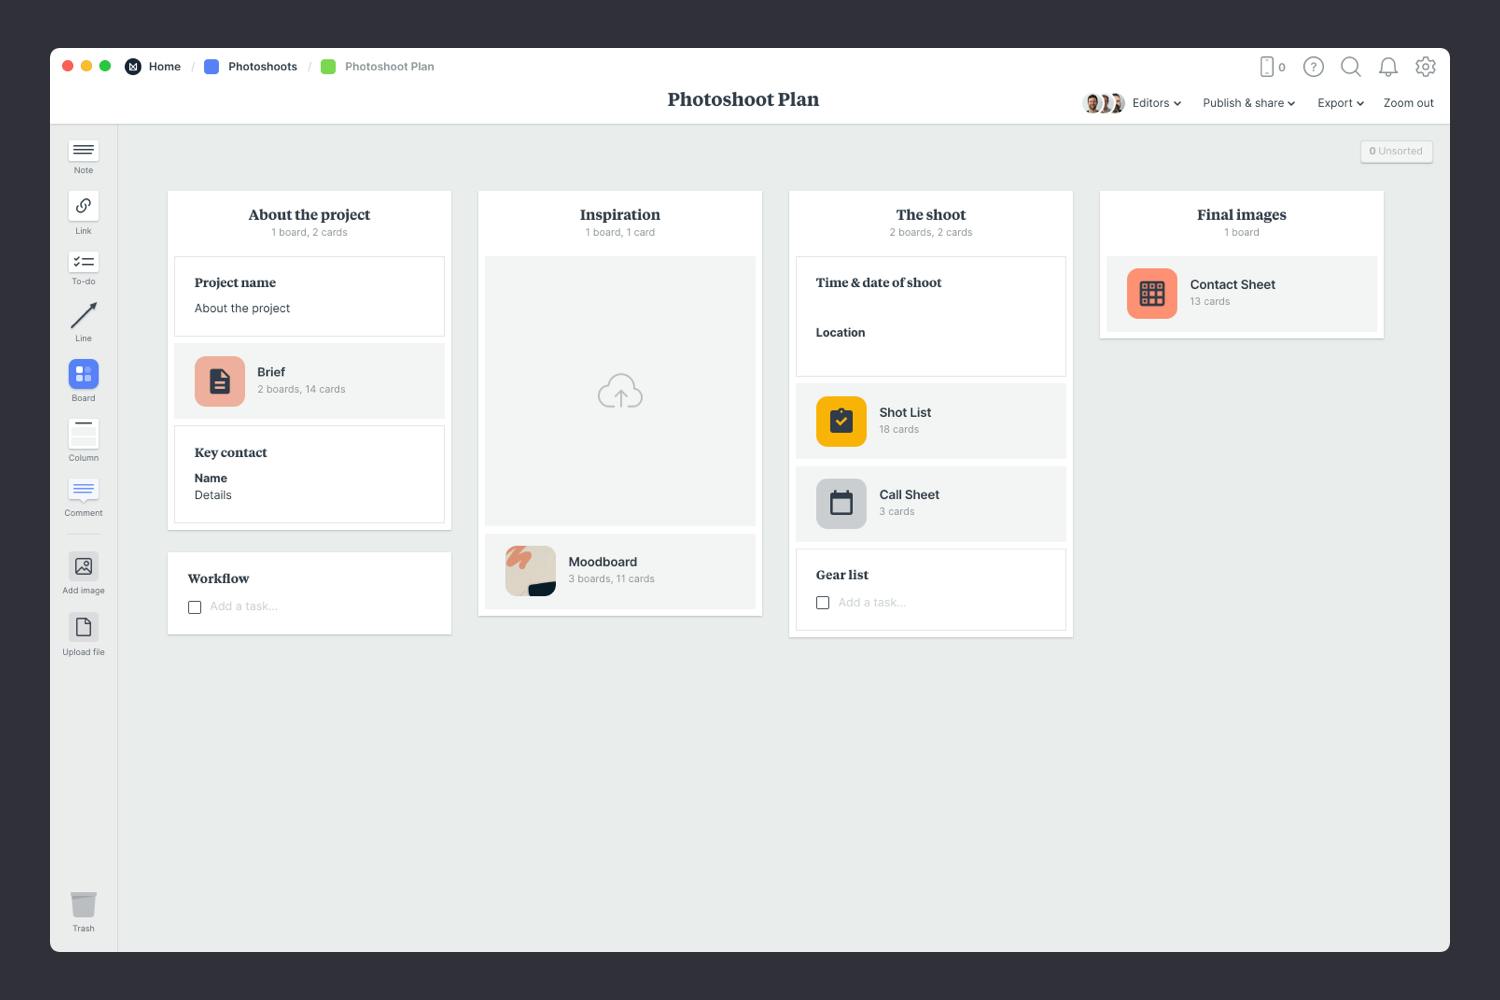
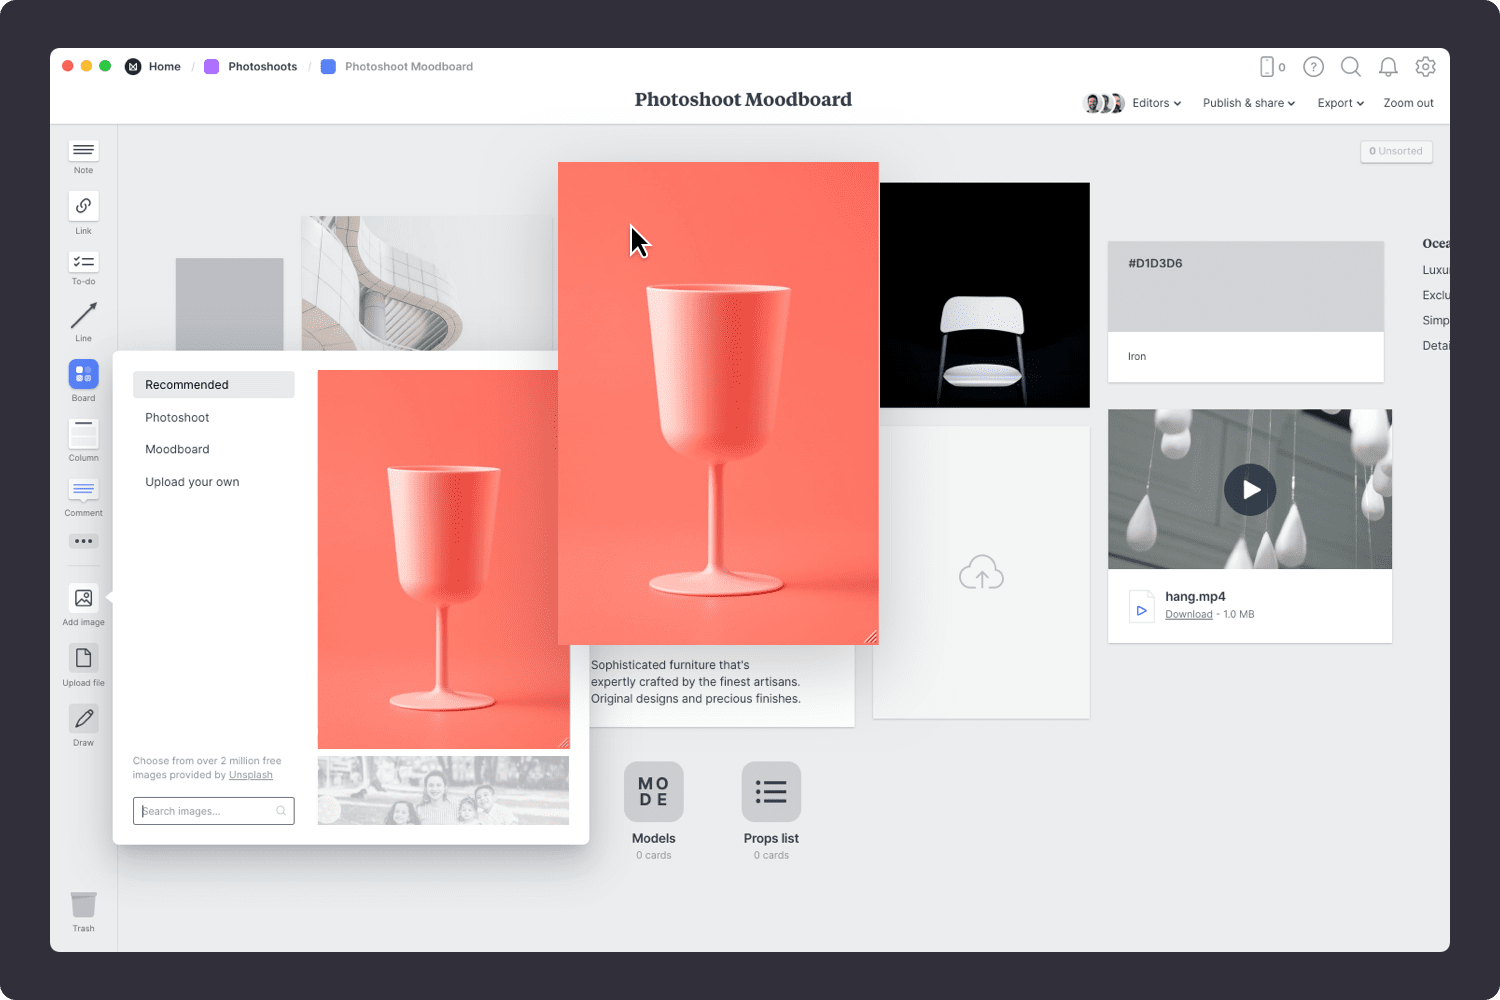
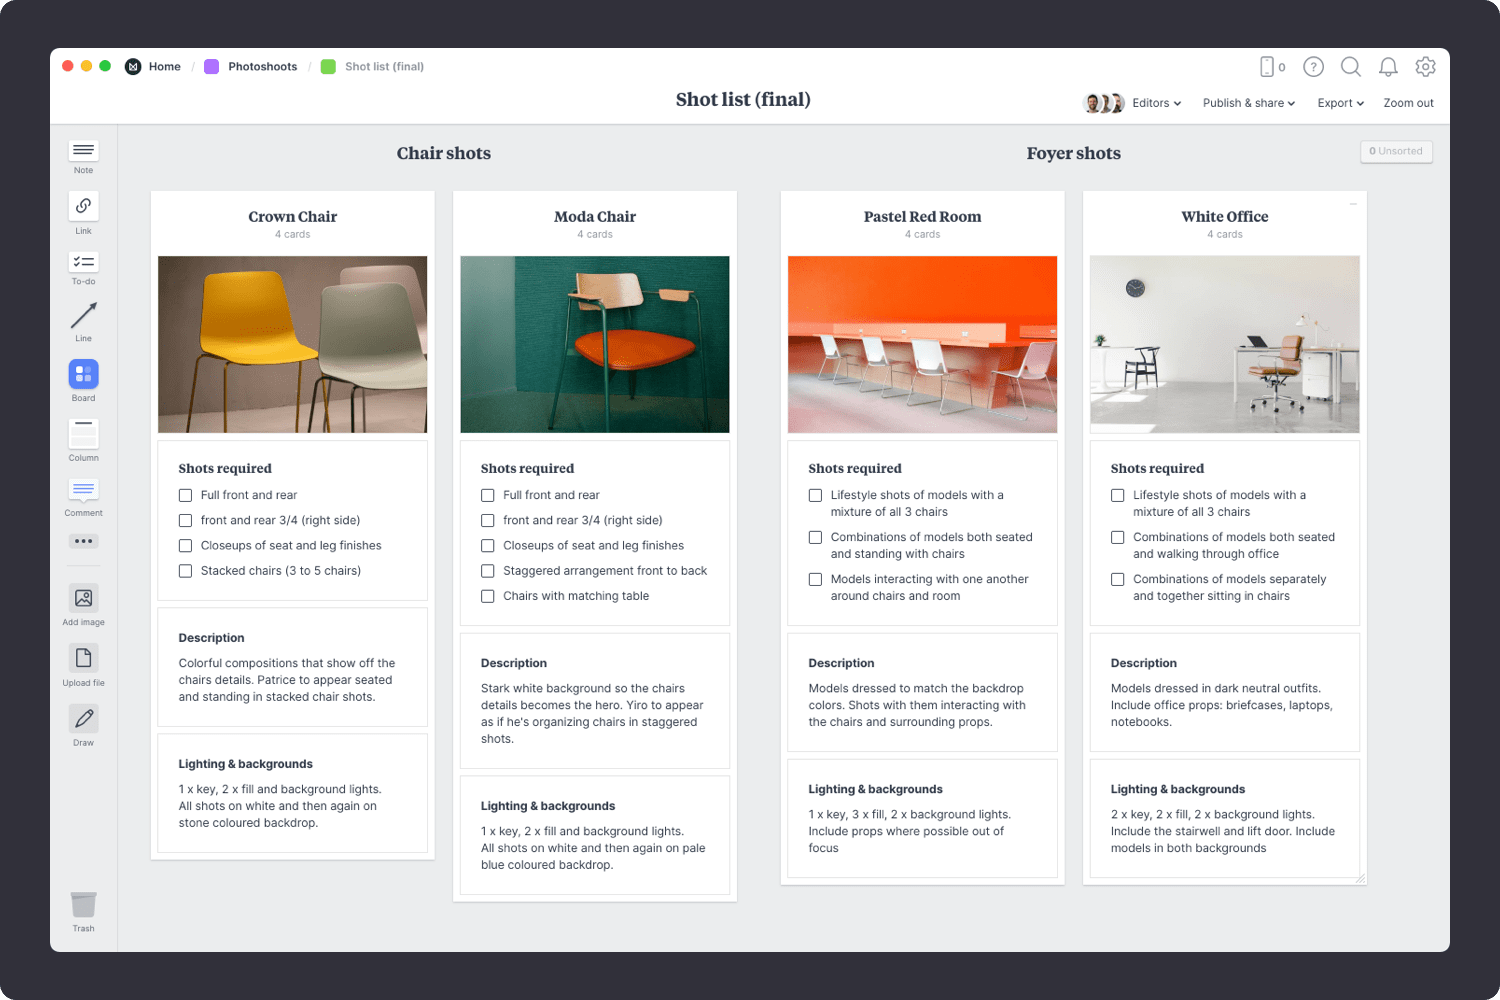
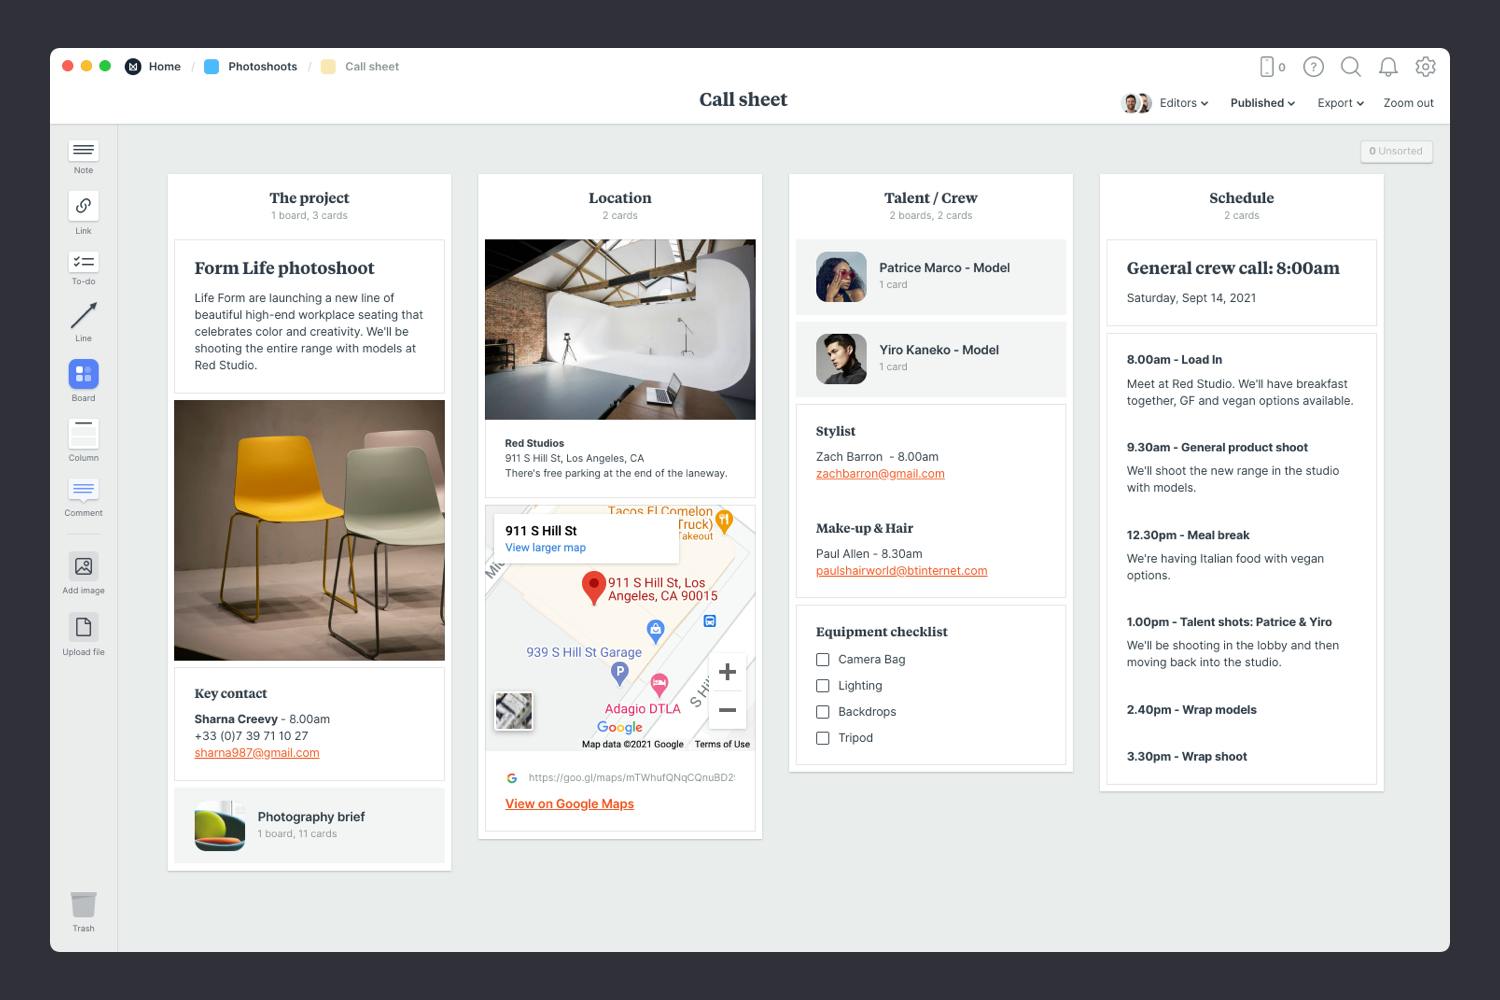
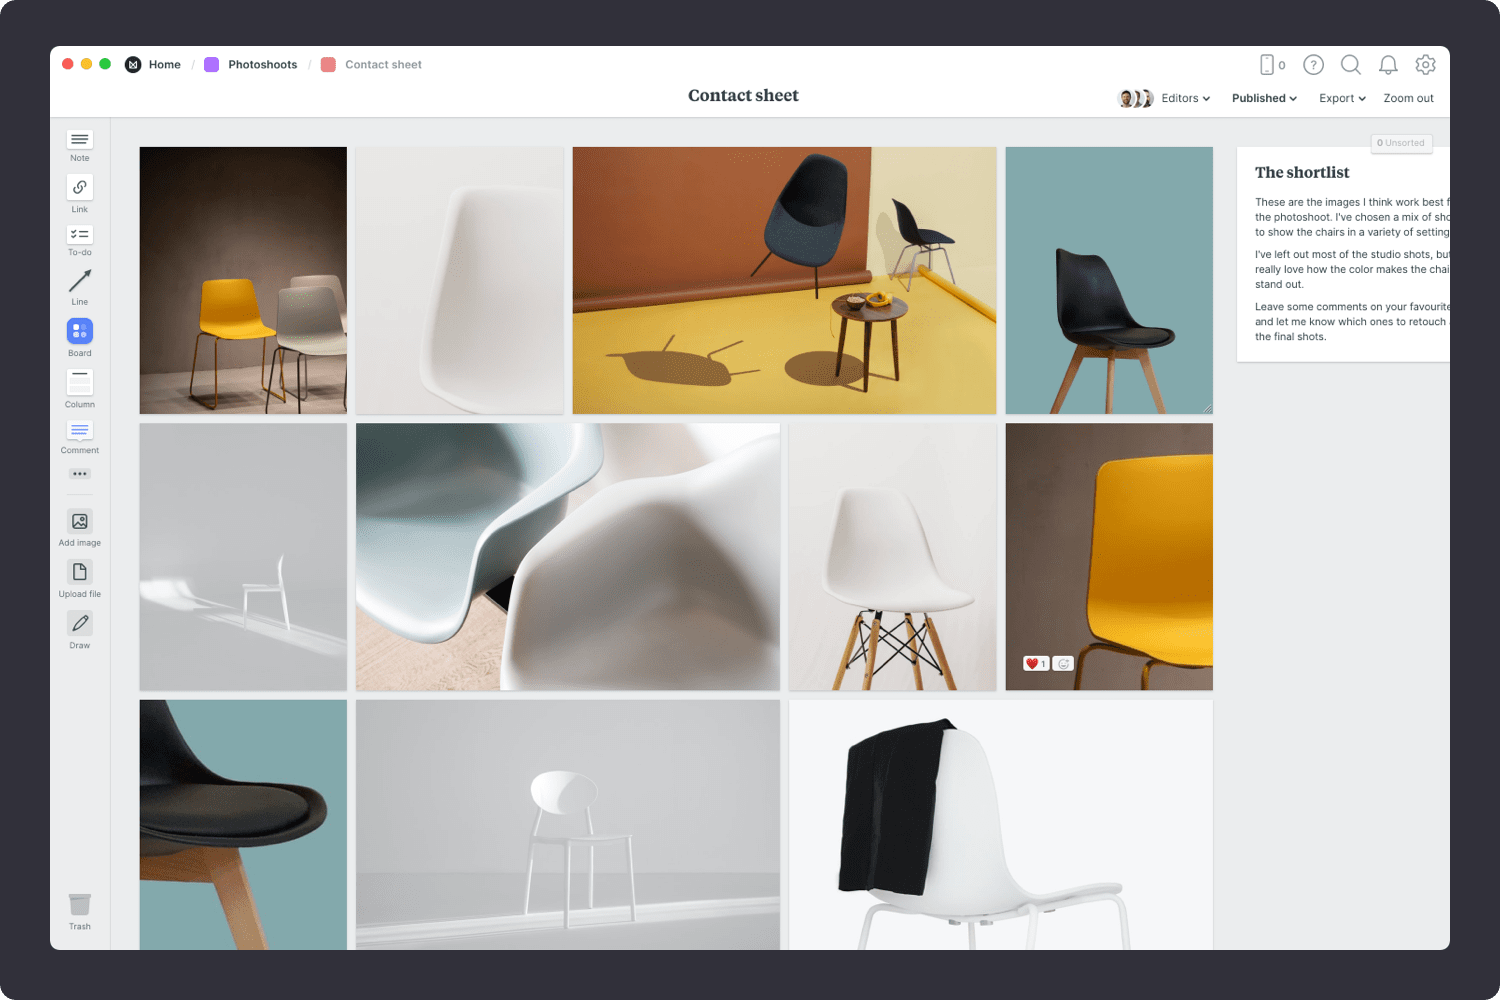
Planning a photoshoot can feel stressful. There are a million things to organize—from the concept, visual references, your shot list, models and much more.

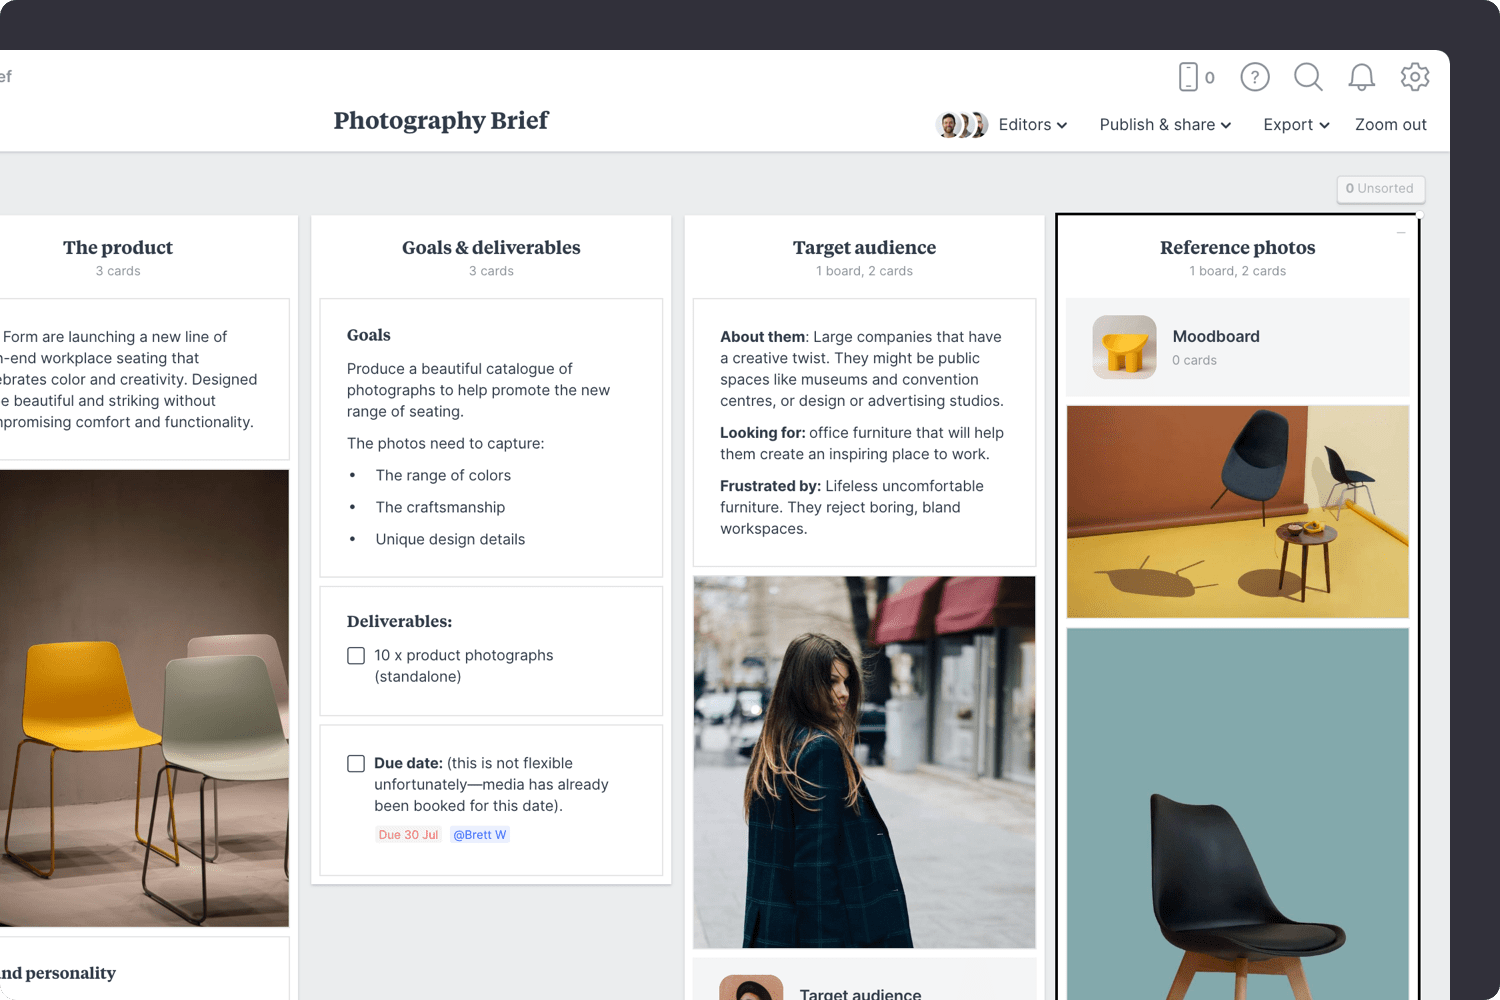
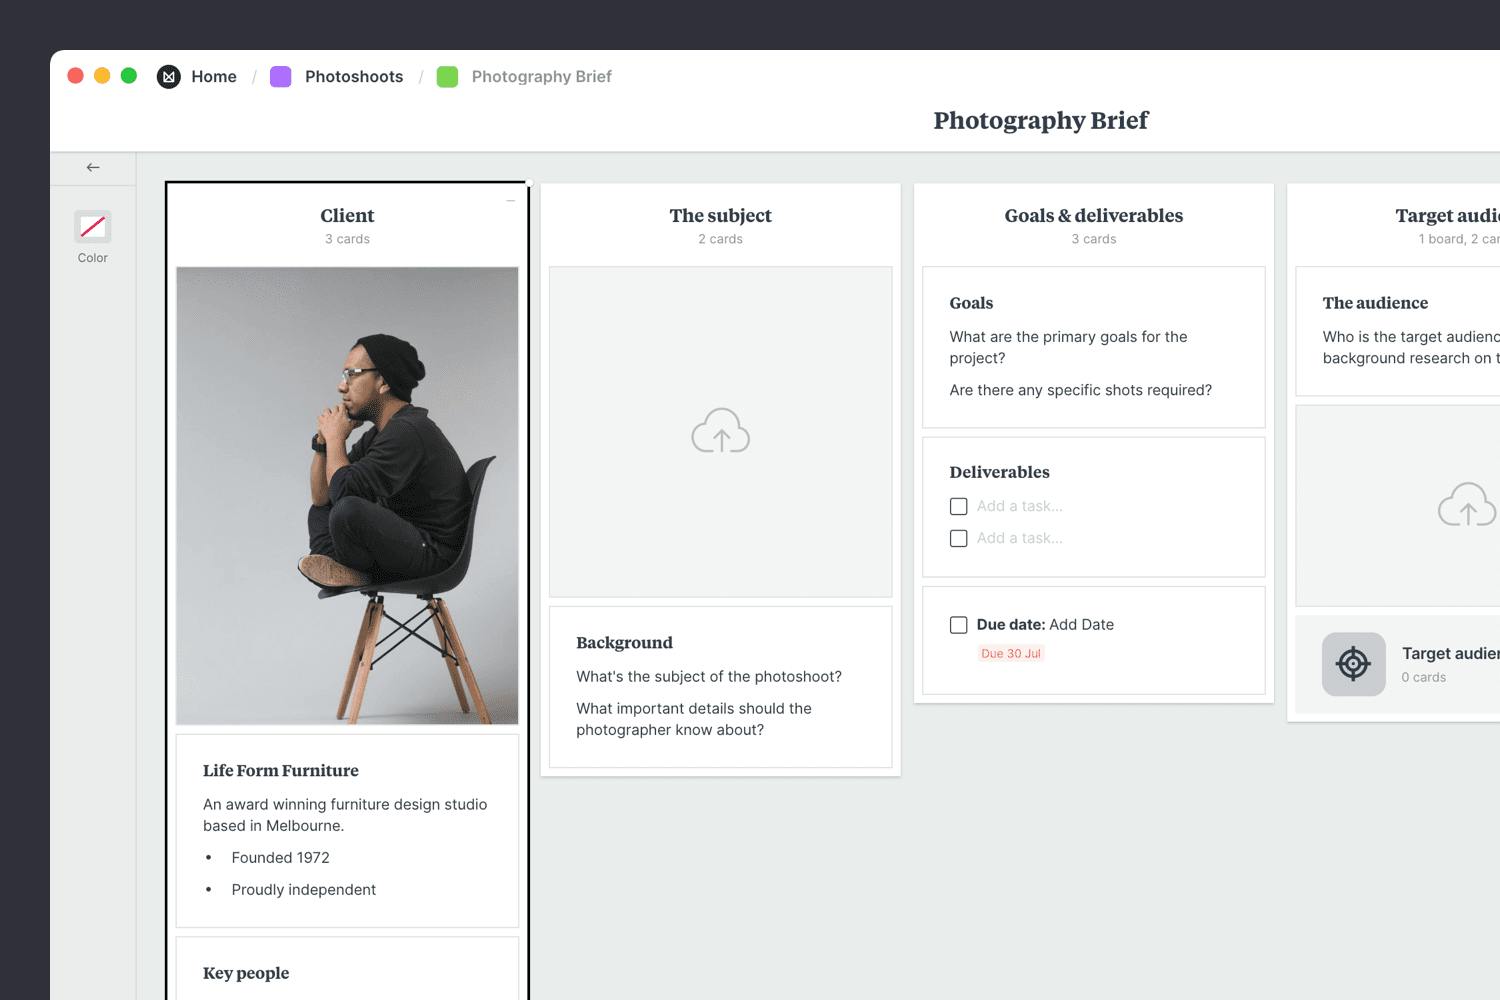
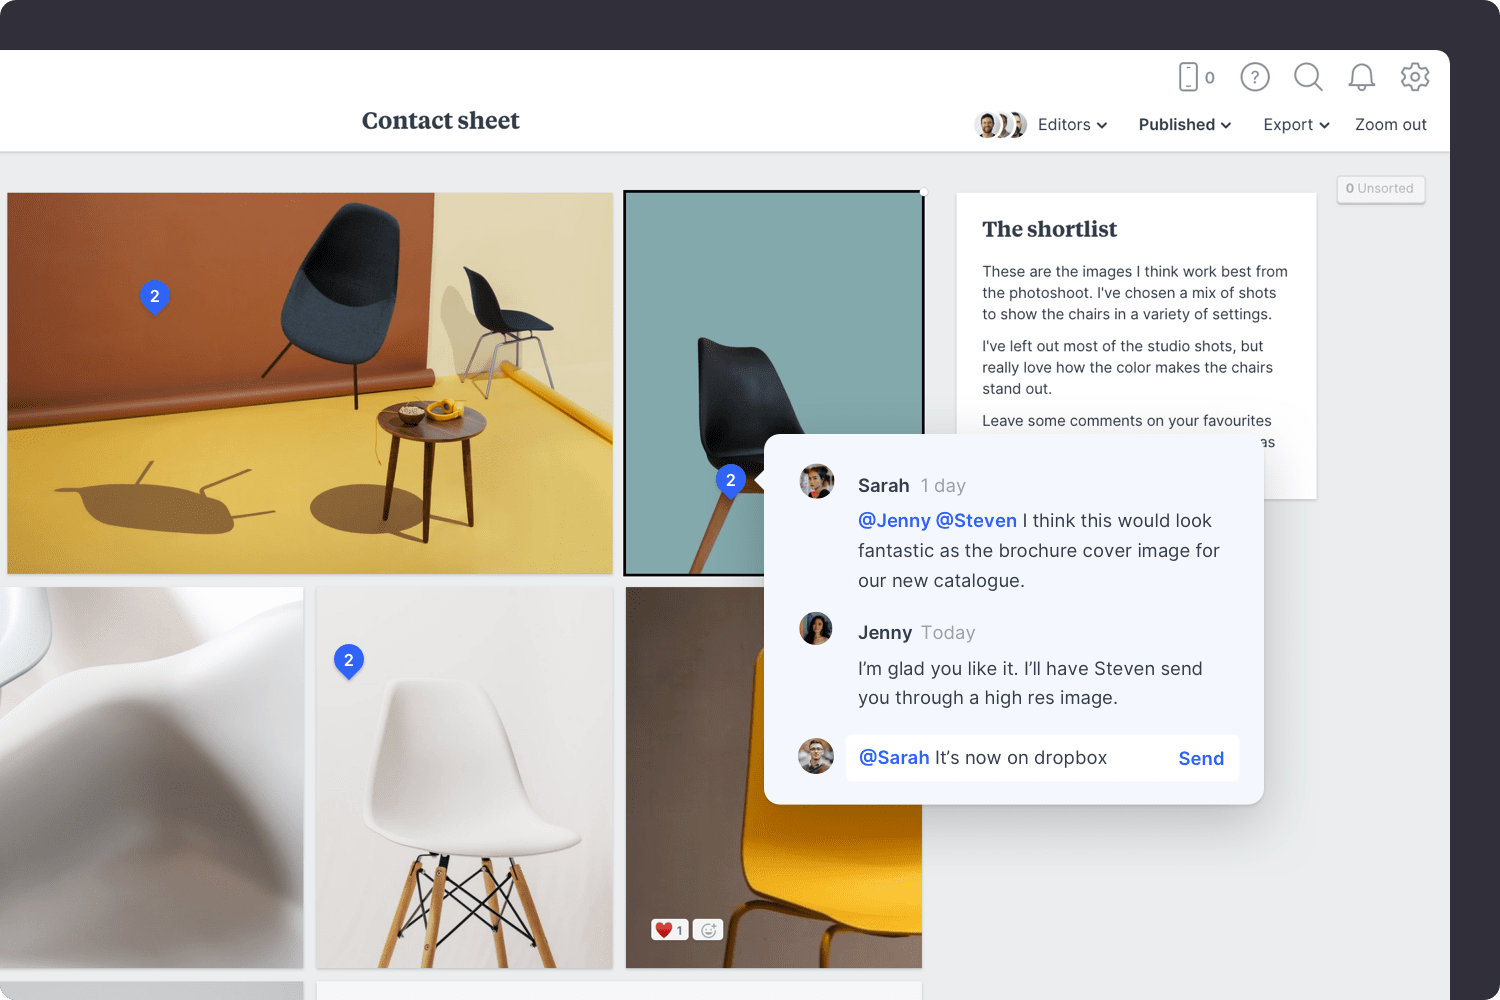
The photoshoot plan template helps you organize every part of your project in one flexible workspace so nothing falls through the cracks. It includes 6 templates for the key parts of your shoot: the project plan, brief, moodboard, shot list, call sheet and contact sheet. It's the perfect way to kick-off your next photoshoot!

This template is part of the Photographers collection.

  • Includes 6 free templates
  • Organize visually
  • Add reference images
  • Share with your team
  • Comment & gather feedback

How to use this template

Whether you’re a beginner or a seasoned pro, follow this step-by-step guide to learn the modern process of planning a photoshoot in Milanote, a free tool used by top creatives.

1. Start with the photoshoot plan template

The photoshoot plan template is the central hub for your project. It includes the key parts of every great photoshoot plan: The brief, moodboard, shot list, call sheet and contact sheet. There are also checklists for your workflow and gear so you have everything in one easy to access place.

Template Photoshoot Plan Step1
How to do this in Milanote
  1. Create a new board for your project.

    Create a new board

    Drag a board out from the toolbar. Give it a name, then double click to open it.

  2. Choose the built-in Photoshoot Plan template.

    Choose a template 

    Each new board gives you the options to start with a beautiful template. Find the Photoshoot Plan template, then choose "Use this template".

2. Open the brief template

The first part of a photoshoot plan is the brief. A clear, inspiring and informative brief provides the structure and direction for photographers to their best work. It typically includes background information, goals, deliverables, references imagery, creative direction and a style guide. Learn what goes into a professional photoshoot brief in our guide: How To Write an Inspiring Photoshoot Brief.

Photoshoot brief template step06
How to do this in Milanote
  1. Open the Brief in your Photoshoot Plan.

  2. Choose the Photoshoot Brief template.

    Choose a template 

    Each new board gives you the options to start with a beautiful template. Find the Photoshoot Brief template, then choose "Use this template".

3. Describe the goals & audience

Fill in the placeholder cards in the Brief template. Start by adding some background on your client and the project. Then, list the goals, deliverables and important dates. Finally, describe the target audience—the people you hope to impact with your images.

Photoshoot brief template step02
How to do this in Milanote
  1. Add a note to describe the project and goals.

    Drag a note card onto your board

    Start typing then use the formatting tools in the left hand toolbar.

  2. Create a new to-do list for the deliverables.

    Drag a to-do list onto your board

    Start typing then press "Enter" to create a new item. Add a title to your to-do list using the left hand toolbar.

4. Share the brief with your team

Once you’ve made any final tweaks, it’s time to share the completed brief with the your team so everyone's is on the same page.

Photoshoot brief template step08
How to do this in Milanote
  1. Publish and share the brief with your team.

    Add a welcome message to your board.

    Write a welcome message under the "Publish & share" menu. This will display the first time someone views your board.

5. Open the moodboard template

A photography moodboard is a great way to explore and communicate the direction for an upcoming shoot. It ensures you and your client are aligned on the type and style of images you want to capture. Learn how to make a professional photoshoot moodboard in our guide: Make Beautiful Photography Moodboards in Minutes.

Photoshoot moodboard template step05
How to do this in Milanote
  1. Open the Moodboard in your Photoshoot Plan.

  2. Choose the Photoshoot Moodboard template.

    Choose a template 

    Each new board gives you the options to start with a beautiful template. Find the Photoshoot Moodboard template, then choose "Use this template".

6. Add inspiring images & references

Drag in images from your computer and drop them onto the image placeholders on your moodboard. Then, use the built-in image library to add inspirational references. Finally, move and crop your images to communicate how you want to frame your shots.

Photoshoot moodboard template step03
How to do this in Milanote
  1. Drag files from your computer.

    Upload a file or document  

    Click the "Upload file" button or just drag a file onto your board. You can add images, logos, documents, videos, audio and much more.

  2. Use the built-in image library.

    Use the built-in image library

    Search over 500,000 beautiful photos powered by Unsplash then drag images straight onto your board.

  3. Crop images.

    Crop images

    Double-click an image and press edit to crop or rotate it.

7. Open the shot list template

Coordinating a photoshoot can be costly if that critical shot is missed on the day. But a clearly defined shot list will make sure nothing slips through the cracks.

A shot list is a simple checklist of every photo you (and your client) want to capture on the day of a shoot. It usually contains a list of specific shots, some visual references and extra details like camera angles or lighting set-up so you don't forget a thing. Learn each step to make a professional photoshoot shot list in our guide: How To Create a Photography Shot List.

Photoshoot shot list template
How to do this in Milanote
  1. Open the Shot List in your Photoshoot Plan.

  2. Choose the Shot List template.

    Choose a template 

    Each new board gives you the options to start with a beautiful template. Find the Shot List template, then choose "Use this template".

8. List each shot you need

Start by adding references images or sketches for the subjects you’re planning to shoot. This will make your shot list easy to scan. Next fill in the checklists for each individual shot you want to take on the day. Finally, add any specific details about the shots you plan to capture on the day. These might be reminders about the tone, mood or composition you're aiming for.

Photoshoot shot list example
How to do this in Milanote
  1. Upload images from your computer.

    Upload a file or document  

    Click the "Upload file" button or just drag a file onto your board. You can add images, logos, documents, videos, audio and much more.

  2. Create a new to-do list for each of the specific shots.

    Drag a to-do list onto your board

    Start typing then press "Enter" to create a new item. Add a title to your to-do list using the left hand toolbar.

9. Open the call sheet template

A call sheet is used to share information with your crew and make sure everyone is prepared and on schedule. This template helps you easily communicate the shoot location, key contacts, arrival time and schedule. Share it with your team ahead of your shoot so everyone can come prepared.

Photoshoot Brief Guide Step5
How to do this in Milanote
  1. Open the Call Sheet in your Photoshoot Plan.

  2. Choose the built-in Call Sheet template.

    Choose a template 

    Each new board gives you the options to start with a beautiful template. Find the Call Sheet template, then choose "Use this template".

10. Add important dates & details

The call sheet is primarily content for other people, so start by providing a little background on the shoot. Add the location of the shoot and any details that will help people arrive safely and on time. List your talent and crew along with their contact details.

Finally, fill in the schedule—specifically the general crew call time. The general crew call time is when everyone needs to arrive on location. Under this, add the key events for the day so everyone can clearly see what's on and when. Don't forget lunch! Learn each step in making a bulletproof Call Sheet in our guide: How To Create a Photoshoot Call Sheet

Photoshoot Brief Template Step3
How to do this in Milanote
  1. Embed a Google map for the location.

    Drag a link card onto your board

    Copy the share link from Google Maps, paste it into the link card in Milanote and press Enter.

  2. Publish and share the call sheet with your team.

    Add a welcome message to your board.

    Write a welcome message under the "Publish & share" menu. This will display the first time someone views your board.

11. Open the contact sheet board

After your photoshoot, it's time to organize the best shots and share them with your client. The easiest way to do this is with a contact sheet (sometimes called a proof sheet).

A contact sheet is an online gallery of the best images from your shoot. It's a simple way for you and your client to review the shortlist and select the final images for the project. It's a huge time saver for everyone involved. The client doesn't have to sift through every photo taken on the day and the photographer only needs to retouch the ones their client likes. Learn the steps in making a simple Contact Sheet with our guide: How To Create a Contact Sheet

photoshoot contact sheet step05
How to do this in Milanote
  1. Open the Contact Sheet in your Photoshoot Plan

12. Upload the best images from the shoot

You might have captured 200 images from your photoshoot but your client only needs 5 final images. It's time to reduce your list and upload a group of unedited images you want your client to choose from.

Drag images from your computer onto the Contact Sheet board. Milanote will automatically create a beautiful grid. When you’re finished, share the board with your client so they can comment and choose the final images to retouch.

photoshoot contact sheet step06
How to do this in Milanote
  1. Upload your images as a grid.

    Upload images as a grid

    Drag multiple images onto an empty board and Milanote will automatically display them as a beautiful grid.

  2. Invite your client to view and comment.

    Publish and share your board.

    Click the "Publish and share" link at the top of your board, choose "Allow comments & reactions" then press "Publish via secret link". Copy the link and share it with your client.

  3. Start a conversation about the images.

    Start a comment thread

    Drag out a comment from the toolbar on the left and place it on your board. Other editors can reply to your comment.

Plan your photoshoot

Organize your entire shoot in one place