Start your contact sheet
Get started for free with Milanote's easy to use contact sheet template.
Start your contact sheetSign up for free with no time limit

Follow this step-by-step guide to learn the modern process of creating a contact sheet in Milanote, a free tool used by top creatives.
You've just finished your photoshoot and you know you've captured some amazing shots. It's time to organize the best ones and share them with your client. The easiest way to do this is with a contact sheet (sometimes called a proof sheet).
A contact sheet is a online gallery of the best images from your shoot. It's a simple way for you and your client to review the shortlist and select the final images for the project.
It's a huge time saver for everyone involved. The client doesn't have to sift through every photo taken on the day and the photographer only needs to retouch the ones their client likes.
Here's how to create a modern contact sheet using Milanote.
You might have captured 200 images from your photoshoot but your client only needs 5 final images. It's time to reduce your list to a group of unedited images you want them to choose from. Discard the shots that are bad from a technical perspective and those that are generally unflattering.
Try to be ruthless at this stage so it doesn't become a time consuming exercise. Don't worry about retouching your shots yet either, that can happen after you and the client have agreed on the final images.

Create a new board for your contact sheet.
Drag a board out from the toolbar. Give it a name, then double click to open it.
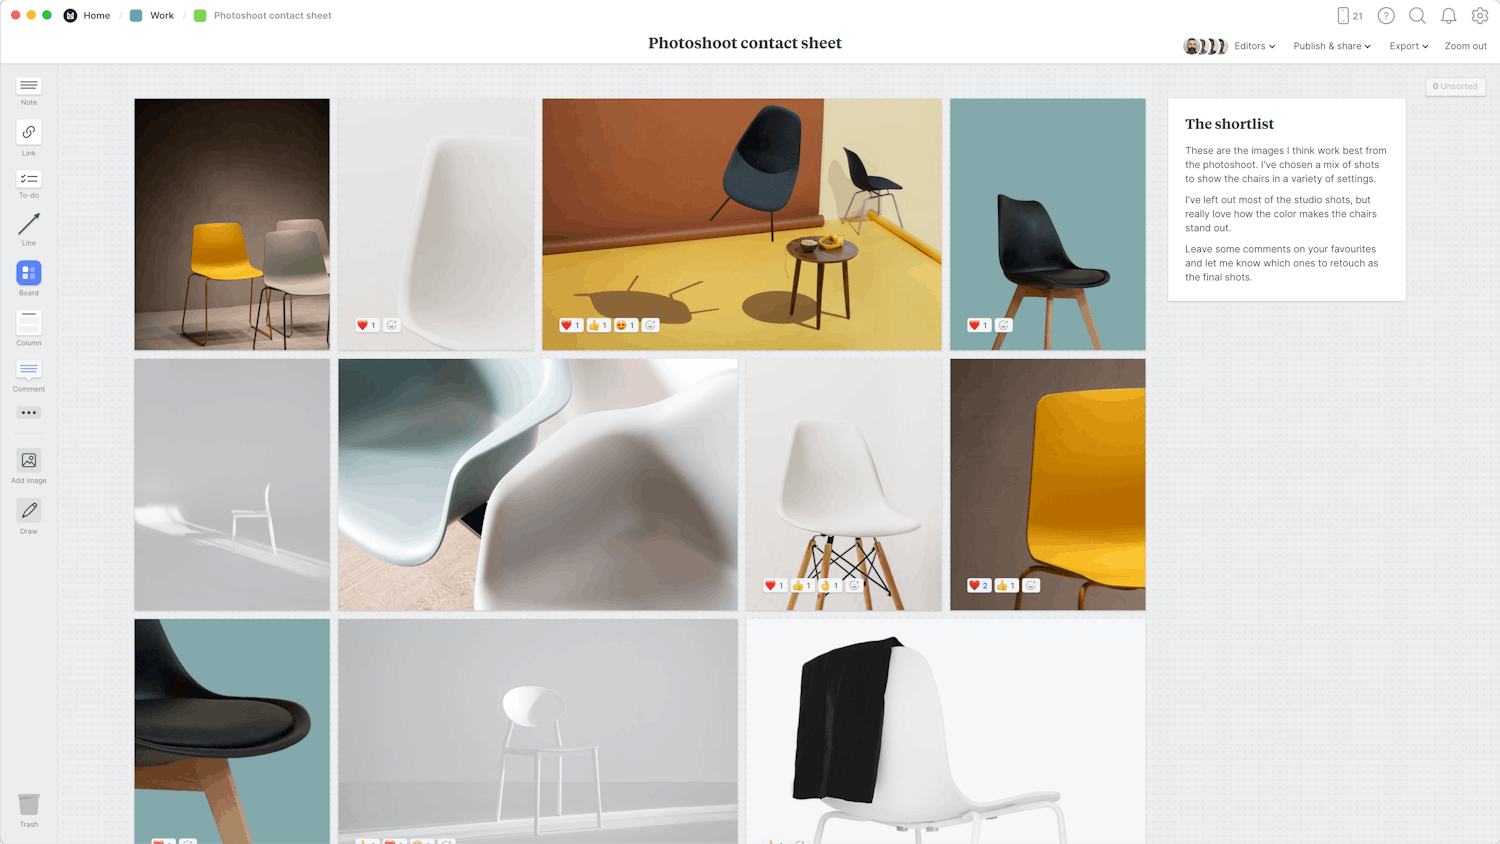
Drag your photos onto the board.
When you drag a group of images onto an empty board, Milanote will auto-arrange them into a beautiful grid.
Step away—sometimes it's easier to evaluate the images you captured after taking a break. So make space and review your shoot with fresh eyes and a different perspective.
While you can likely imagine the final composition of an image in your head, your client may not be able to. Spend a few minutes resizing or cropping the images where necessary, cutting out any background noise and getting the framing right so your client can see what the end result will be.

Crop images
Double-click an image and press edit to crop or rotate it.
Providing some background on why you selected this shortlist of images will help your client understand your thinking. What is it that you love about these images? Share your thoughts on the lighting, composition or something special you see in them. Refer back to the brief or moodboard you created to tie the images into the initial concept.
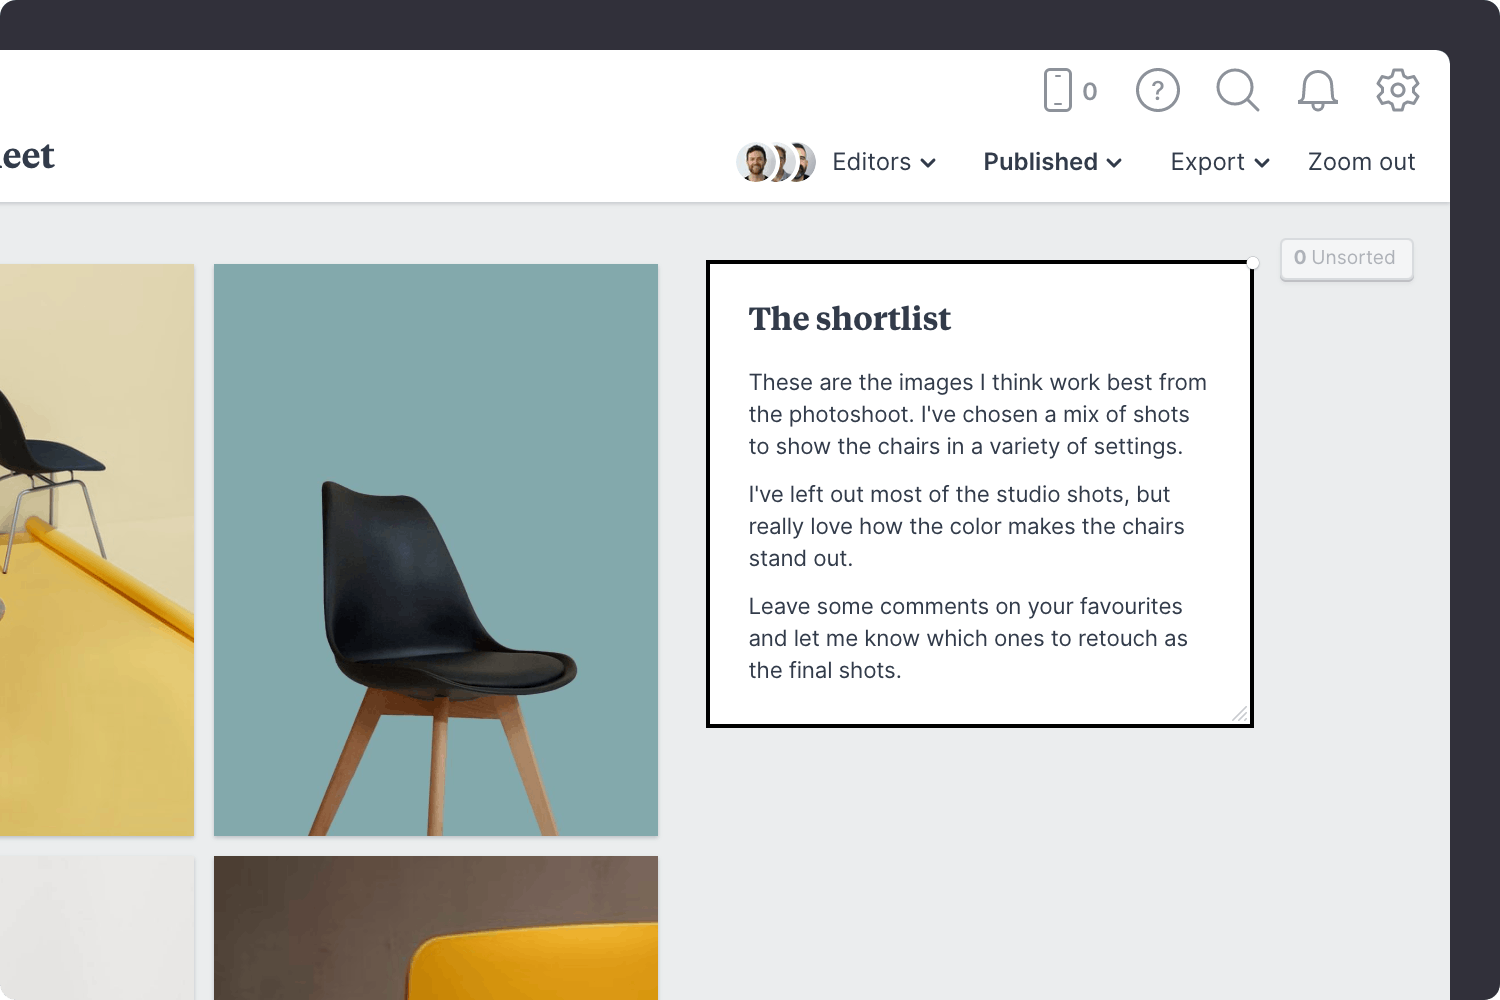
Add a note to explain your thinking
Start typing then use the formatting tools in the left hand toolbar.
Once you've prepared your contact sheet, it's time to share it with your client. This is an exciting moment for them as it's usually the first time they've seen the output from your photoshoot.
There are many ways to do this but the easiest is to create a online gallery of photos your client can easily scan and leave comments against. It's much quicker and more collaborative than creating PDFs and emailing comments back and forth.
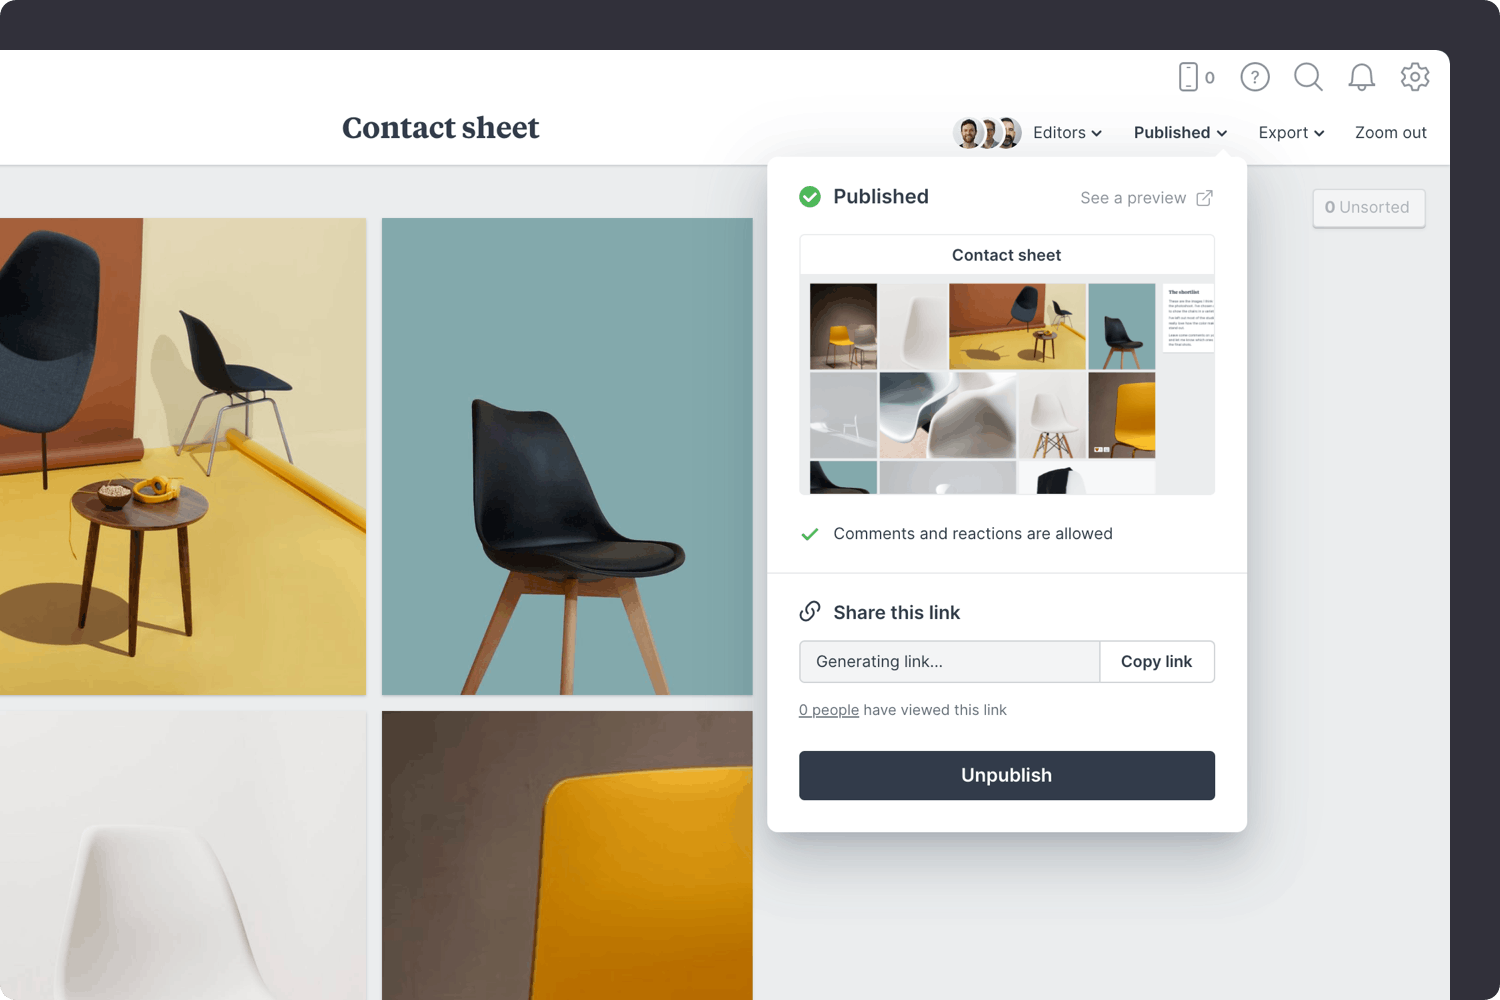
Share the board with your client or team
Open the "Publish and share" menu from the title bar of your board. Press "Publish via secret link", then copy and send the link to your client.
If your photoshoot is for a big campaign or an exclusive launch, you might need a private and secure way to share the proofs with your client. Add a password to your contact sheet to keep the project top secret.
Set a password for your contact sheet
Under the "Publish & share" menu, select "Require a password to view". You can then create a password to share with others.
Once your client has seen the contact sheet, it's time to pick the final images—the ones you'll spend time retouching and preparing.
This process can be highly collaborative and may require some back and forth. Encourage your client to highlight their favourites and leave comments to explain their thinking.

Start a conversation about the images.
Drag out a comment from the toolbar on the left and place it on your board. Other editors can reply to your comment.
Mention teammates to get their attention.
Type '@' in any text field to mention someone who has access to your board. They'll receive a notification and be able to respond to your comment.
Mark your favourites using reactions
Select an image or note and choose "Add reaction" from the left toolbar.
Thanks to the contact sheet, you now have a clear list of final images to retouch. And you know that your client will love the end result—because they were part of the process. Use the template below to create a new contact sheet in minutes or check out our guide on how to plan a photoshoot.
