Video Storyboard Template

Video Storyboard Template, within the Milanote app

Visualize the production of your next video

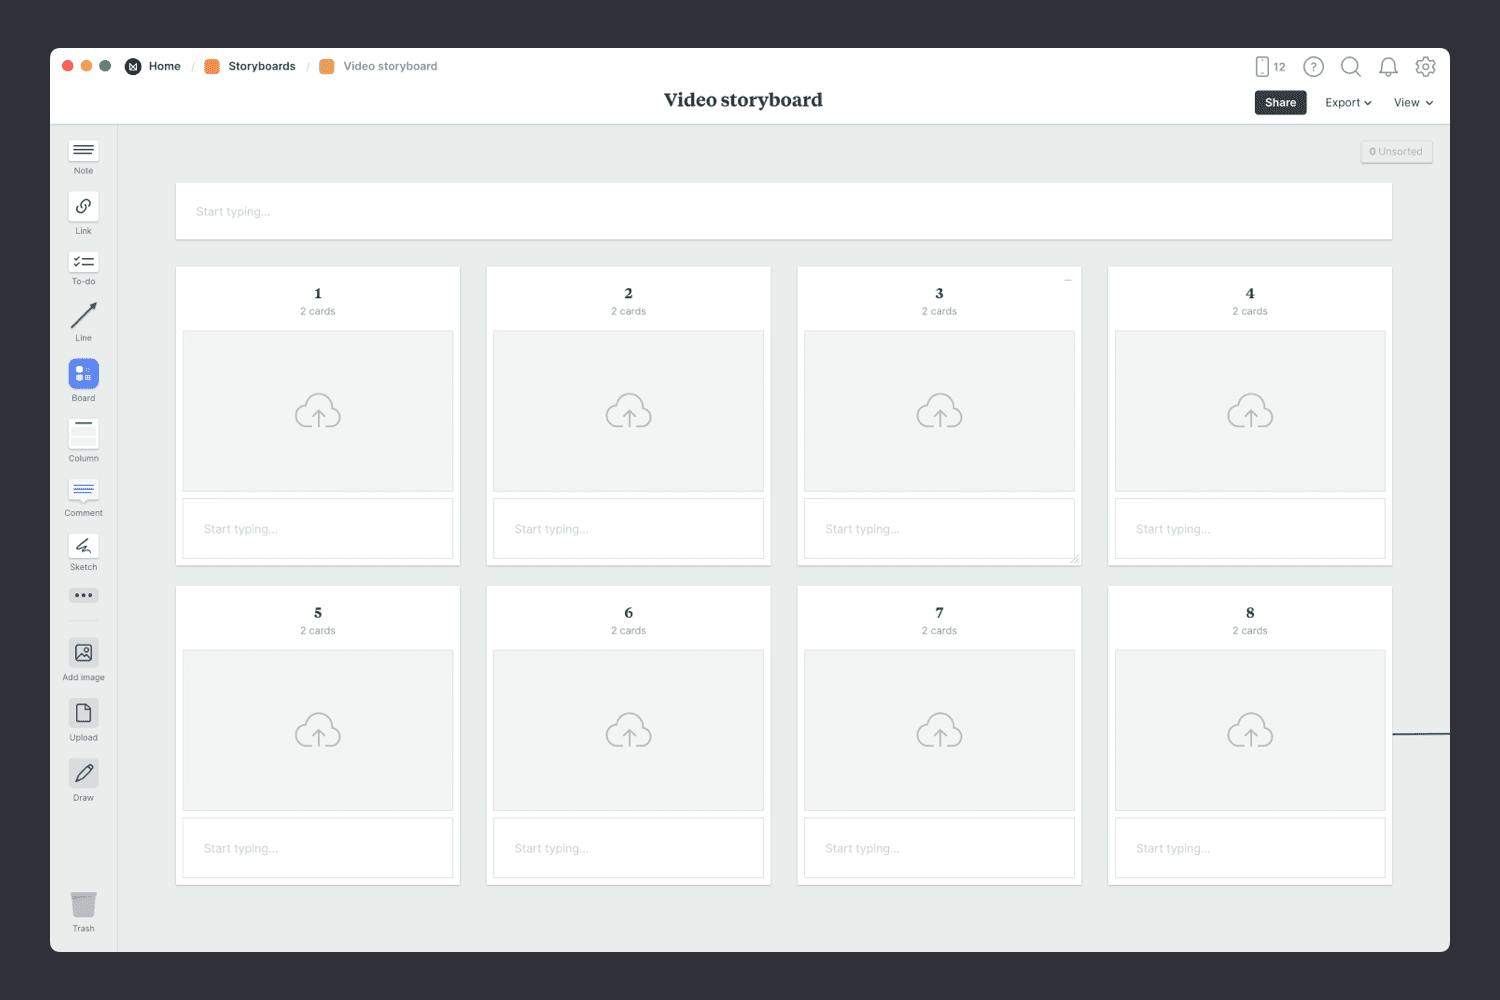
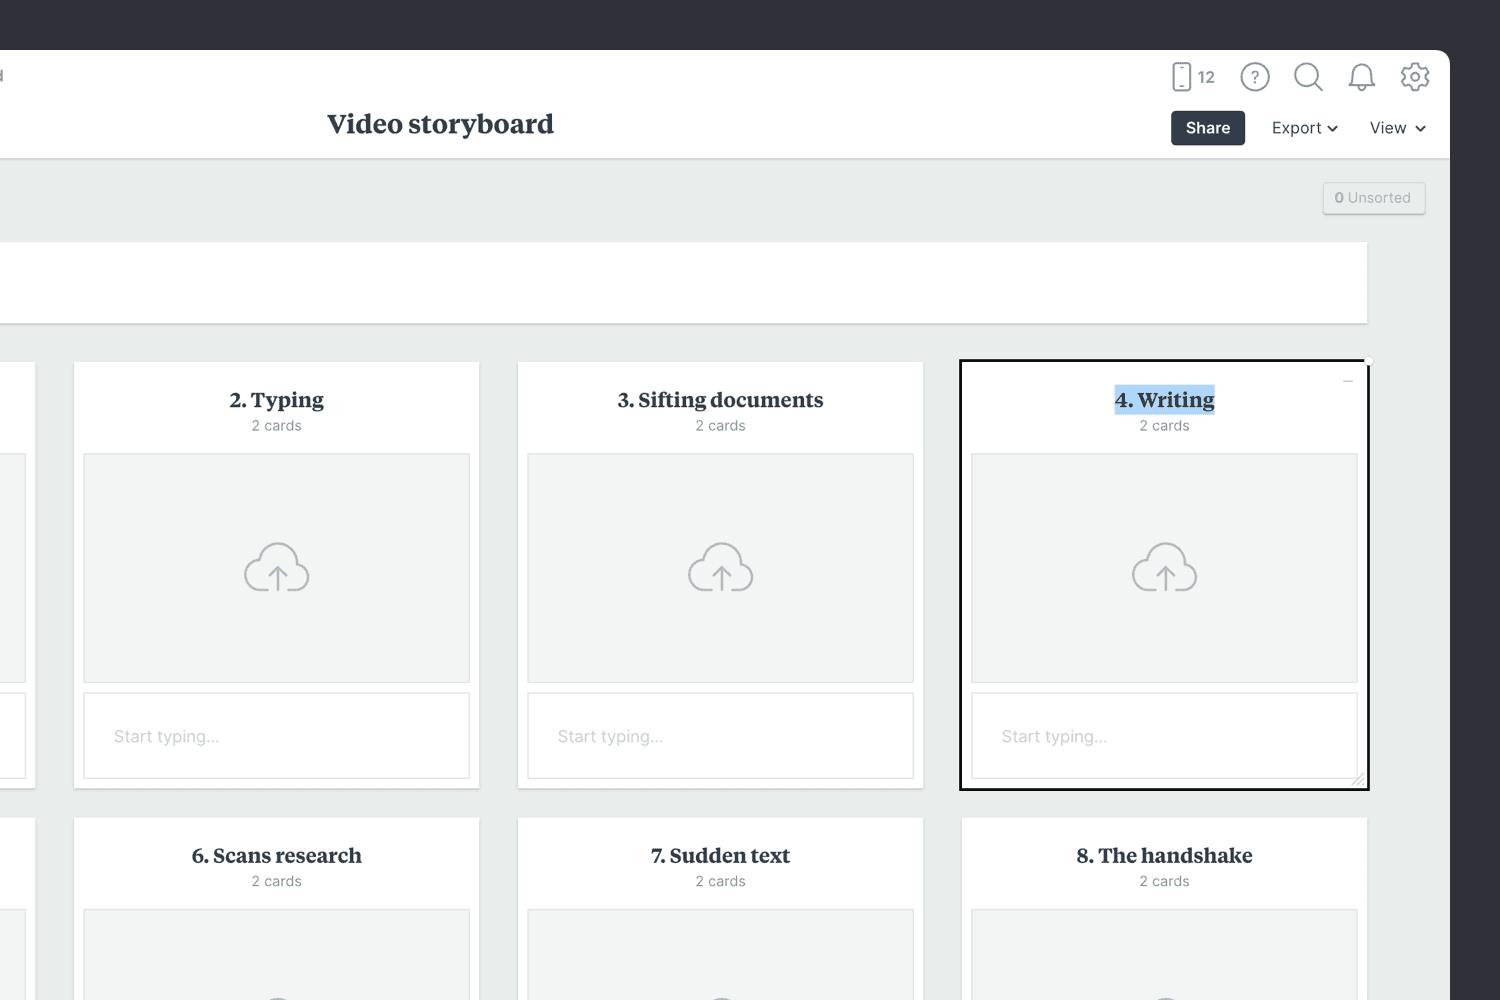
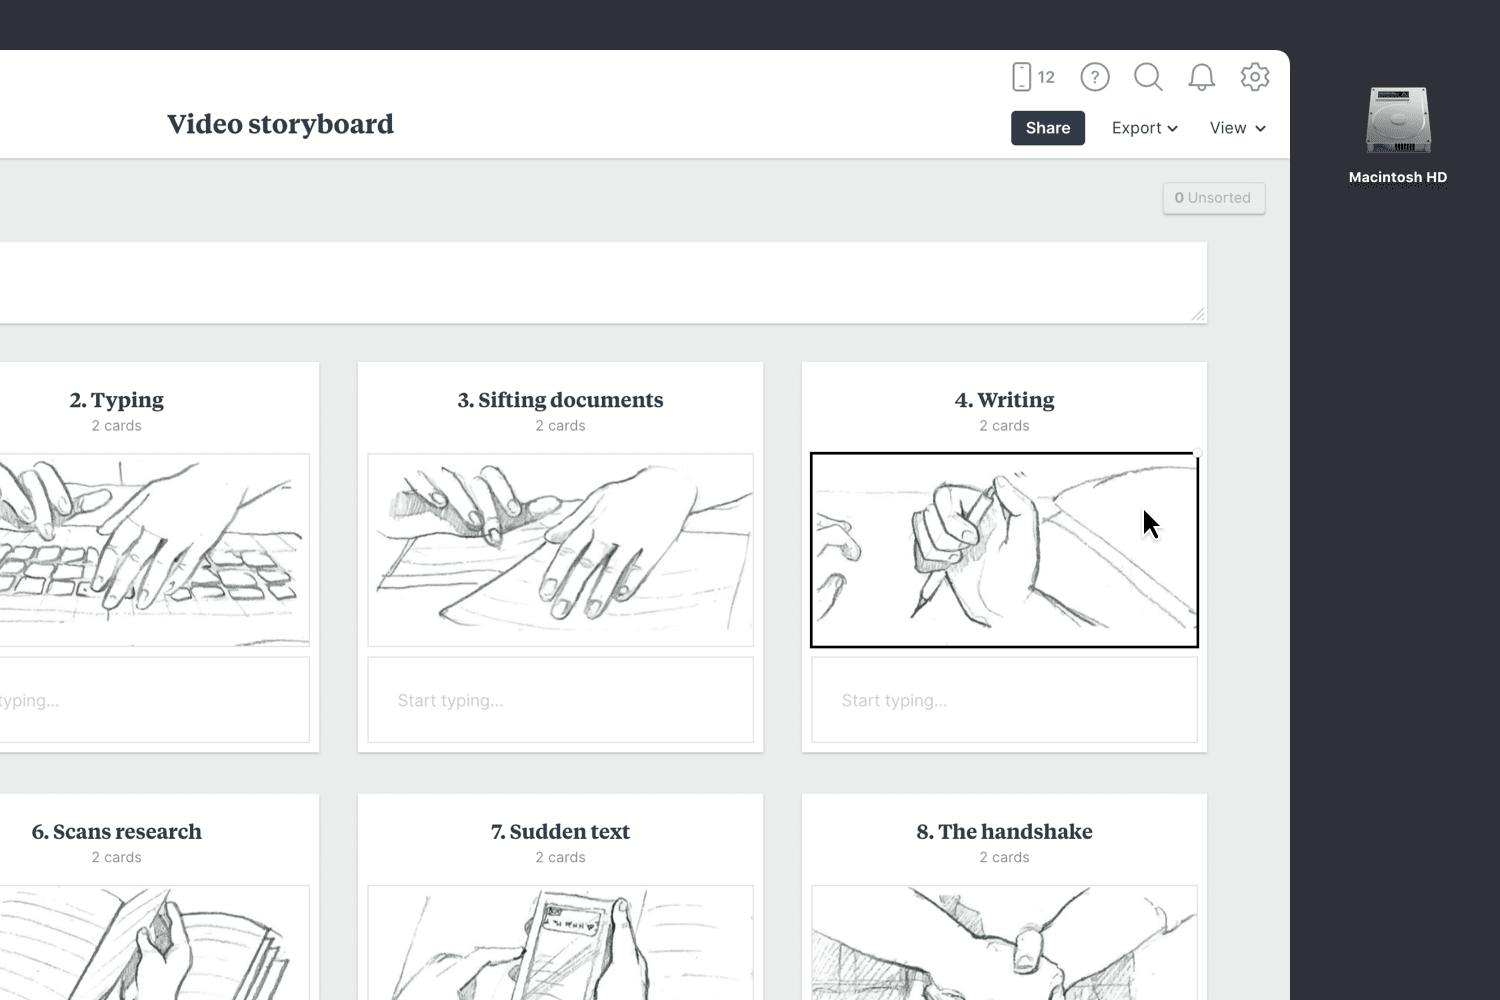
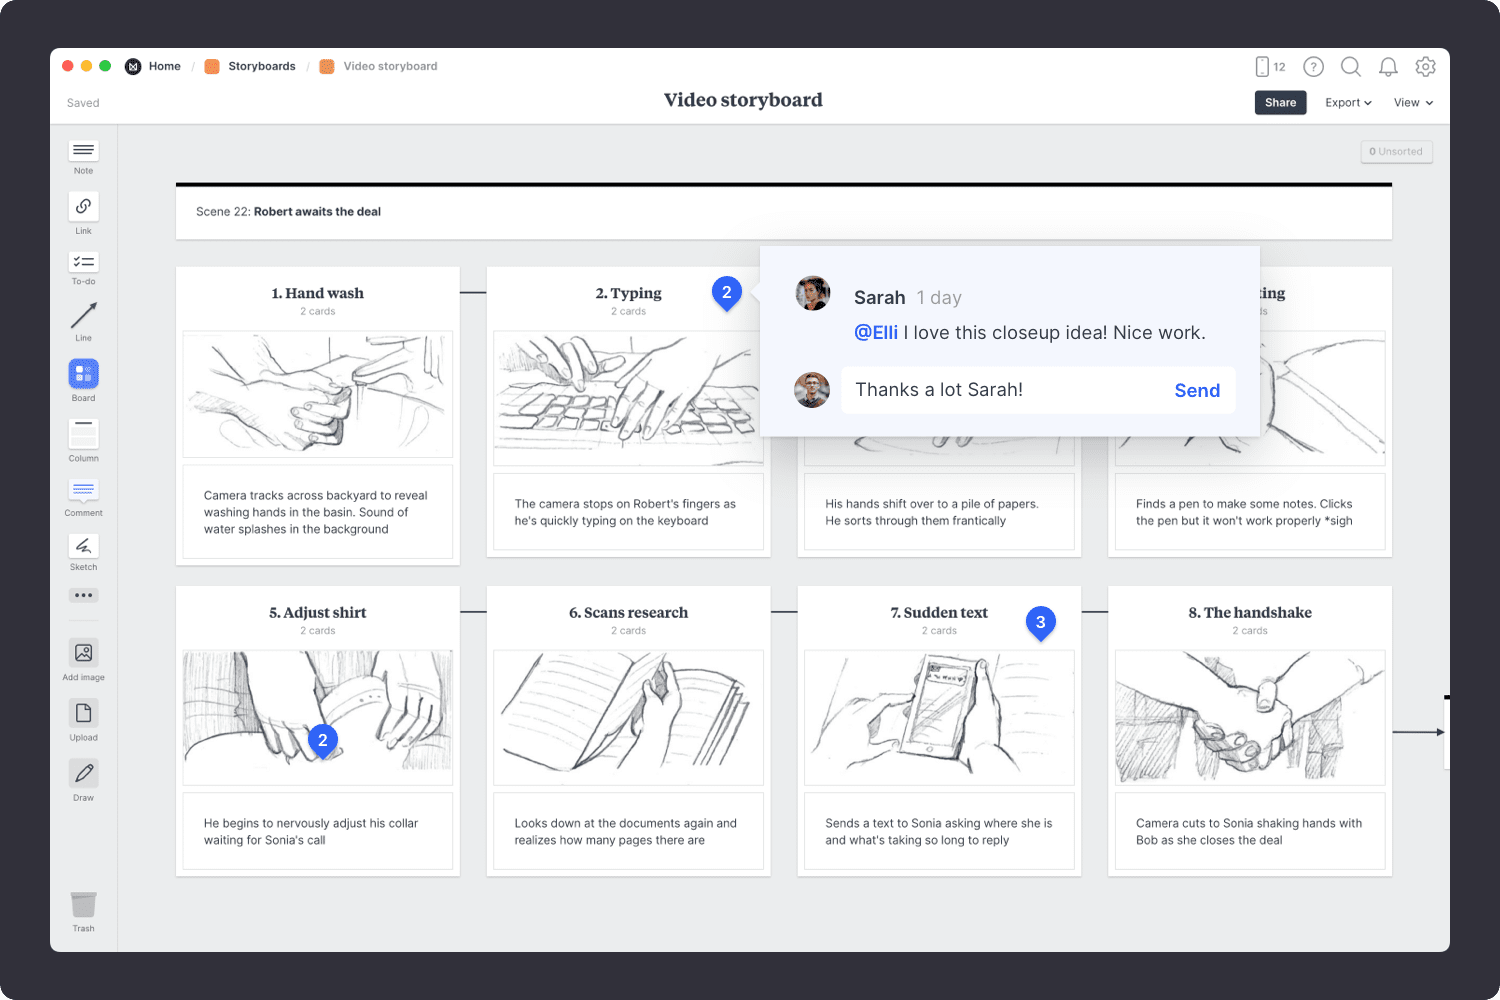
A video storyboard is a crucial step in pre-production that helps you plan your video scene-by-scene. It allows you to capture key details about characters, props, dialogue, camera angles, and special effects. It's also the perfect format for communicating your vision with others.

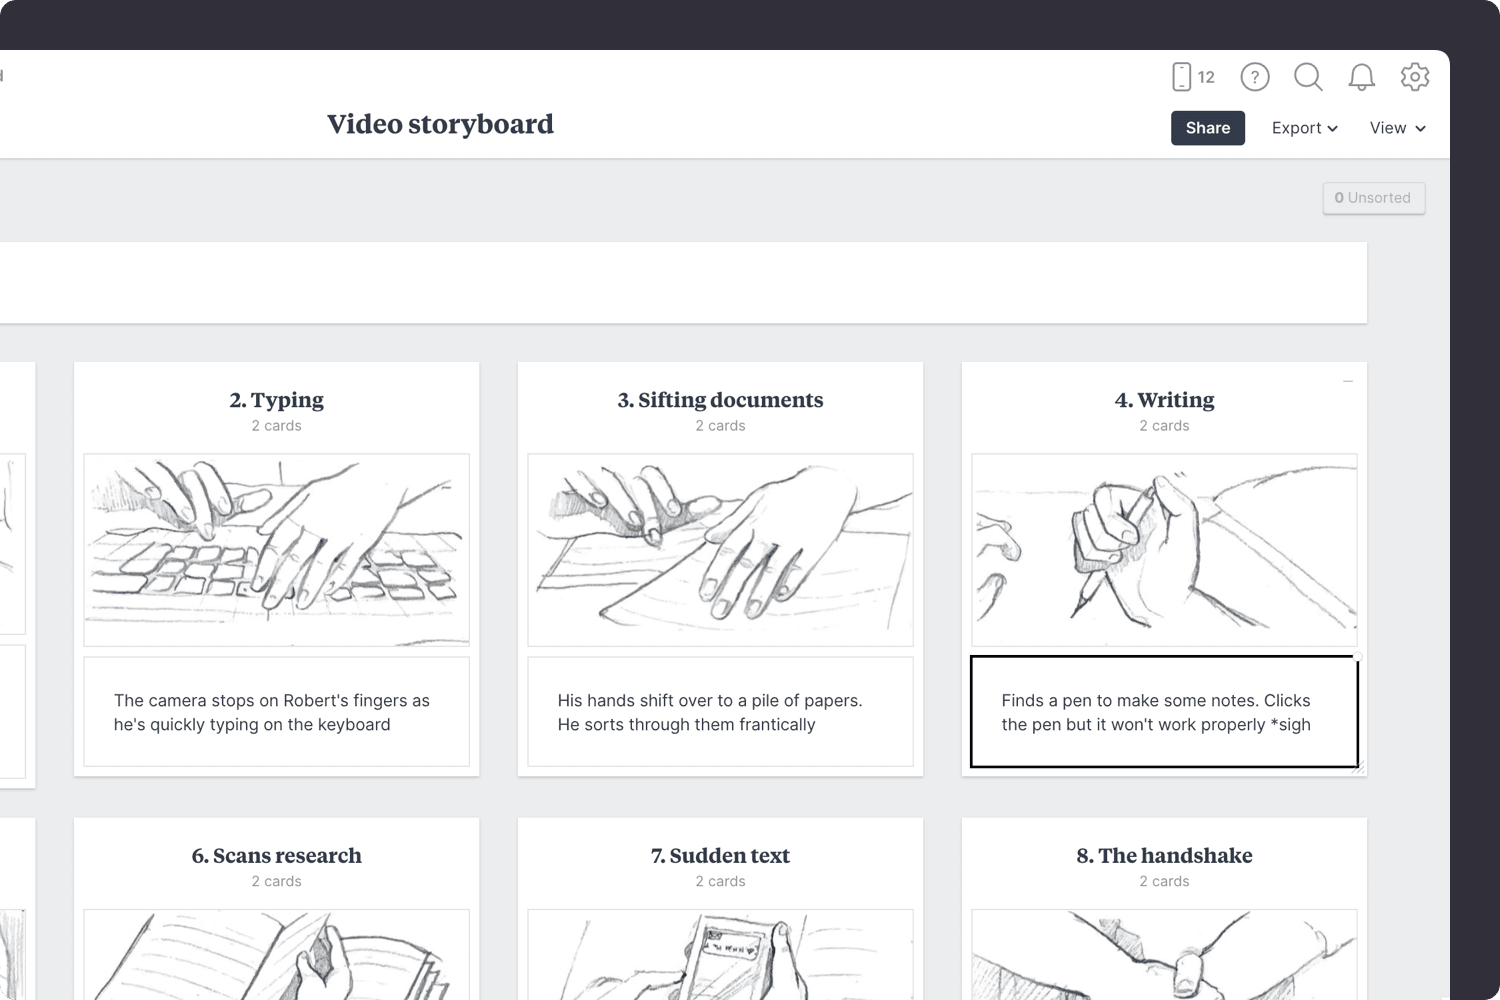
Using Milanote, you can share concepts early to gather feedback from collaborators and ensure everyone is on the same page.

  • Explore ideas
  • Organize visually
  • Share with your team & clients
  • Gather feedback
  • Export to PDF

What is a video storyboard and why should I create one?

A video storyboard is a visual outline (or plan) for a video project. They help you map out the sequence of shots and scenes. Usually, they include a series of images or sketches, along with written notes or descriptions of what will happen in each scene.

There are many benefits to creating a storyboard before you start shooting. They can save time and money by avoiding mistakes or re-shoots. You can also identify potential cost savings by eliminating unnecessary shots or scenes.

How to use this storyboard template

Whether you’re a filmmaker, creative director, or a client, follow this step-by-step guide to learn the modern process of creating a storyboard in Milanote, a free tool used by top creatives.

This professional video storyboard template is also the perfect format for creating a music video storyboard, a TV ad storyboard, and even a film storyboard.

1. Start with an empty template

The Video Storyboard template contains empty columns for the key parts of your story. Just drag and drop your images into each column and describe the actions to create an engaging storyboard in minutes.

Milanote video storyboard template step01
How to do this in Milanote
  1. Create a new board for your storyboard.

    Create a new board

    Drag a board out from the toolbar. Give it a name, then double click to open it.

  2. Choose a storyboard template.

    Choose a template

    Each new board gives you the option to start with a beautiful template.

2. Map out the key scenes

When creating a storyboard, it’s crucial to know what story you’re telling. The best starting point is to break up the script or narrative you’ll be working from. Identify the key scenes and start to map them out on your storyboard.

Milanote video storyboard template step02
How to do this in Milanote
  1. Update the column titles to match the key scenes.

Get inspired

Looking at popular movie storyboards while creating your own can help you better understand film structure, become an engaging storyteller, and create more effective stories.

3. Add images or sketches

Now it’s time to begin visualizing each scene. Some storyboard artists might begin sketching with a pen and paper first, but with modern storyboards you can collect reference photography, illustrations, screenshots, location shoots, and even motion from anywhere.

Milanote video storyboard template step03
How to do this in Milanote
  1. Use the built-in image library.

    Use the built-in image library

    Search over 3 million beautiful, free photos then drag images straight onto your board. Powered by Pexels.

  2. Upload images from your computer.

    Upload a file or document

    Click the "Upload" button or just drag a file onto your board. You can add images, logos, documents, videos, audio and much more.

4. Describe what happens in each frame

While each frame is a static image, try to communicate how it's going to look and feel as a moving sequence. Describes the style, mood, and behavior of any characters. Consider how you'll transition from one scene to the next. Add details about the sound or voice-over to help your team imagine the emotion and drama you're trying to create.

Milanote video storyboard template step04
How to do this in Milanote
  1. Add a note to describe each frame.

    Drag a note card onto your board

    Start typing then use the formatting tools in the left hand toolbar.

5. Share it with your team

When you're ready, invite your team to review your storyboard and share their feedback. This is the perfect moment to see how others interpret your vision for the story. It's also a great opportunity to make any final tweaks while in pre-production. Adjust the order of your frames or edit the content based on everyone's feedback.

Milanote video storyboard template step06
How to do this in Milanote
  1. Share the storyboard with your team.

    Invite editors to your board

    Open the "Share" menu from the title bar of your board. Add email addresses of the people you'd like to collaborate with—they'll receive an invitation via email.

  2. Start a comment thread.

    Start a comment thread

    Drag out a comment from the toolbar on the left and place it on your board. Other editors can reply to your comment.

  3. Mention teammates to get their attention.

    Mention teammates to get their attention

    Type '@' in any text field to mention someone who has access to your board. They'll receive a notification and be able to respond to your comment.

Pro tip:

You can export your storyboard as a PNG, PDF, or even a Word document. This is an easy way to print your board, share it with clients, or convert it into a standard format that can be used in other places.

You're done!

Now that your storyboard is complete, you have a clear vision for your project! Remember, just as creativity and inspiration are constantly evolving, so are ideas. Come back and edit your storyboard when inspiration strikes.

You might find the following templates useful for your next creative project:

Start your Video Storyboard

Visualize the production for your next video project