Start organizing your logo concepts
Get started for free with Milanote's easy to use logo presentation template.
Get startedSign up for free with no time limit

Follow this step-by-step guide to learn the modern process of presenting logo concepts in Milanote, a free tool used by top creatives.

How you present your design work is just as important as the actual artwork itself. It's here that you get to tell the story and strategy behind your work, not just share the final artwork.
Whether your logo presentation takes place in person or remotely, it's important to display your concepts in a way that's easy for others to compare and discuss, and most importantly shows your work in the best light.
In this guide, you'll learn the modern approach to presenting logo concepts and gathering feedback from your team and client using Milanote.
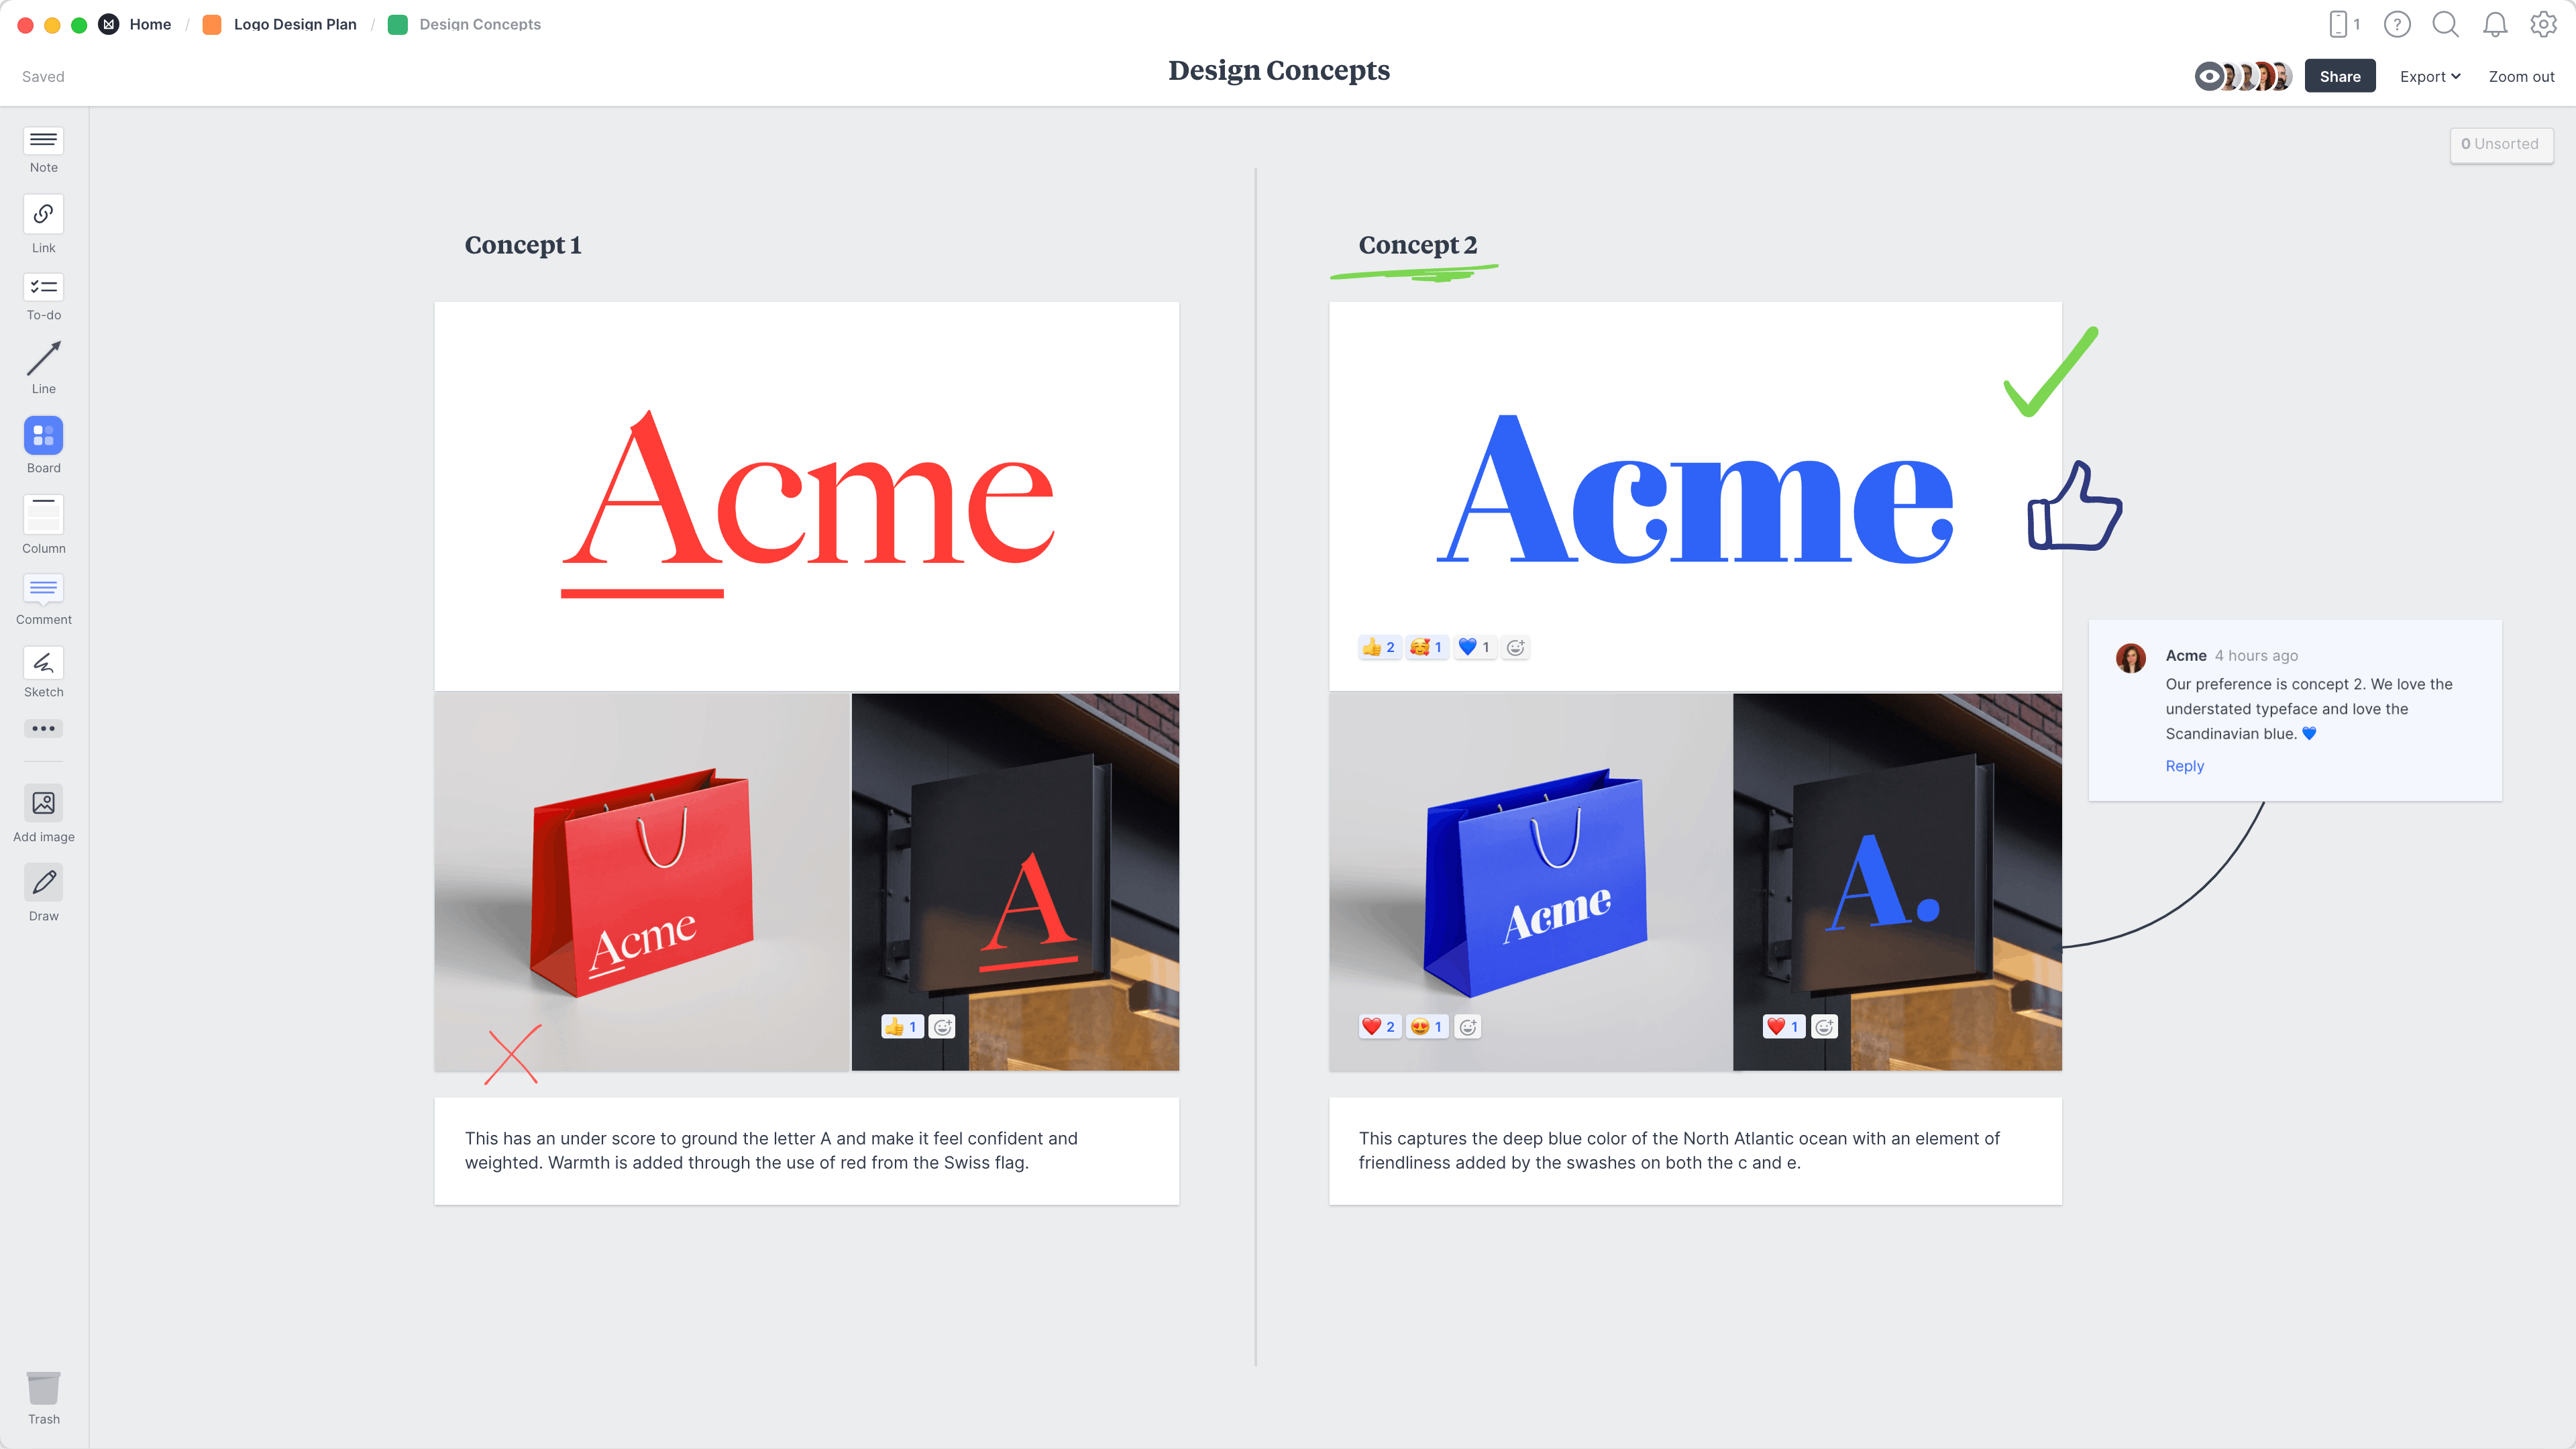
Start by uploading the concepts you've designed so you can share them with your team or client. Provide a few examples of the logo in different environments. E.g. If it's a logo for a clothing brand, show how the logo will looks on its own, on store signage and on packaging or wrapping paper.
It's best to provide at least 2-3 different concepts so your team and client can start to debate which one best suits the business.

Create a new board to display your concepts.
Drag a board out from the toolbar. Give it a name, then double click to open it.
Drag files from your computer.
Click the "Upload" button or just drag a file onto your board. You can add images, logos, documents, videos, audio and much more.
Next, include some written notes about each concept. This will help explain your ideas and keep everything in context. Refer to the client's goals you set earlier in the Logo Brief and the visual direction from the Moodboard to communicate the path to this point.
Try to provide reasons why these concepts will provide the perfect visual brand for the client's company. Explain how they embody the brand personality and why they'll appeal to the target audience. Another useful approach here is to show how the logo concepts stand out against the competitors using the Brand Positioning Map format.

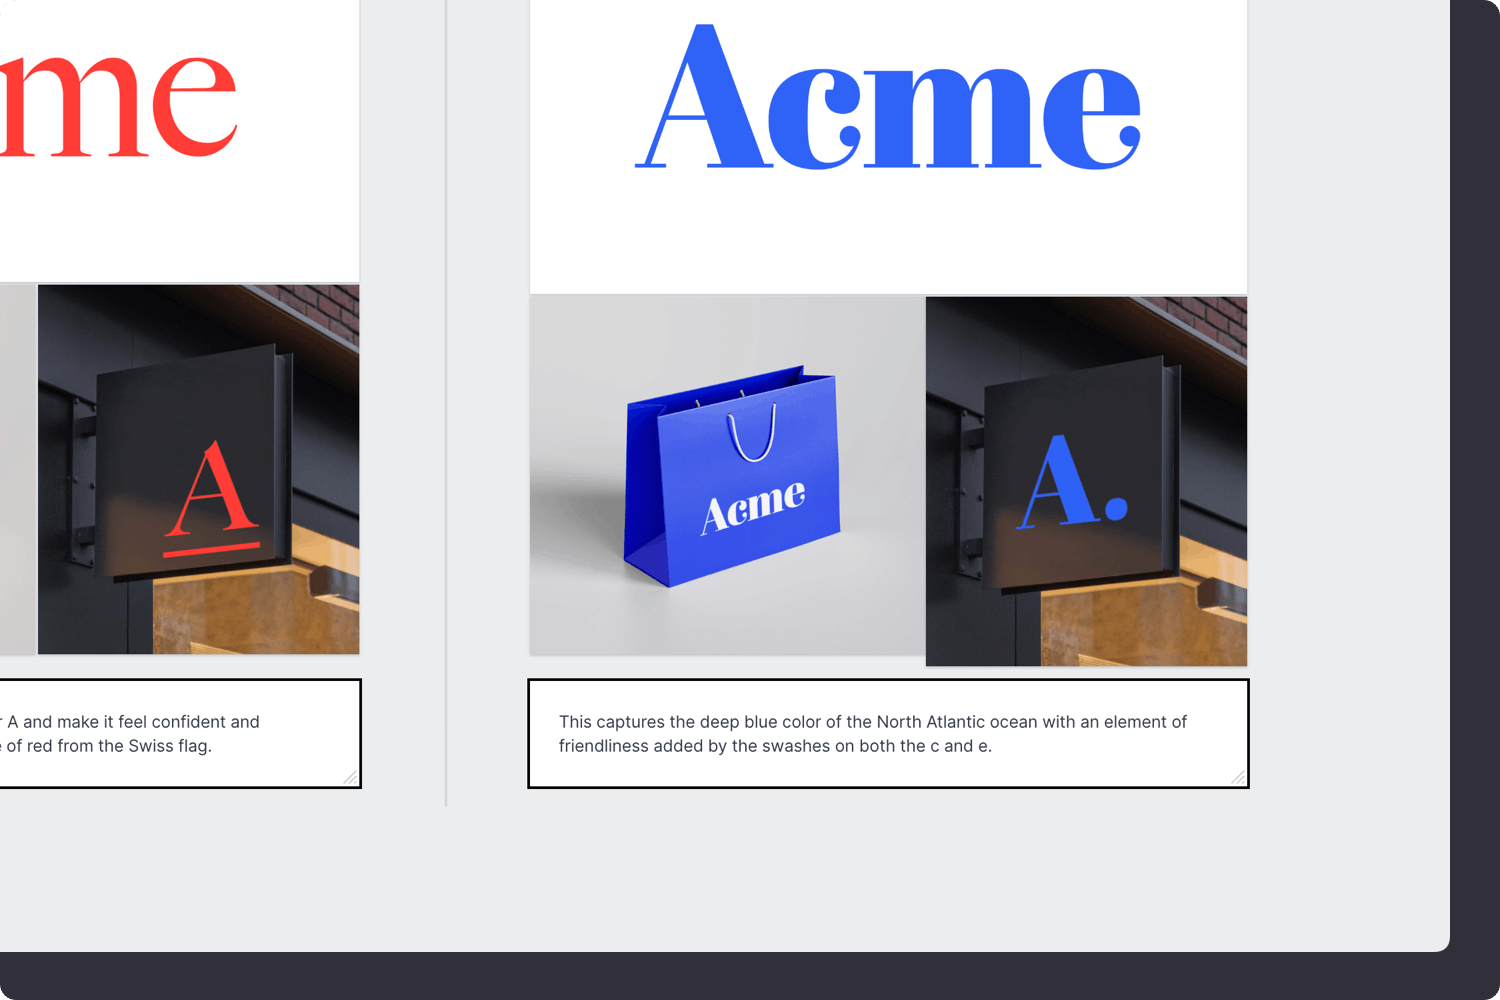
Add a note to describe each concept.
Start typing then use the formatting tools in the left hand toolbar.
With any creative technique or project, it’s important to be open to constructive criticism. Now that you've prepared the initial concepts, it's time to ask for specific feedback. Share the board with your team or client and get together to choose a final direction.

Share the concepts with your team.
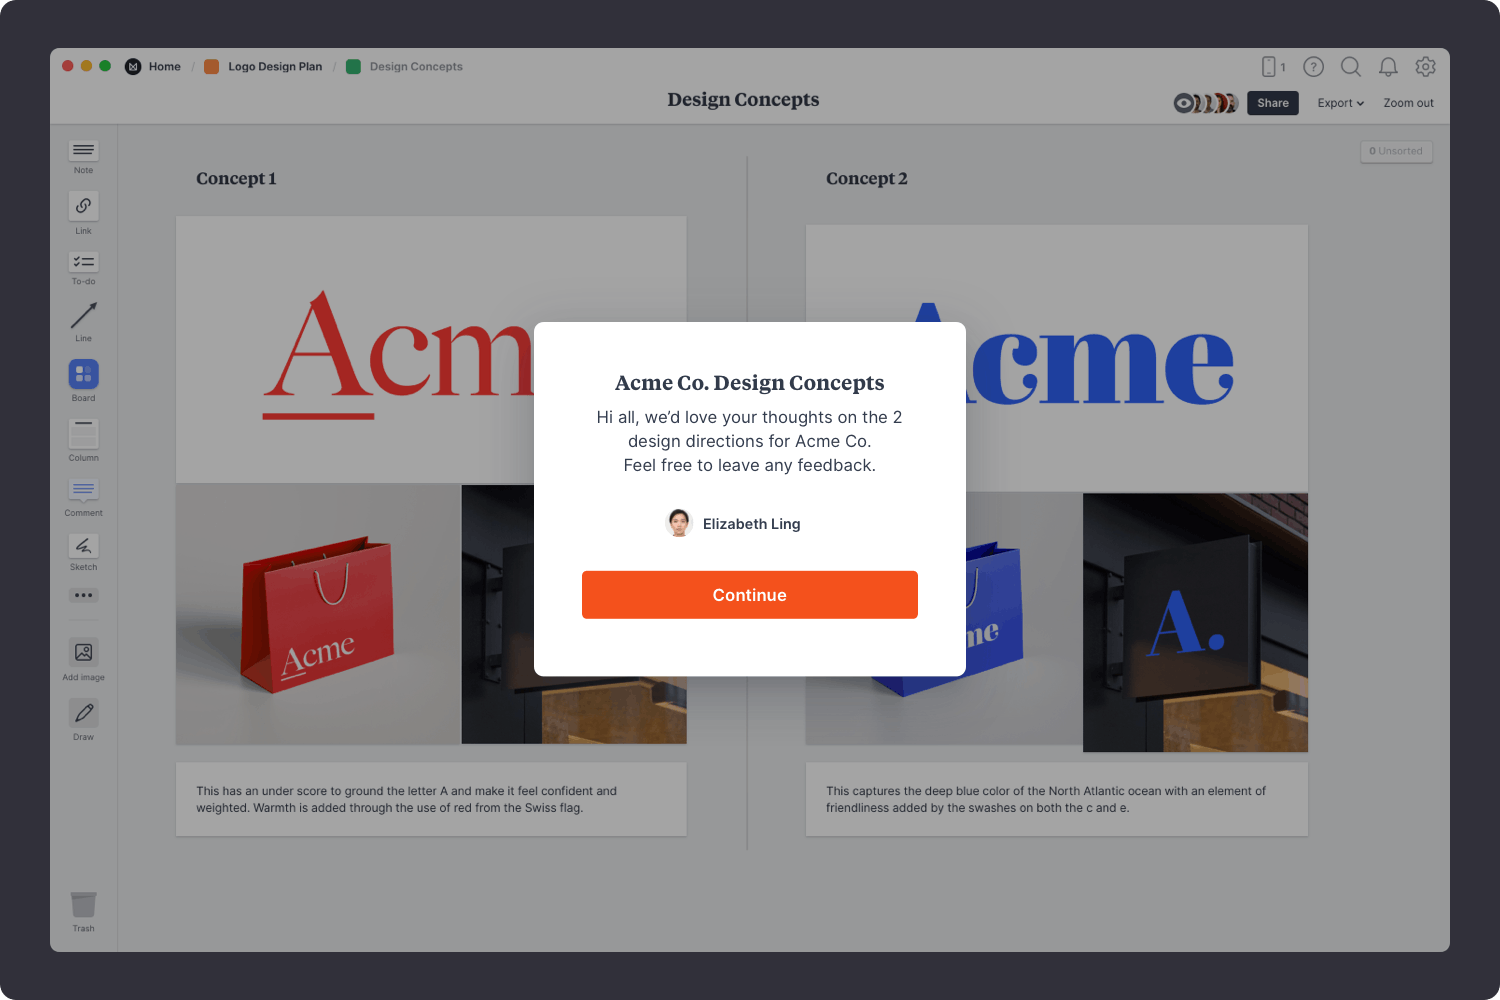
Click Share in the top right of your board. You can add a Welcome message for viewers, allow comments, set a password or embed the board in another app or website.
Ensure that everyone involved agrees on the concept direction before you start finalizing the logo artwork. Try to keep the conversation focused on the strategy behind the logo rather than discussing just the visual aspects. Consider how the logo addresses the goals, audience and requirements. Lastly, make sure you stay open to suggestions and improvements and try not to take criticism personally.

Start a conversation about the options.
Drag out a comment from the toolbar on the left and place it on your board. Other editors can reply to your comment.
Mention teammates to get their attention.
Type '@' in any text field to mention someone who has access to your board. They'll receive a notification and be able to respond to your comment.
Mark your favourites using reactions.
Select an image or note and choose "Add reaction" from the left toolbar.
Hopefully at this point, one concept stands out as the obvious choice. Or perhaps this process has uncovered some valuable, clear feedback that will help you improve the logo even further. If you're just starting this process, use the template below to organize your logo concepts or read our full guide on How to plan a logo design project.
