Plan your next logo design project
Get all 6 templates in the logo design pack.
Start planningSign up for free with no time limit

Follow this step-by-step guide to learn the modern process of planning a logo graphics project in Milanote, a free tool used by top creatives.

A strong logo is one that's easily recognized and remembered. Think of Nike's swoosh or the Apple logo. It's the perfect graphical representation of a company. But a logo's design doesn't happen by accident. It's the result of a well-defined project plan at the start of the creative process. A great plan helps you as the designer understand the company and customers you'll be creating a logo for. It also ensures you and your client are on the same page through every step of the project.
Traditionally, a project plan might be scattered across various emails, to-do lists, spreadsheets, and documents, making it hard to keep track of everything. A central project plan combines these artifacts into one easy-to-access place. It will evolve over the lifespan of your project but usually includes:

Create a new board for your logo project plan
Drag a board out from the toolbar. Give it a name, then double click to open it.
Choose the Logo Design Plan template
Each new board gives you the option to start with a beautiful template.
It’s crucial to set a strong foundation from the start. A clear, inspiring, and informative brief provides the structure and direction for designers to do their best work. Logo Design briefs typically include information about the brand/client, goals, specific deliverables, visual references, target audience, and important dates.
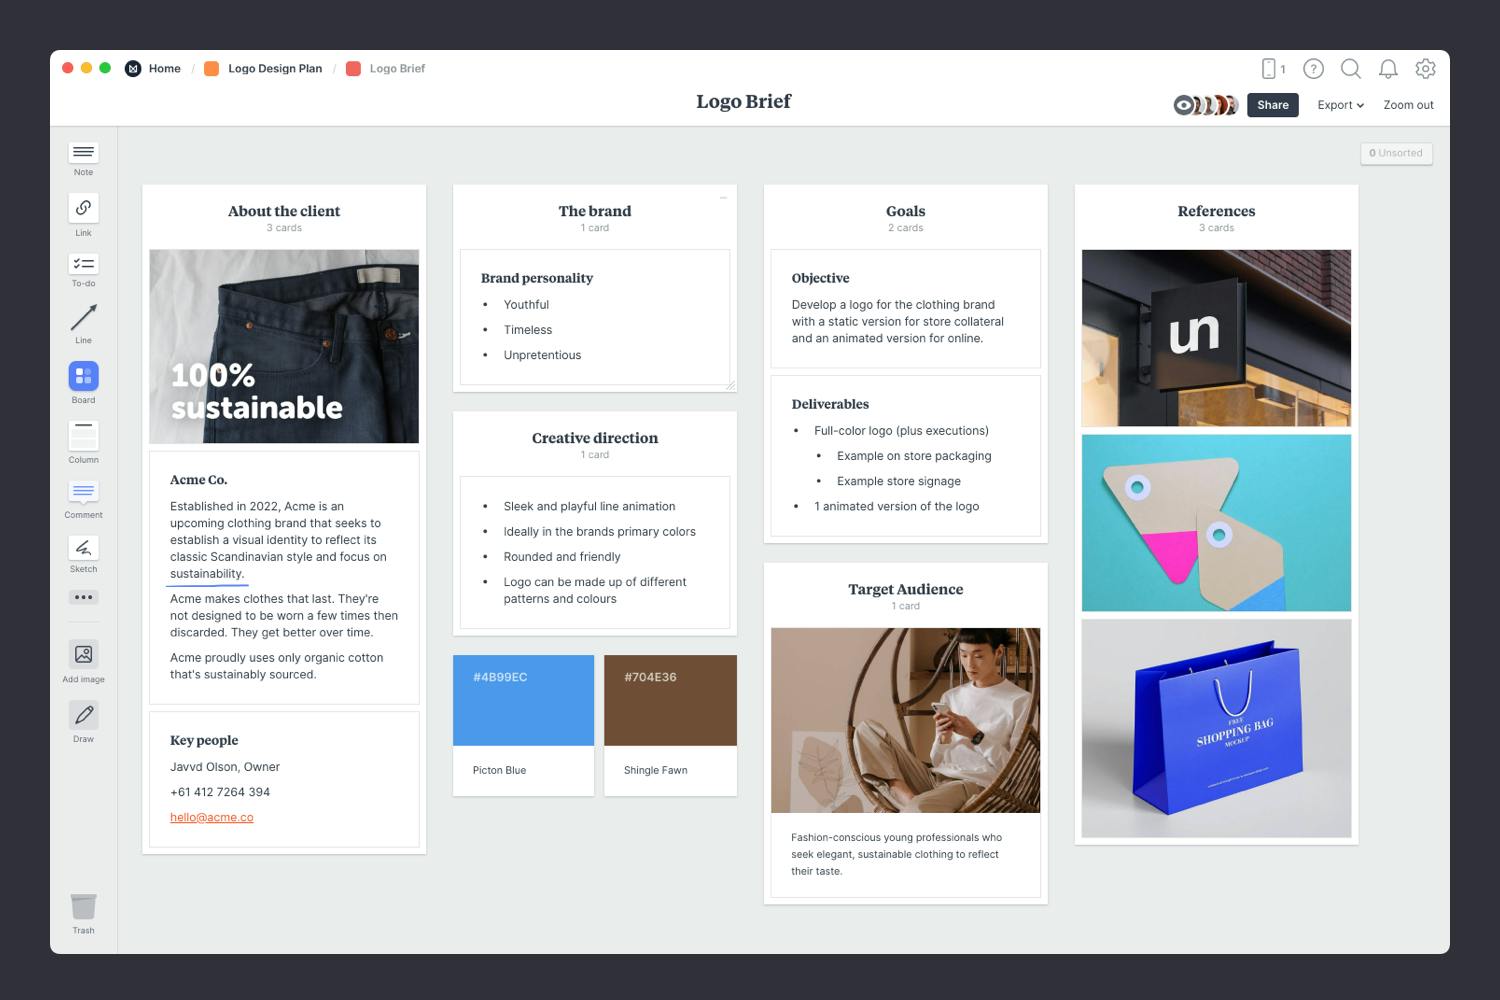
You’ll find the board to create your brief on the Logo Design Plan board. Double-click the Brief to open it and start adding the goals, concept and defining the audience.
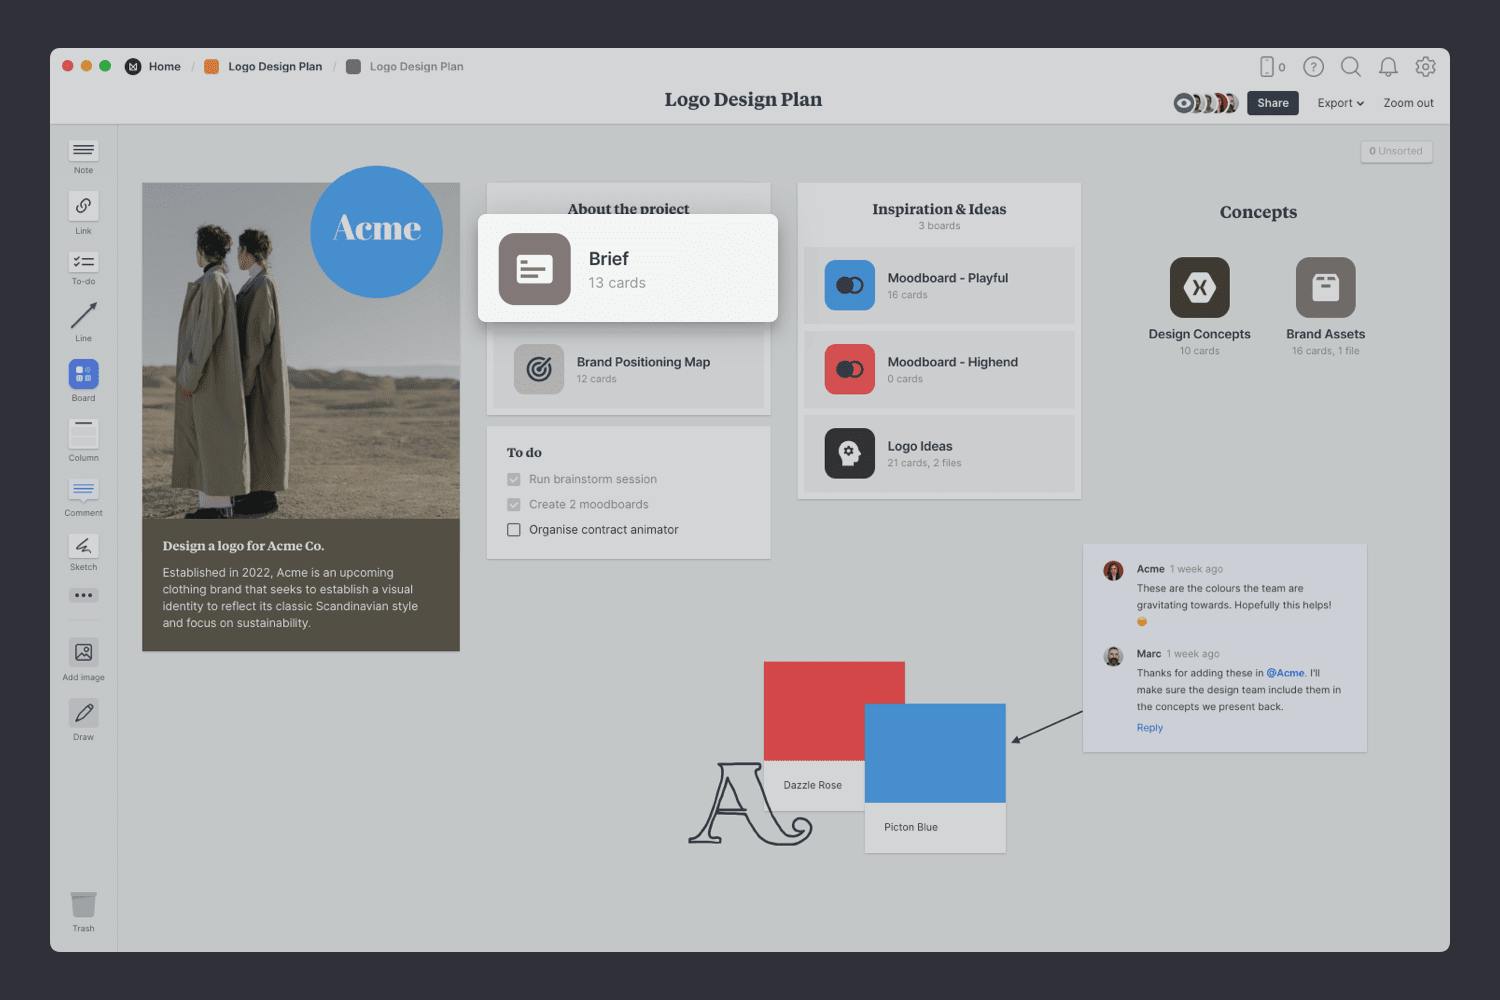
Double-click the Brief board to open it.
Write out the tone or personality you want the logo to reflect. Should it be modern or classic? Formal or playful? Loud or minimal? Young or mature? These simple style choices can help steer designers in the right direction to creating a logo that accurately reflects the organization.
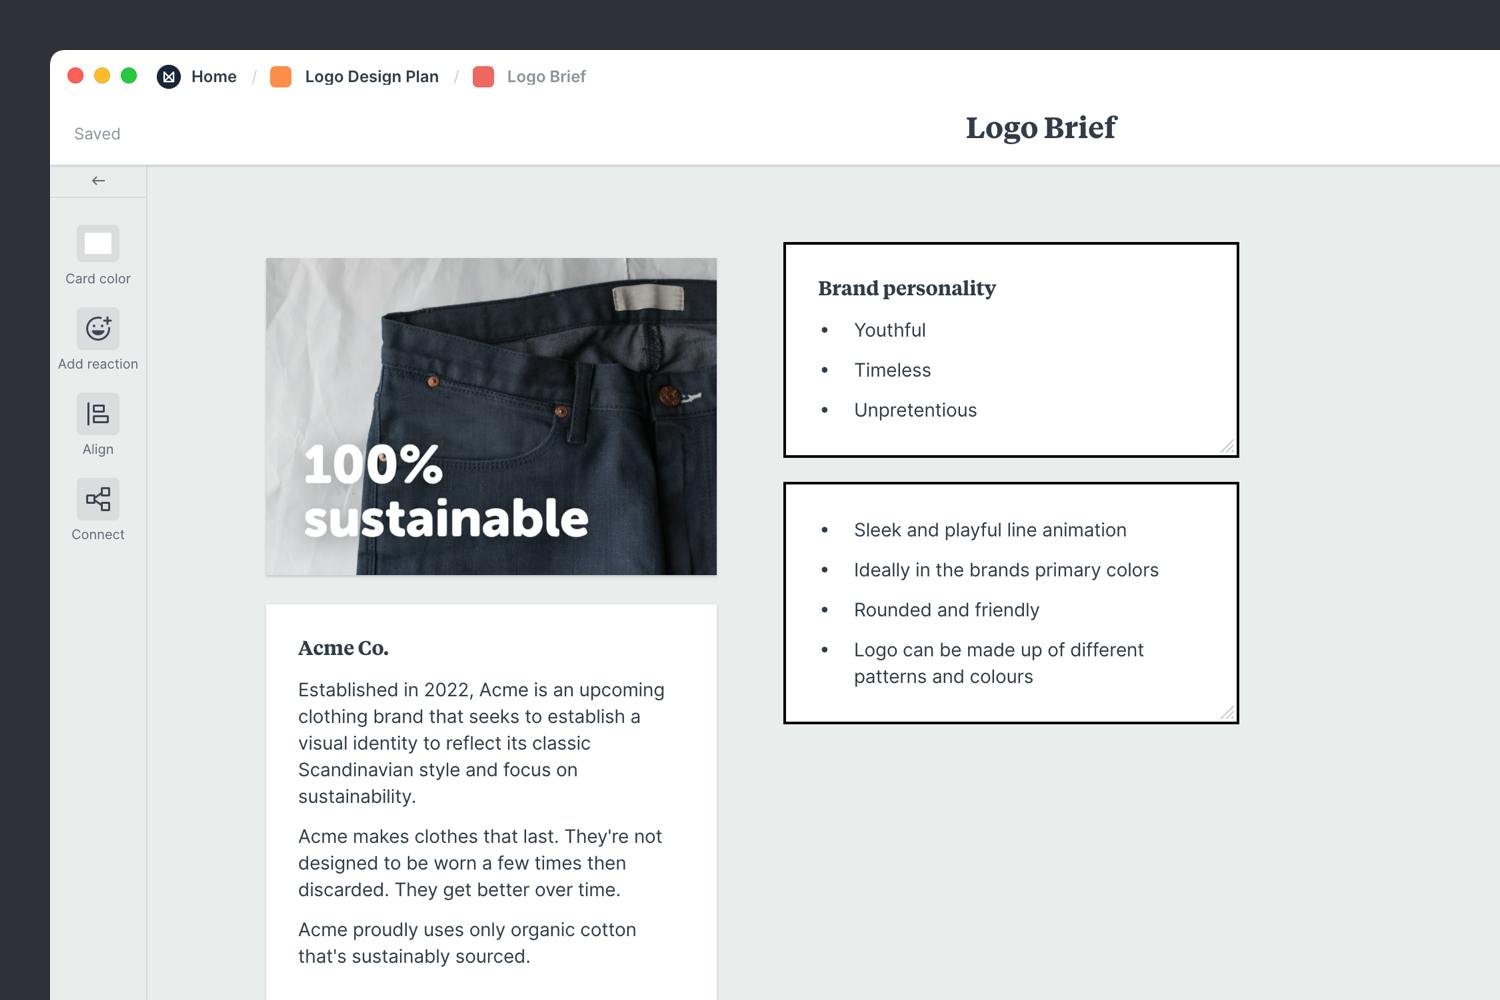
Add a note to describe the brand.
Start typing then use the formatting tools in the left hand toolbar.
What are the specific outputs your client requires? Their logo will likely be displayed in a variety of places, from business cards, to websites, packaging, clothing and more. Clearly describe how the logo will be used. This will help you create a logo that works in all environments—something that's easy to read at a small size but also looks amazing scaled up on the side of a building.

Add a note to describe the deliverables.
Start typing then use the formatting tools in the left hand toolbar.
This is where you describe a specific type of audience and detail what’s important to them. What brands do they love? What's their current relationship with the product or service? What design styles best are they drawn to? Answering these questions will enable your team to think about the project from the perspective of your audience and design something that grabs their attention.
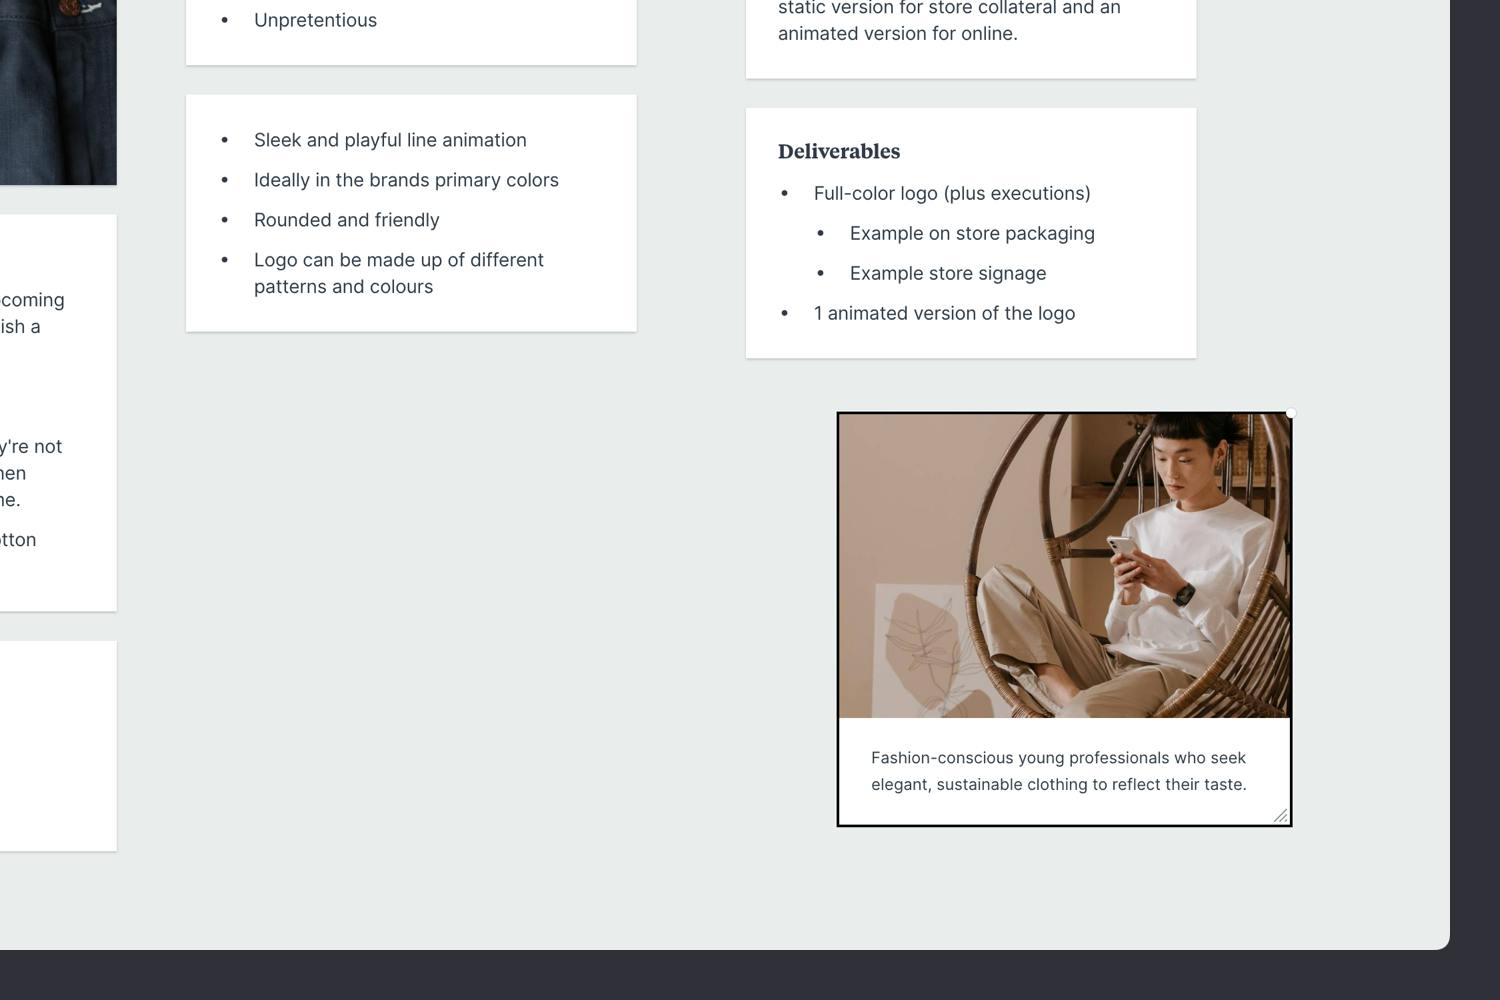
Add a note to describe your audience.
Start typing then use the formatting tools in the left hand toolbar.
Once you’ve made any final tweaks, it’s time to share the completed brief with your team or client, organize a kickoff meeting, and get started. If you want to learn more about writing a logo design brief, check out our in-depth Logo Design Brief guide.

Share the brief with your team.
Click Share in the top right of your board. You can add a Welcome message for viewers, allow comments, set a password or embed the board in another app or website.
It’s important to know how your logo will compare and standout against the other brands in your category. The Brand Positioning Map template is perfect for identifying your opportunity in the market. It's a simple way to ensure your brand will stand out against your competitors when designing a new logo or rebranding your company.
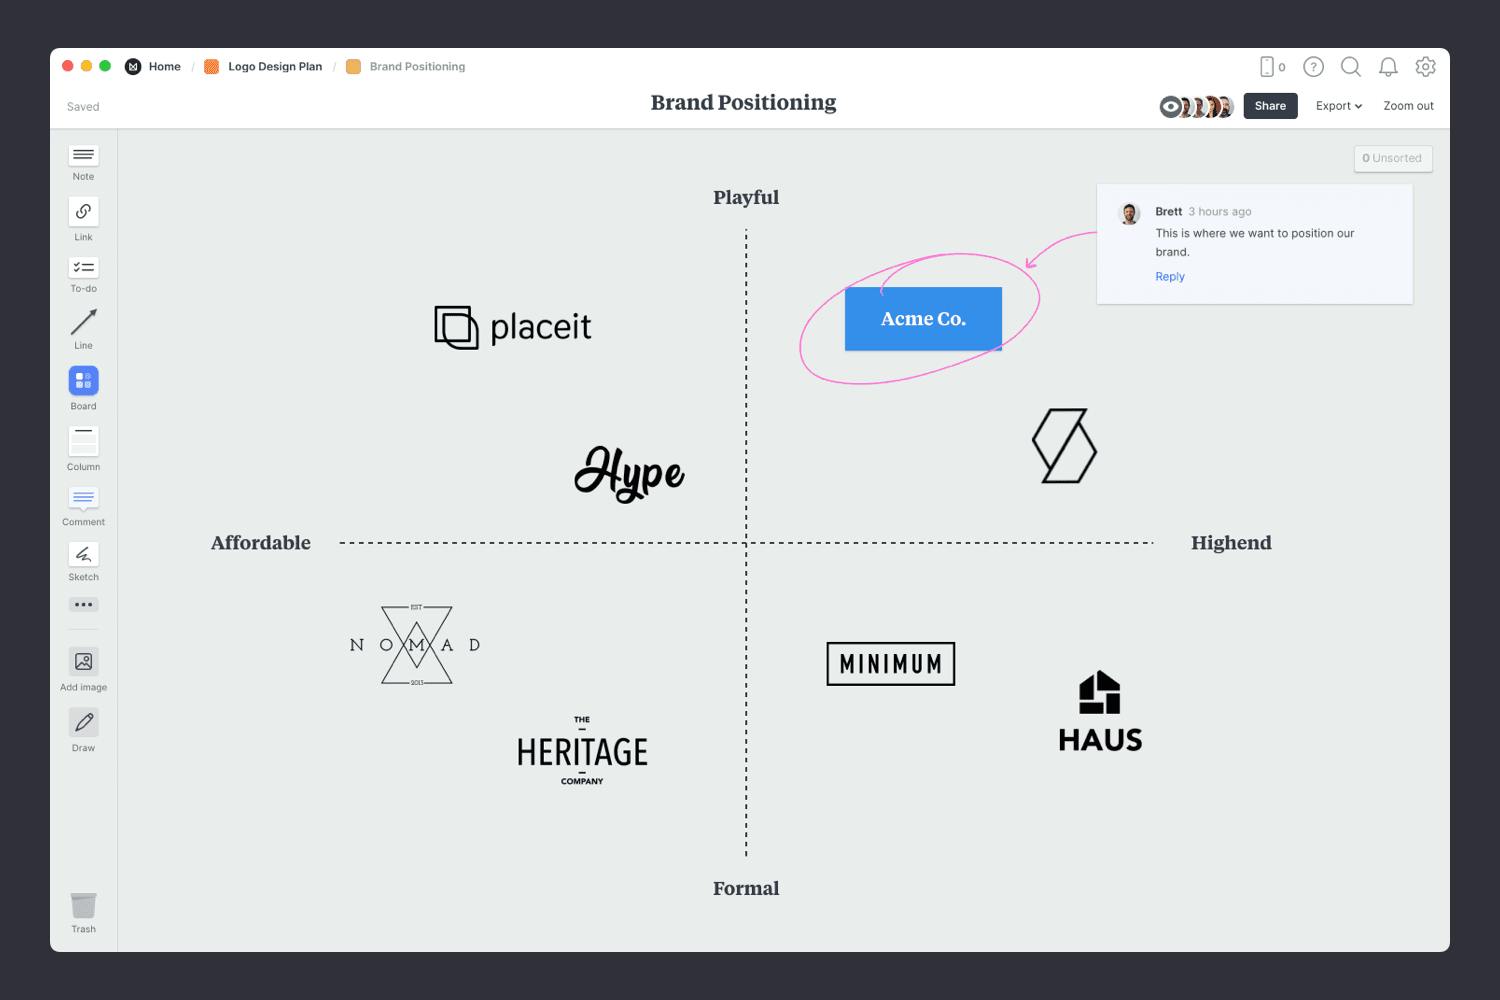
You’ll find this board on your Logo Design Plan board. Double-click the Brand Positioning to open it and start mapping out your competitors.
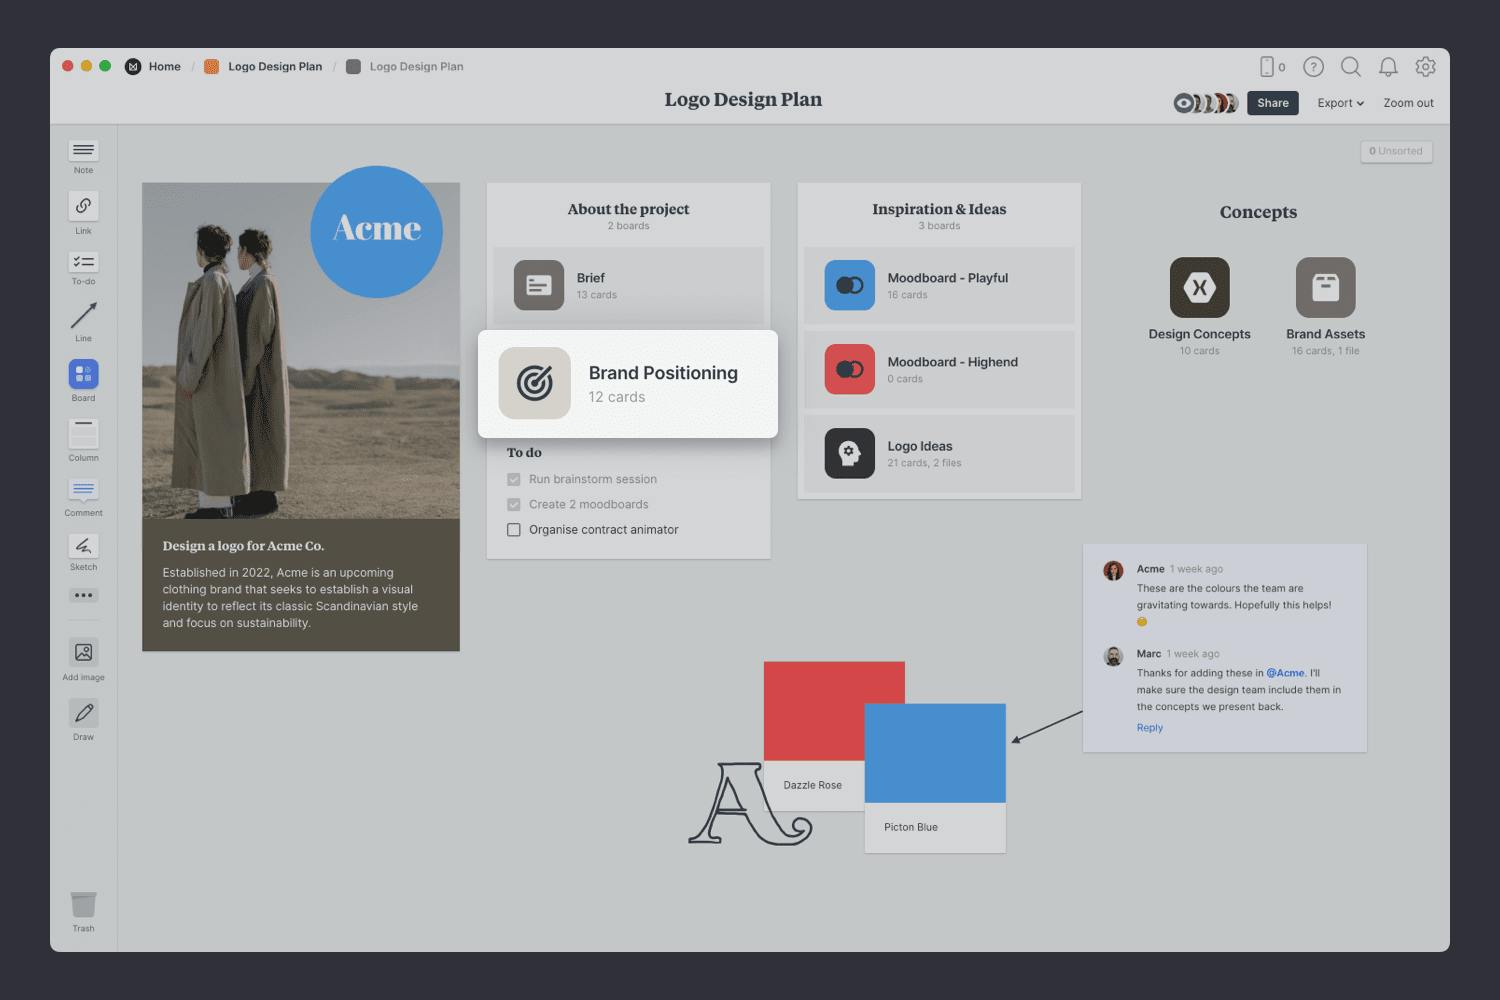
Double-click the Brand Positioning board to open it.
Choose the Brand Positioning template.
Each new board gives you the option to start with a beautiful template.
Start by adding the logos or names of the other companies in your market. Then define which part of the market you'd like to own. You'll start to uncover ways you can differentiate yourself. If you're designing a new logo for your company, this will let you see which styles, colors and fonts your competitors use and ensure that you visually standout from the pack.
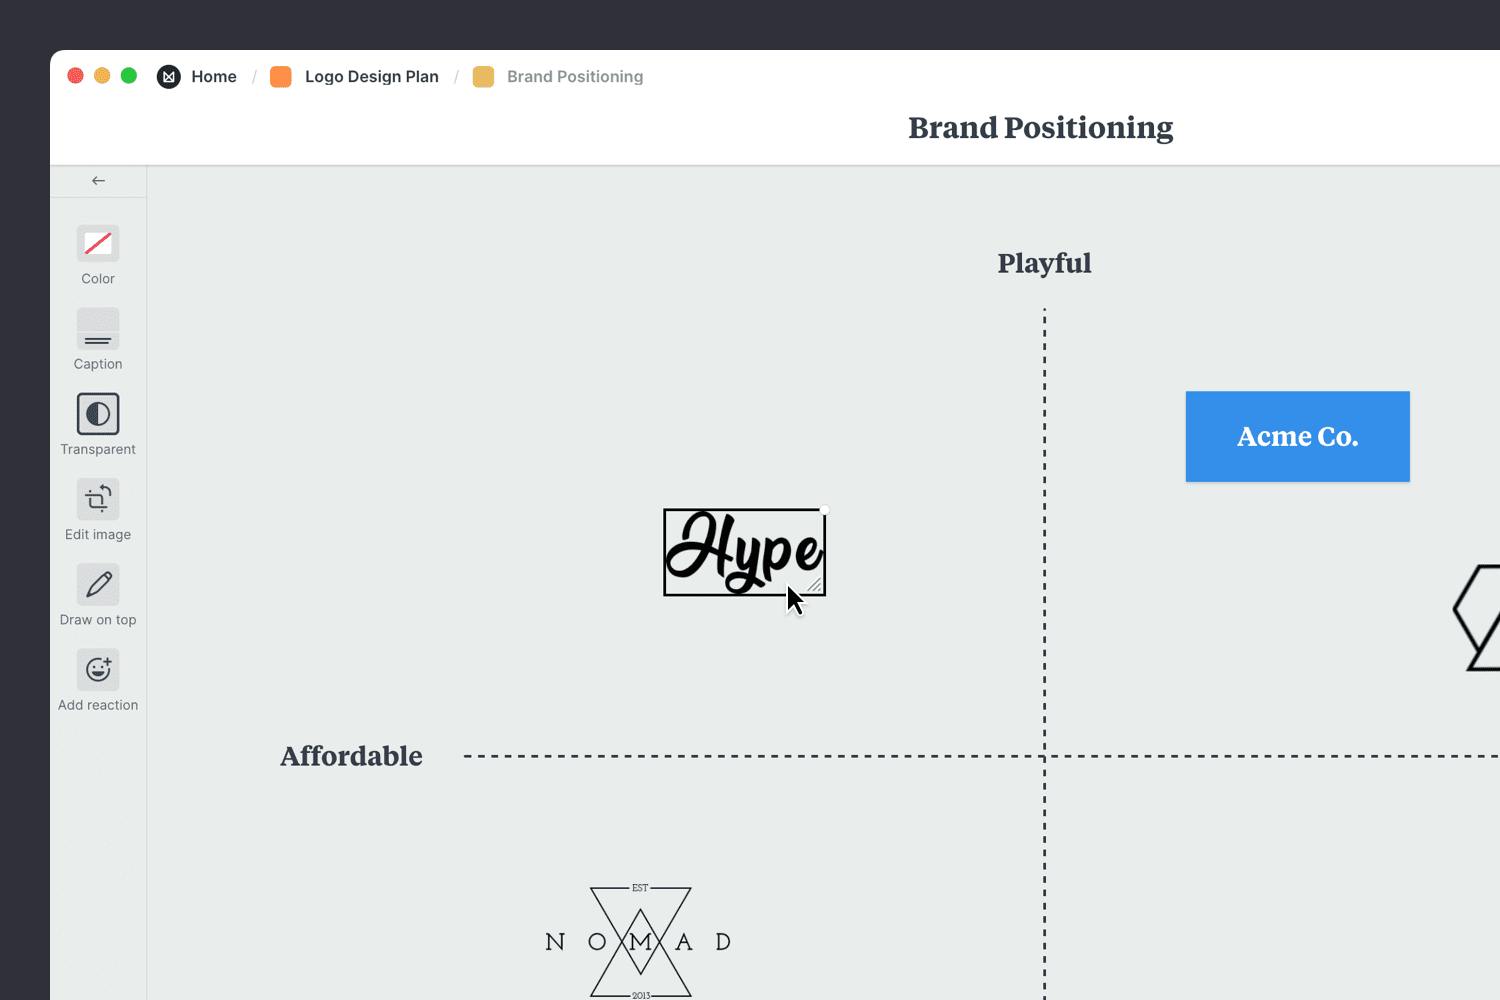
Drag files from your computer.
Click the "Upload" button or just drag a file onto your board. You can add images, logos, documents, videos, audio and much more.
When a new logo design project kicks off, you'll be bursting with ideas. Now is the perfect time to go wild and explore as many different options as you can. And brainstorming is the ideal way to do it!
Brainstorming is a classic creative technique for generating new ideas quickly. You can use it to help dream up new styles, explore color combinations, or as a sketchbook for logo ideas. It’s best thought of as a way to light up our imagination.
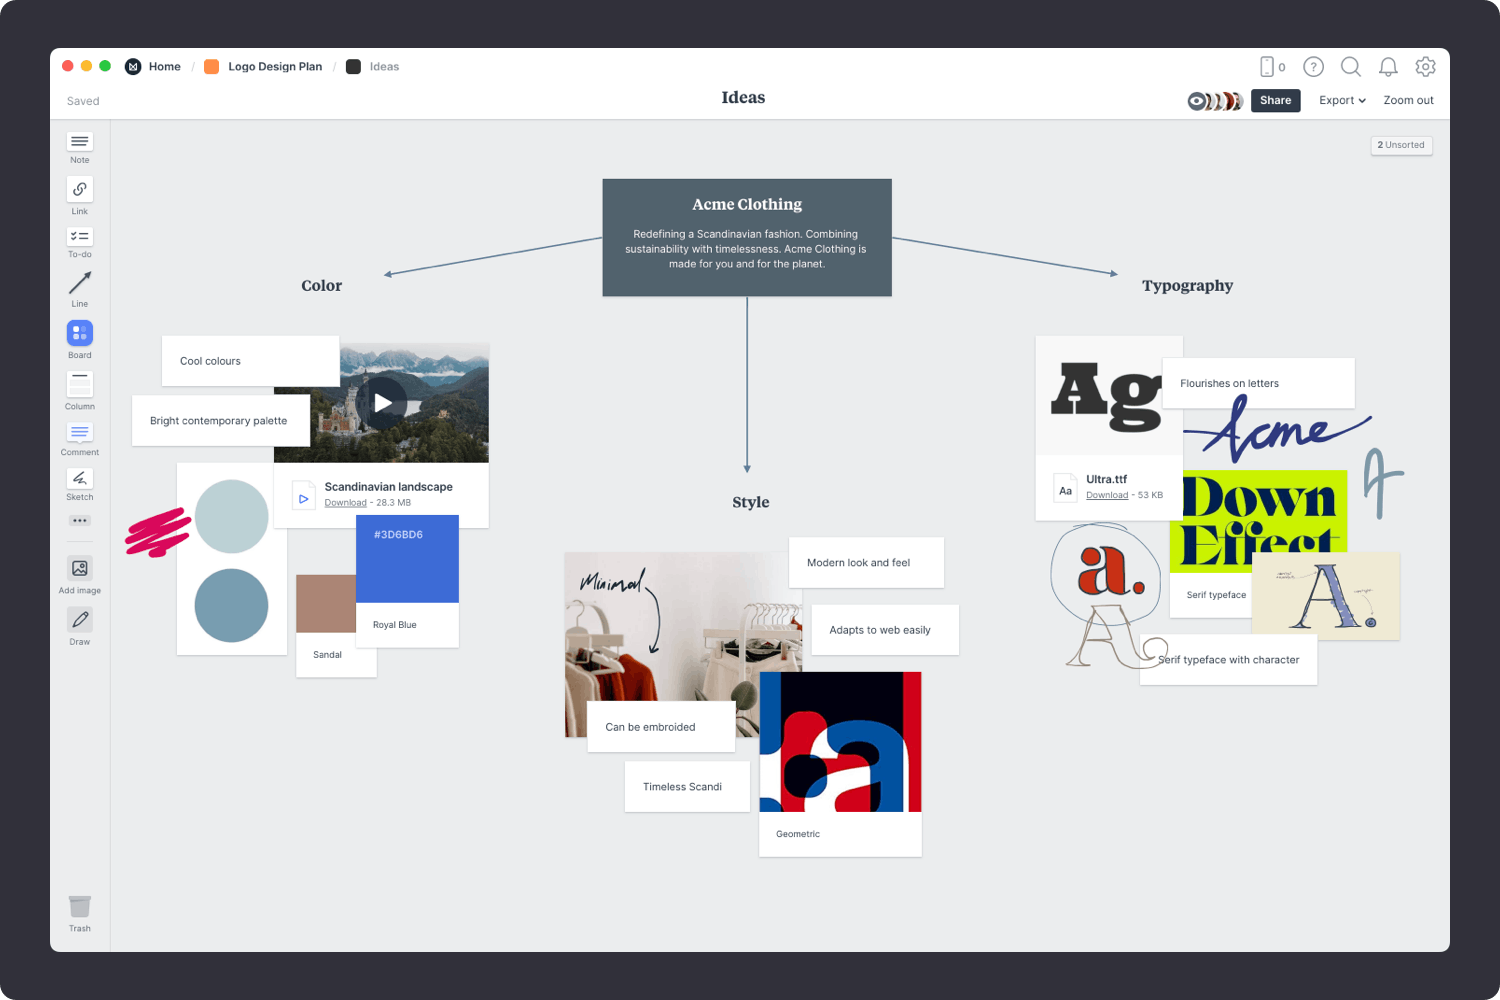
You’ll find the board for brainstorming on your Logo Design Plan board. Double-click the Ideas board to open it and start brainstorming.
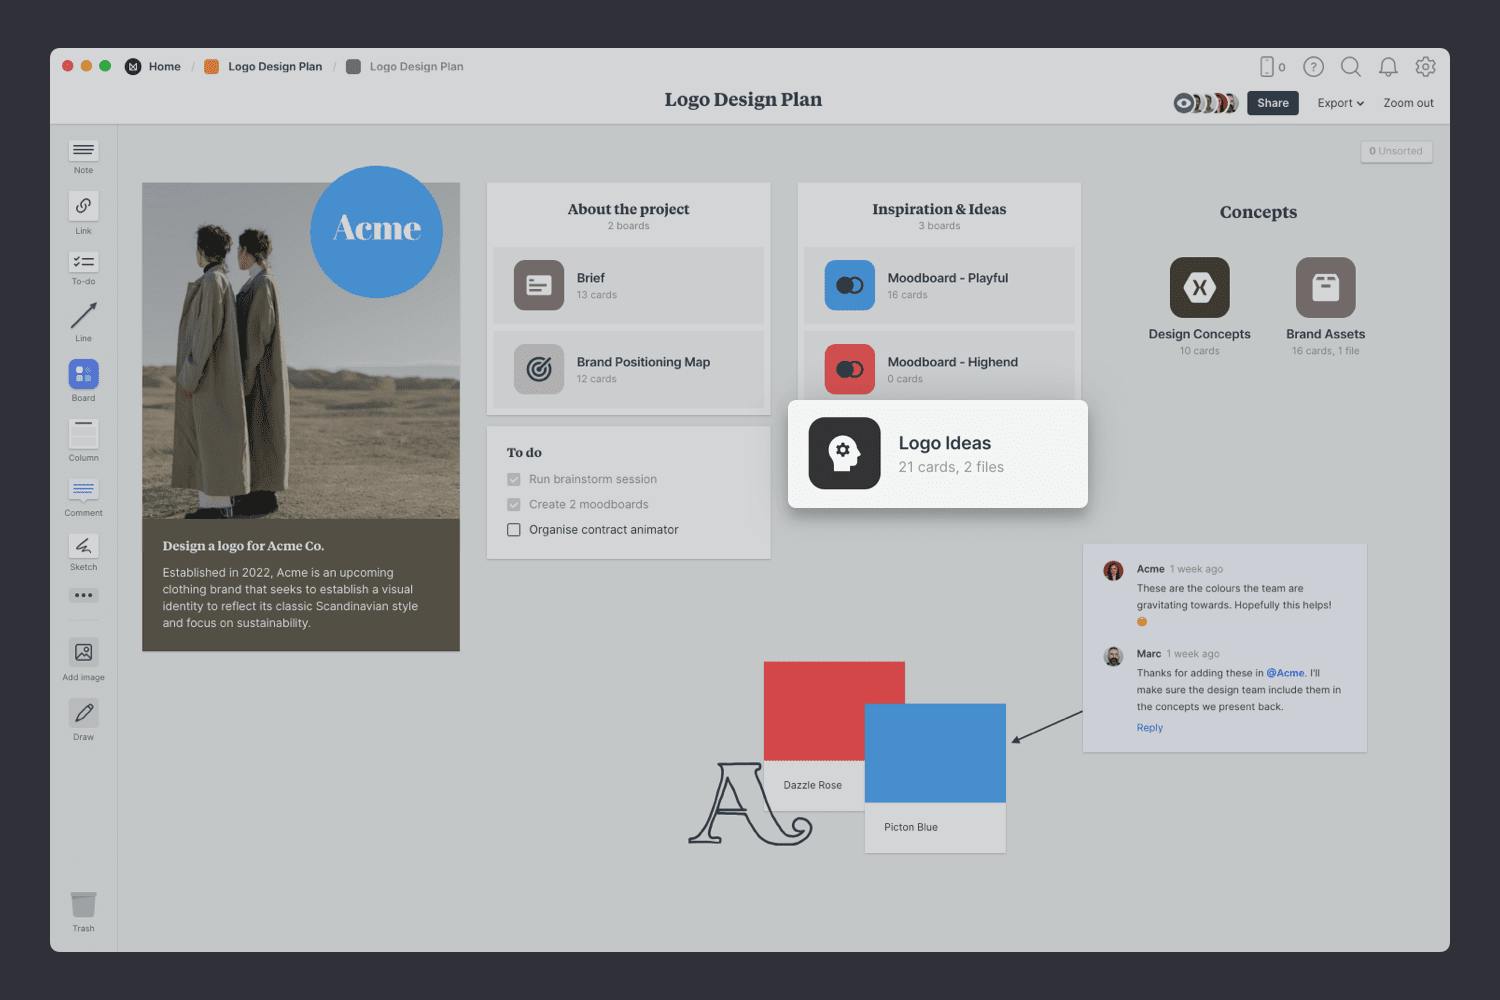
Double-click the Ideas board to open it.
What's the brand or company you're designing a logo for? Add a short note that describes the project so everyone can reference it as you're generating ideas. It might be a simple description of the brand, its values or personality.
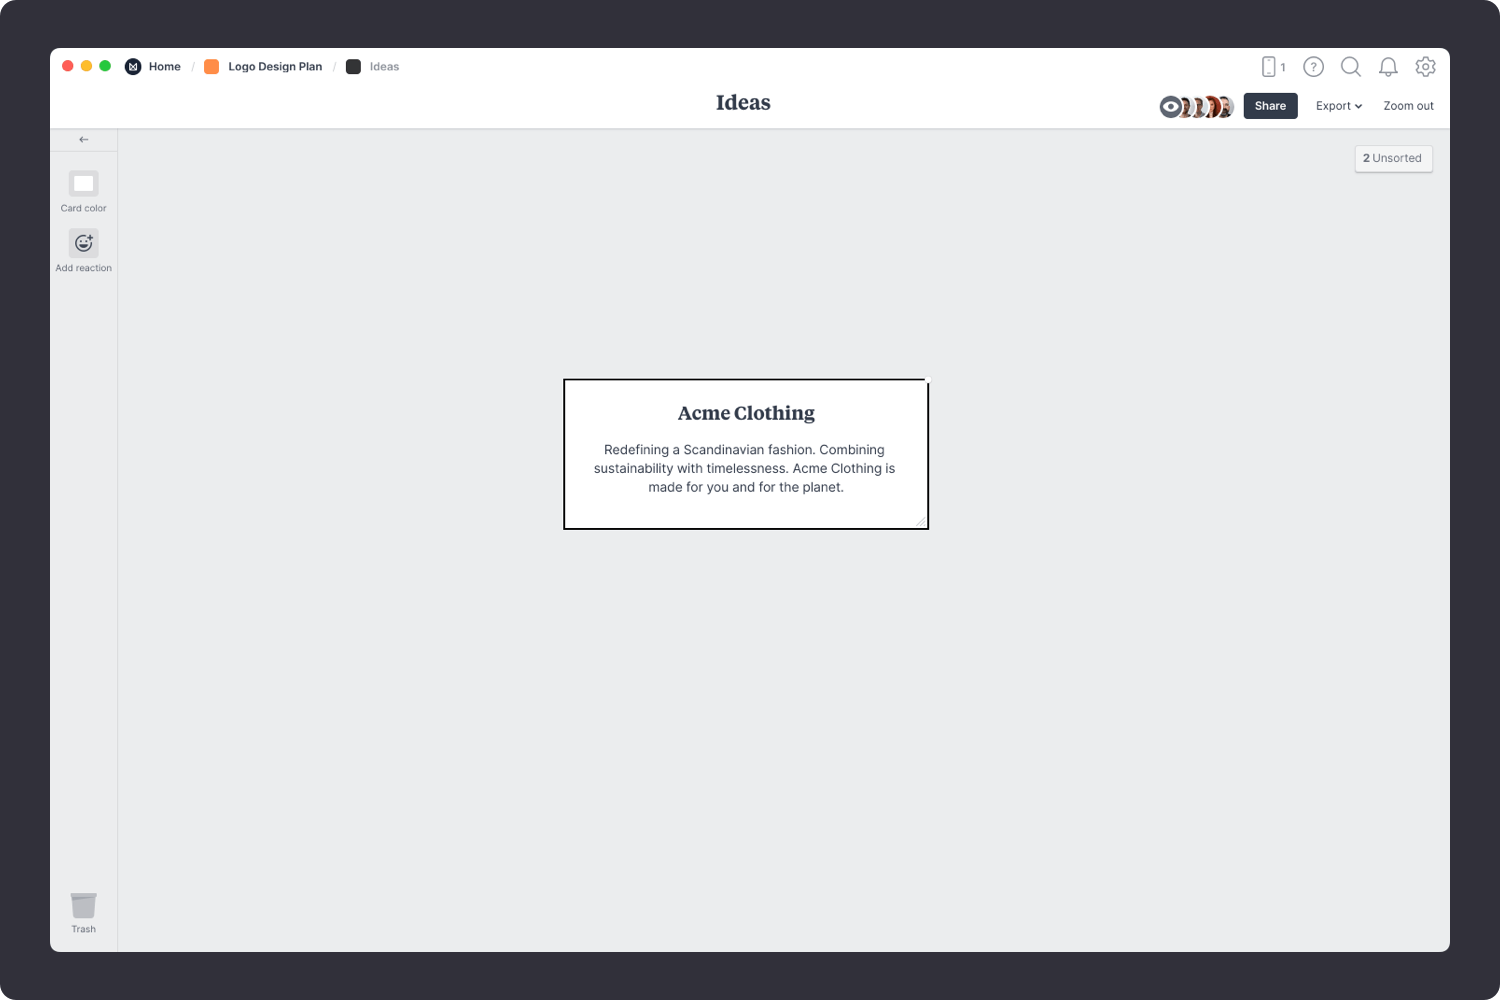
Add a note to describe the project.
Start typing then use the formatting tools in the left hand toolbar.
Now it's time to get creative. Start adding any ideas that relate to the brand. Think about how you'd like to use color, the shapes or symbols the could reflect the company, and the overall style you're trying to achieve.
Don't worry about evaluating your ideas yet, that will come later. Just add as many as you can. Setting a timer for 5 minutes is a great way to create a sense of urgency and prevent people from judging their thoughts.

Add a note for each idea.
Start typing then use the formatting tools in the left hand toolbar.
Designers often sketch 20+ possible ideas for the logo before picking a few directions. This is your opportunity to go wild. Explore different letterforms and symbols that could work. Is there a shape that communicates the product or service your client provides?
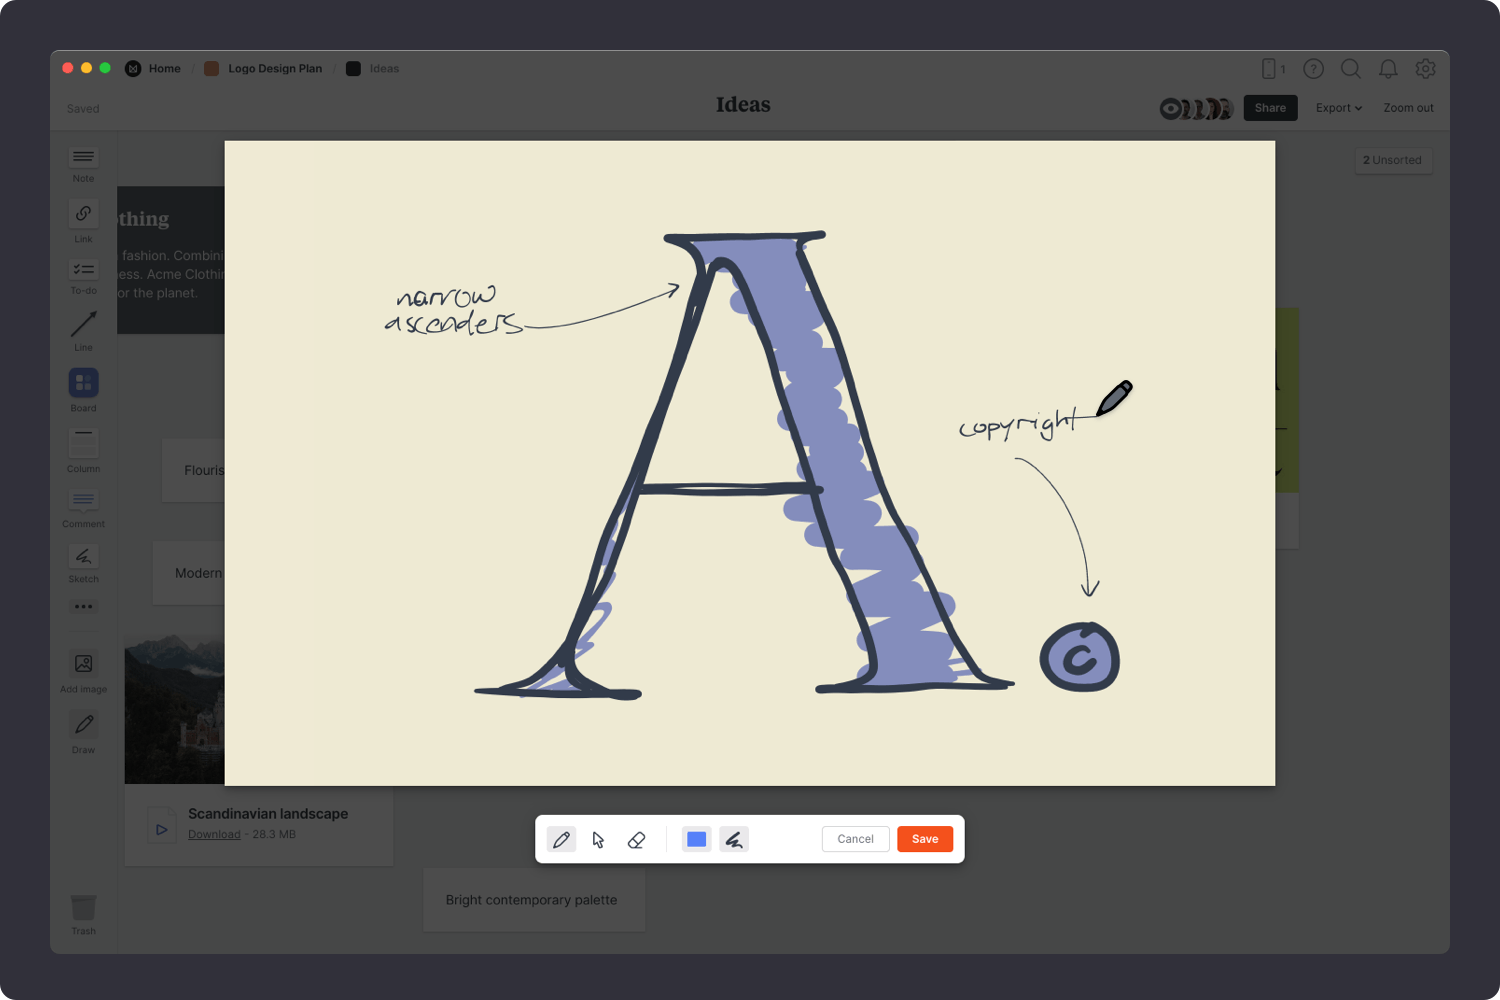
Use the Drawing feature in the left-hand toolbar
You don't have to be a world class illustrator to sketch ideas, just focus on producing as many as you can—the polish will come later.
Once you've selected the strongest ideas, it's time to sort them into groups and connect the dots. This allows you to uncover patterns or similarities in your thinking. Add a title that describes each group of ideas. When you've finished grouping, you're left with the key themes that will guide your project.

Now that your brainstorming session is complete you have some exciting new directions to explore for your logo design. Remember, creativity and inspiration are constantly evolving. Come back and add to the brainstorm when inspiration strikes.
During brainstorming, you imagined the different parts of your project. It's time to start exploring some visual directions with a moodboard. Moodboards can help you visualize any aspect of your project. They can be literal and practical (featuring fonts, color schemes and images that you actually plan to use in the final design) or they can be more about exploring tone and mood. You can create a moodboard for each of these separately or mix them all into one board. There are no strict rules.
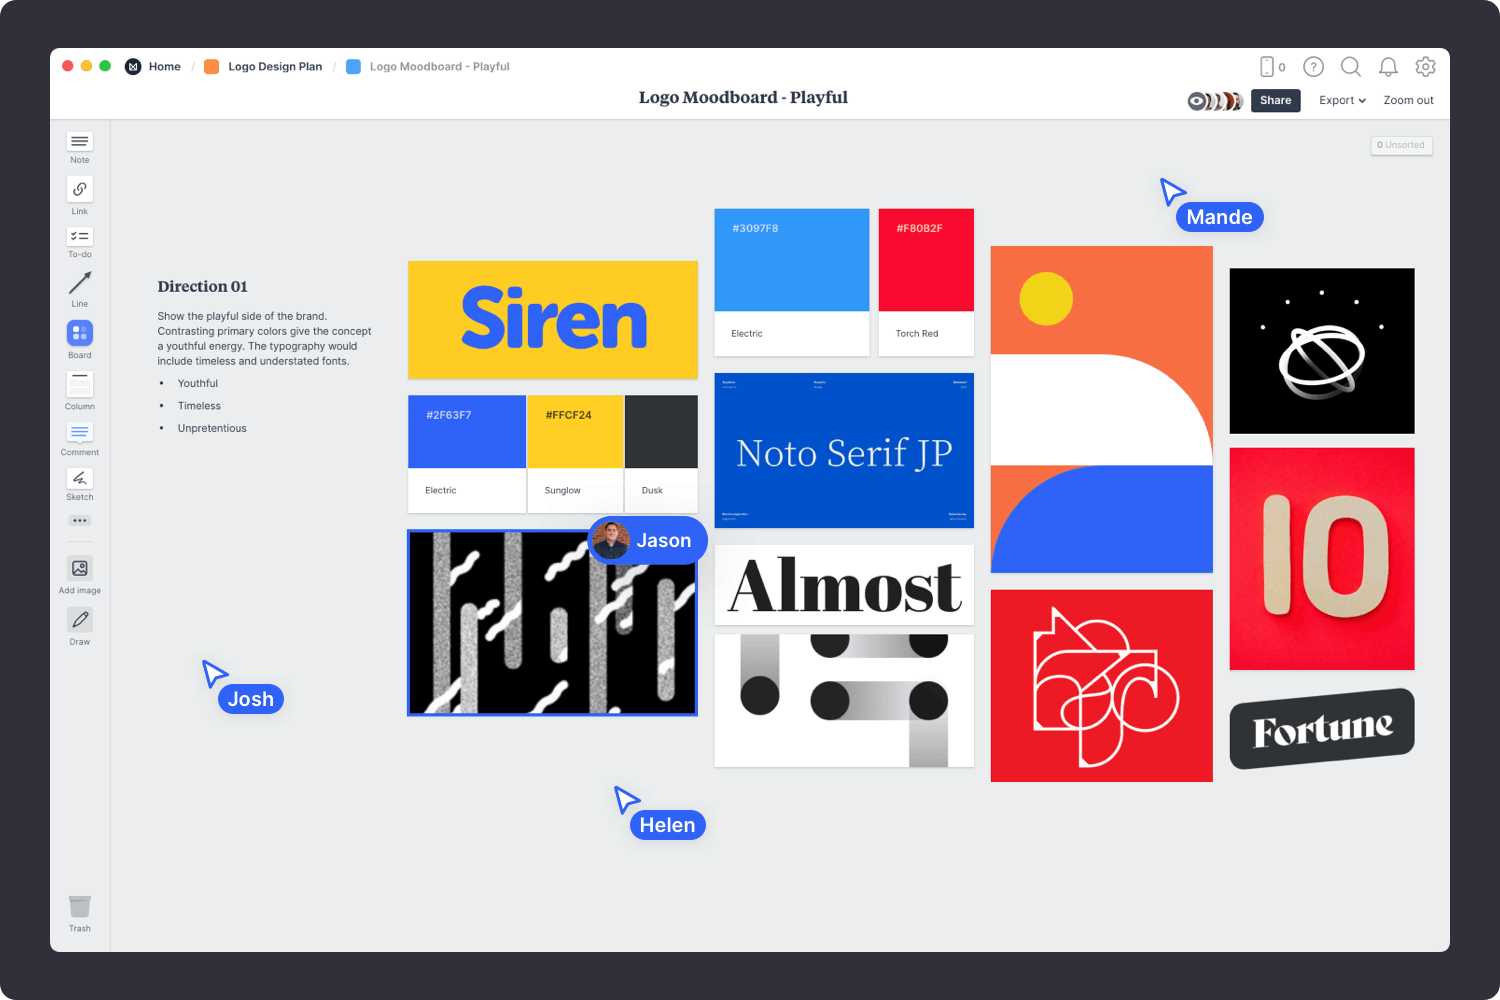
You’ll find the board to make your moodboard on the Logo Design Plan board. Double-click on the Moodboard to open it and start adding your inspiration.
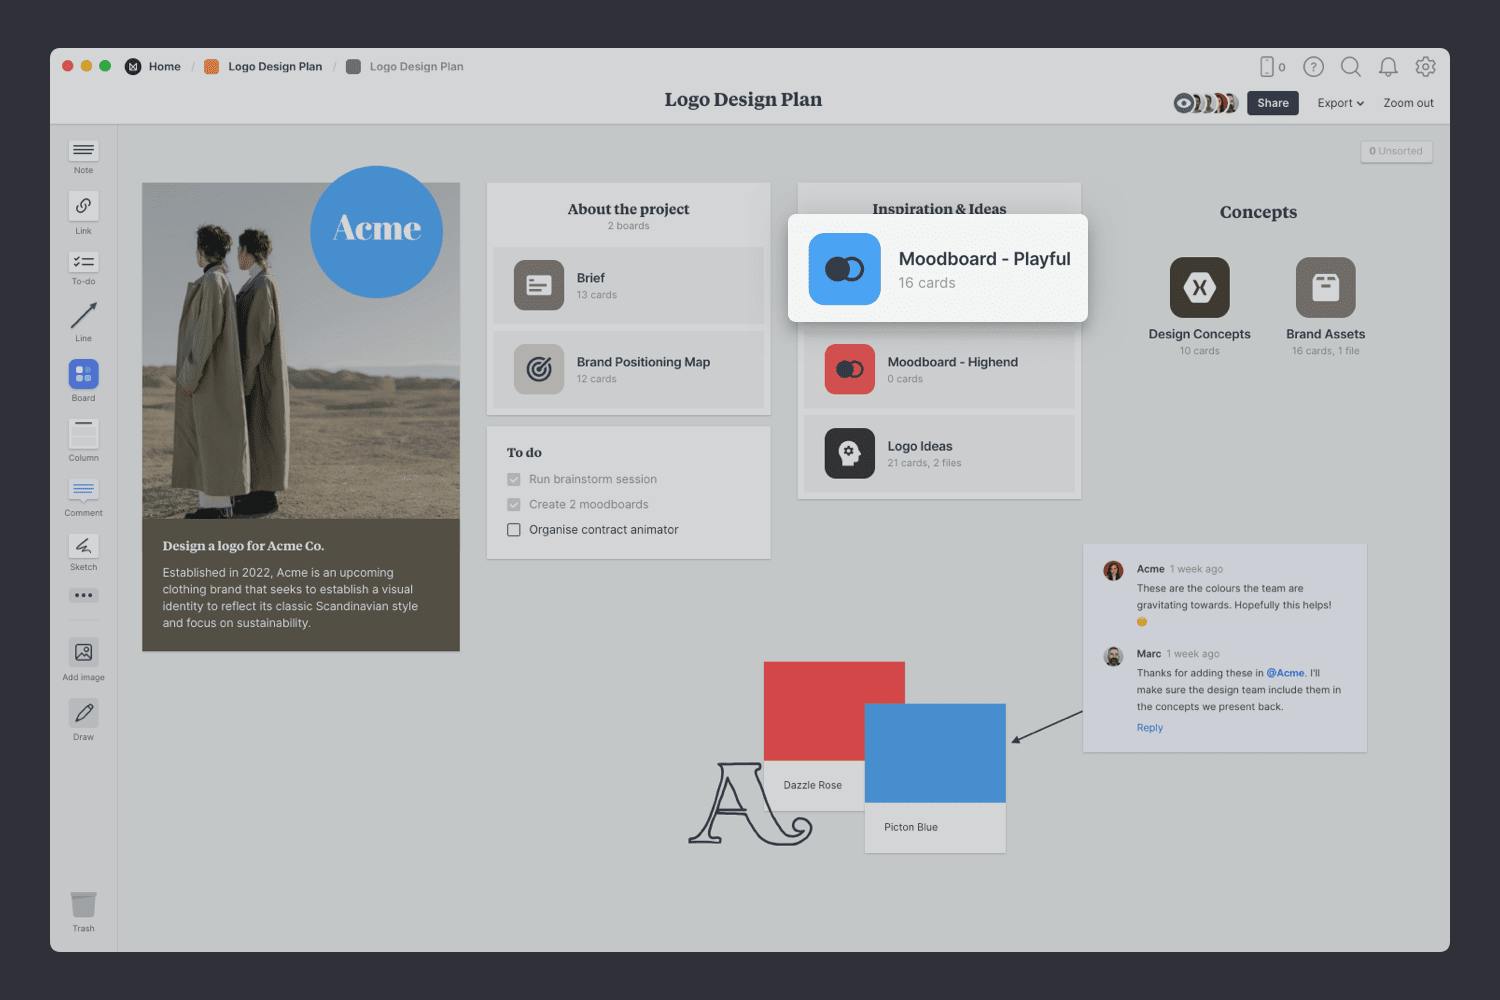
Double-click the Moodboard to open it.
Start by adding any existing material you have—this could include client references, positioning statements or images you've saved as inspiration. Just drag them onto your board. They might not make it into the final moodboard, but they're still a great place to start.
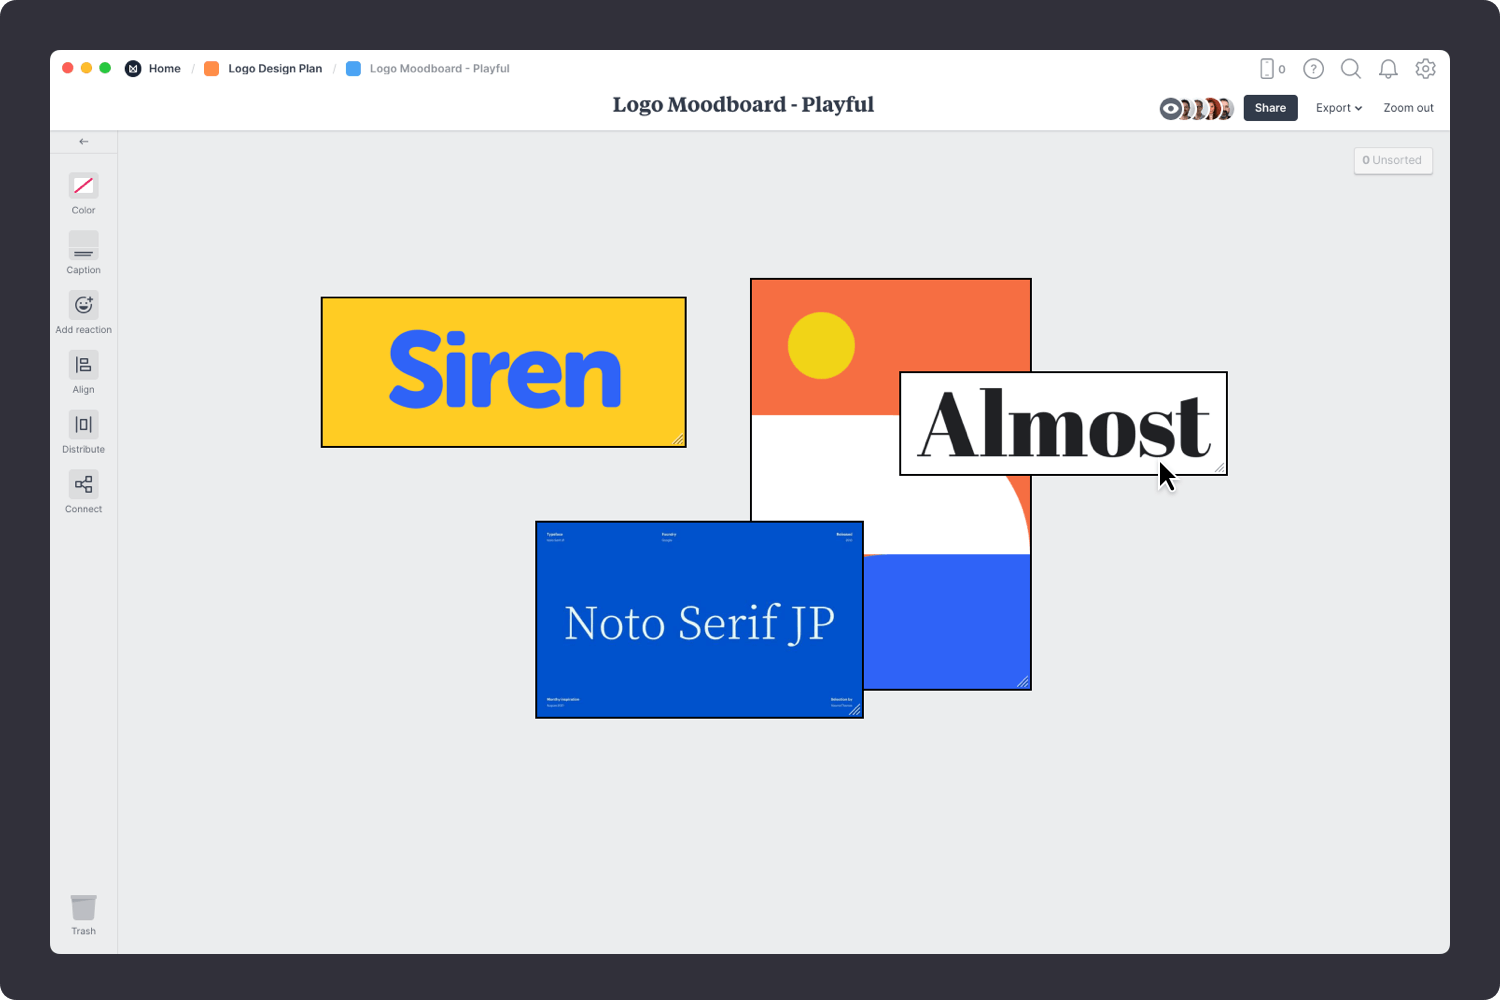
Drag files from your computer.
Click the "Upload" button or just drag a file onto your board. You can add images, logos, documents, videos, audio and much more.
The imagery you choose to include in your moodboard can have big influence on the look and feel of your project, so choose carefully! These images can define things like tone, cropping and color.
If you're the type of person who keeps a collection of images in an inspiration library, now's the time to see if you've already got something that could work. Or you can start by searching for visual elements from around the web. There are lots of fantastic sites where you can find great visual inspiration for free, like Dribbble, Behance and Designspiration.

Use the built-in image library.
Search over 3 million beautiful, free photos then drag images straight onto your board. Powered by Pexels.
Install the Milanote Web Clipper
Save images from other websites straight to your board.
With the Web Clipper installed, roll over an image (or highlight text), click Save, then choose the destination in Milanote. Return to your board and find the content in the "Unsorted" column on the right.
Once you have all your inspiration and color references in one place, the next step is to arrange your ideas to create the perfect composition. Start by exploring composition and introducing hierarchy. Place a key element such as a logo to anchor your board, and change the size and position of the remaining elements to indicate their importance and relationships to one another.
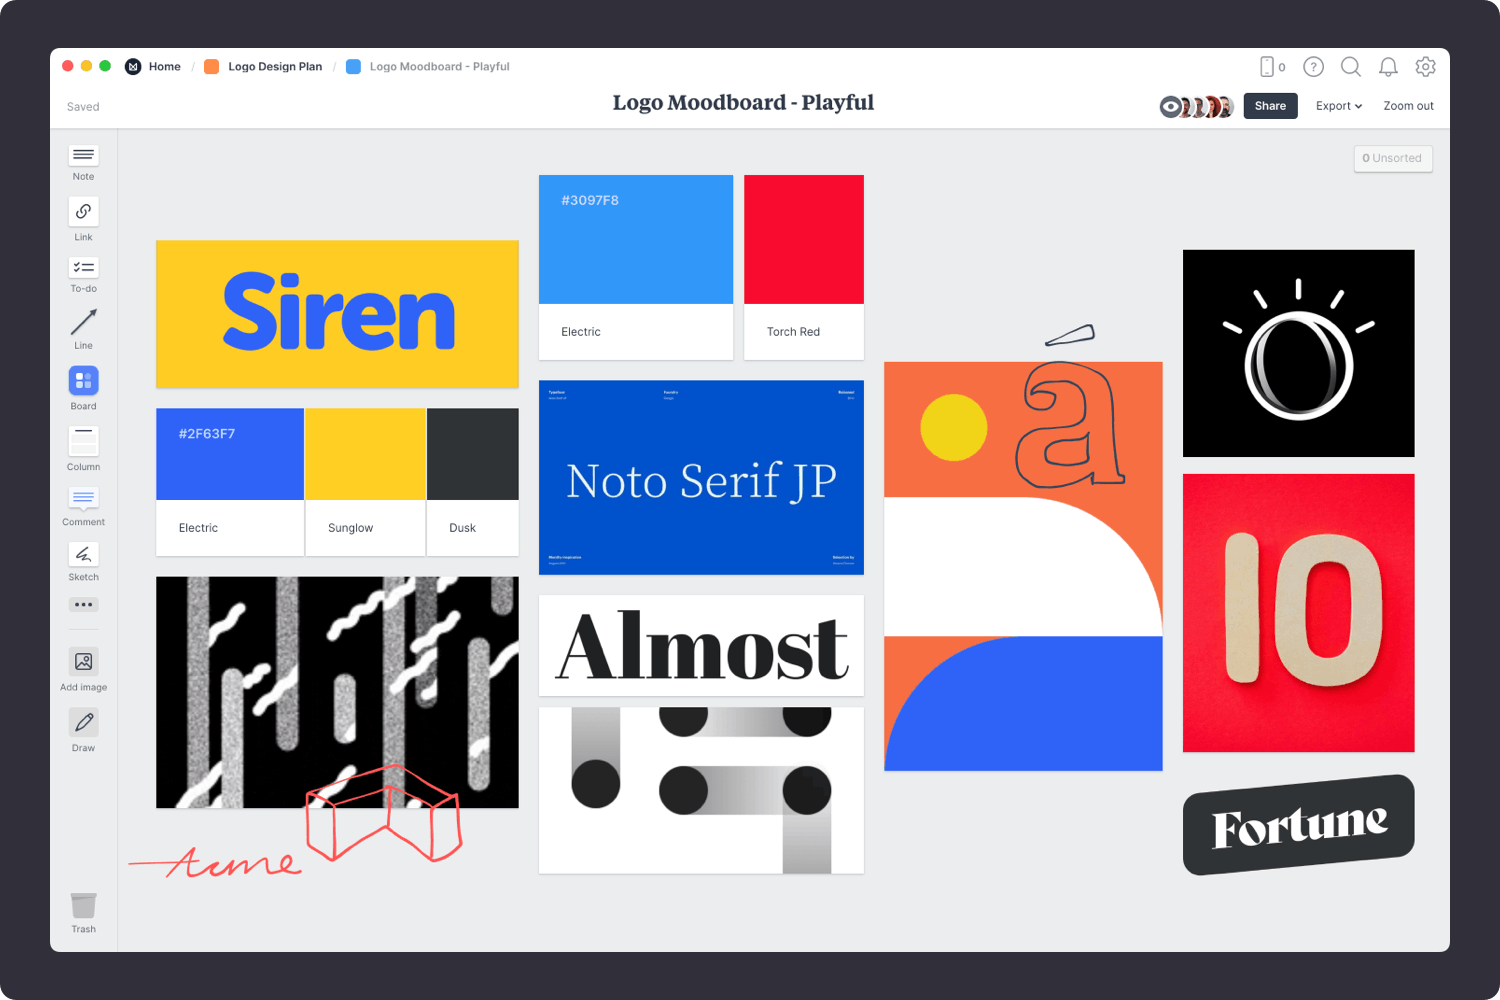
Resize your images to add hierarchy.
Drag the corner of an image to resize it. Double-click the corner to return it to its original size.
Crop images.
Double-click an image and press edit to crop or rotate it.
Now that your moodboard is complete, you have a powerful starting point for your logo design project. Remember, you can create multiple moodboards to explore different visual directions.
Next, we'll jump ahead and prepare a place to present the logo design concepts.
How you present your design work is just as important as the actual artwork itself. It's here that you get to tell the story and strategy behind your work, not just share the final artwork.
Whether you're presenting in person or remotely, it's important to display your concepts in a way that's easy for others to compare and discuss, and most importantly shows your work in the best light.

You’ll find the empty Concepts board on the Logo Design Plan board. Double-click to open it and start adding the organizing your presentation.

Double-click the Concepts board to open it.
Start by uploading the concepts you've designed so you can share them with your team or client. Provide a few examples of the logo in different environments. E.g. If it's a logo for a clothing brand, show how the logo will looks on its own, on store signage and on packaging or wrapping paper.

Drag files from your computer.
Click the "Upload" button or just drag a file onto your board. You can add images, logos, documents, videos, audio and much more.
Next, include some written notes about each concept. This will help explain your ideas and keep everything in context. Refer to the client's goals you set earlier in the Logo Brief and the visual direction from the Moodboard to communicate the path to this point. Try to provide reasons why these concepts will provide the perfect visual brand for the client's company. Explain how they embody the brand personality and why they'll appeal to the target audience.

Add a note to describe each concept.
Start typing then use the formatting tools in the left hand toolbar.
Ensure that everyone involved agrees on the concept direction before you start finalizing the logo artwork. Try to keep the conversation focused on the strategy behind the logo rather than discussing just the visual aspects. Consider how the logo addresses the goals, audience and requirements. Lastly, make sure you stay open to suggestions and improvements and try not to take criticism personally.

Share the concepts with your team.
Open the "Share" menu from the title bar of your board. Add email addresses of the people you'd like to collaborate with—they'll receive an invitation via email.
Start a conversation about the options.
Drag out a comment from the toolbar on the left and place it on your board. Other editors can reply to your comment.
Mark your favourites using reactions.
Select an image or note and choose "Add reaction" from the left toolbar.
Hopefully, this guide has helped you become more organized during your logo design project. If you're just starting a new project, use the Logo Design Plan template below to get set up in minutes.