Photography Contact Sheet Template

Photography Contact Sheet Template, within the Milanote app

Create a grid of images to share with a client

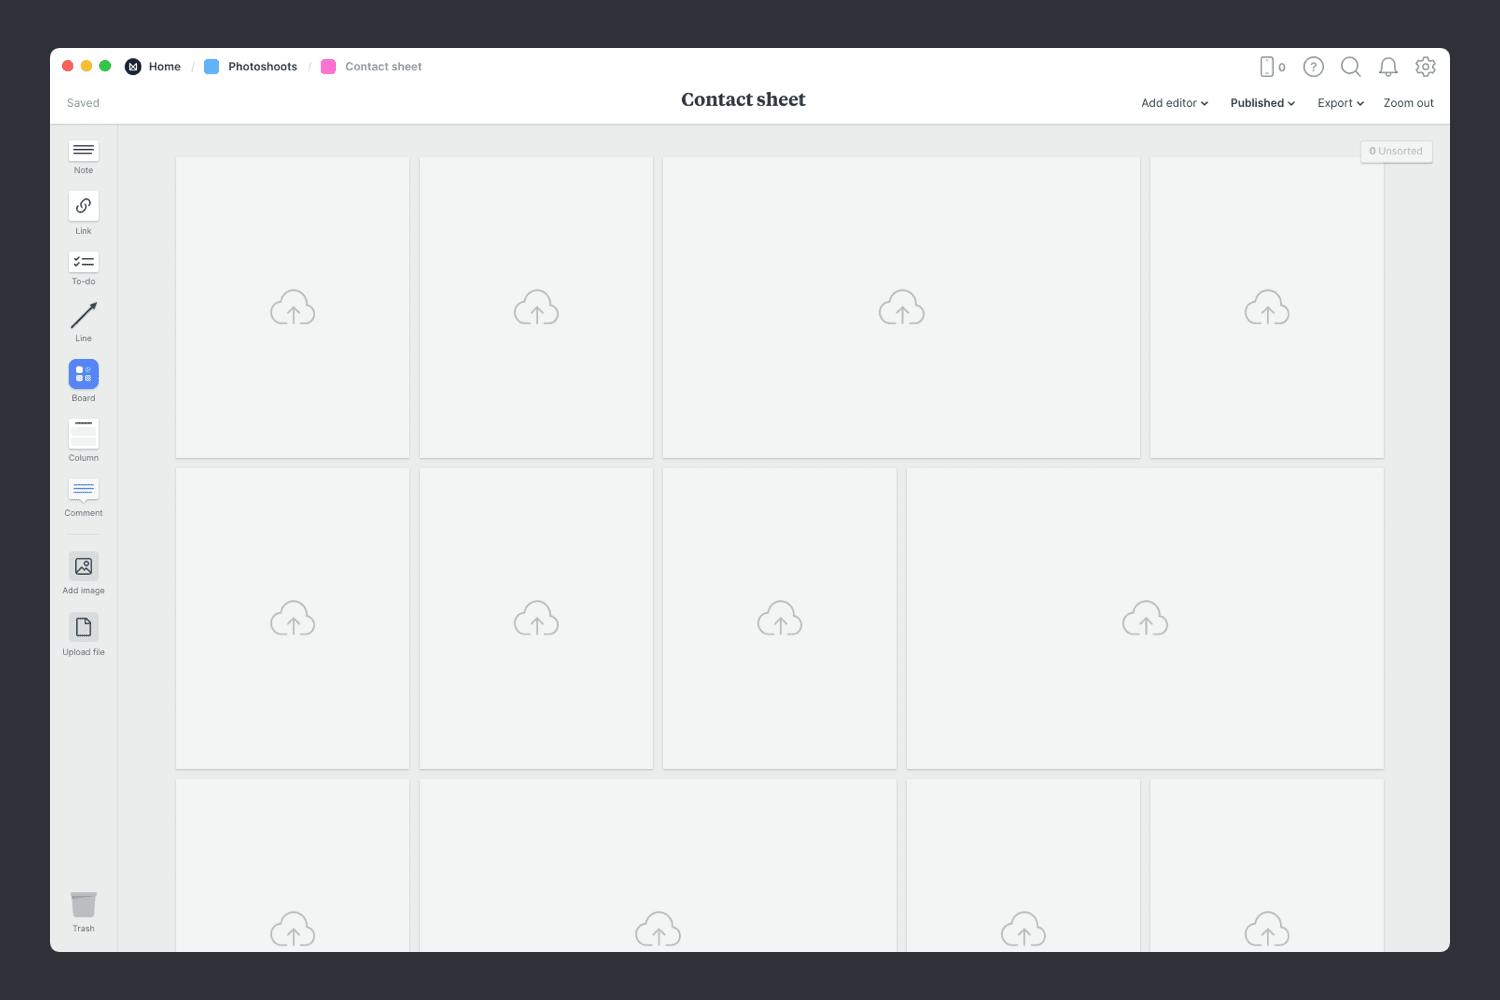
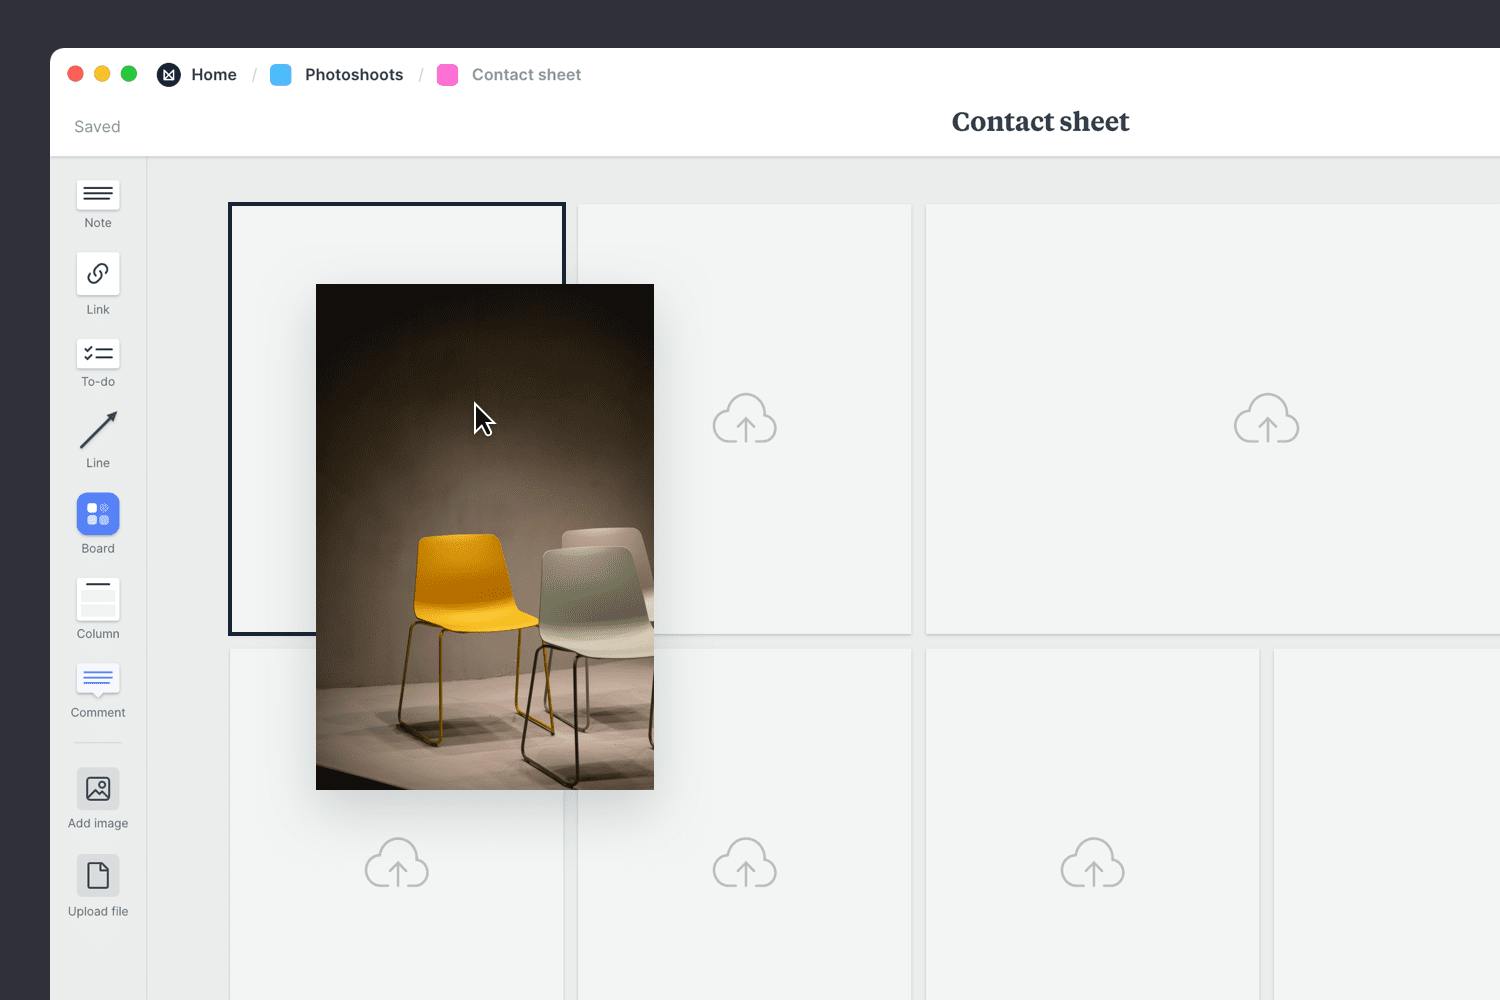
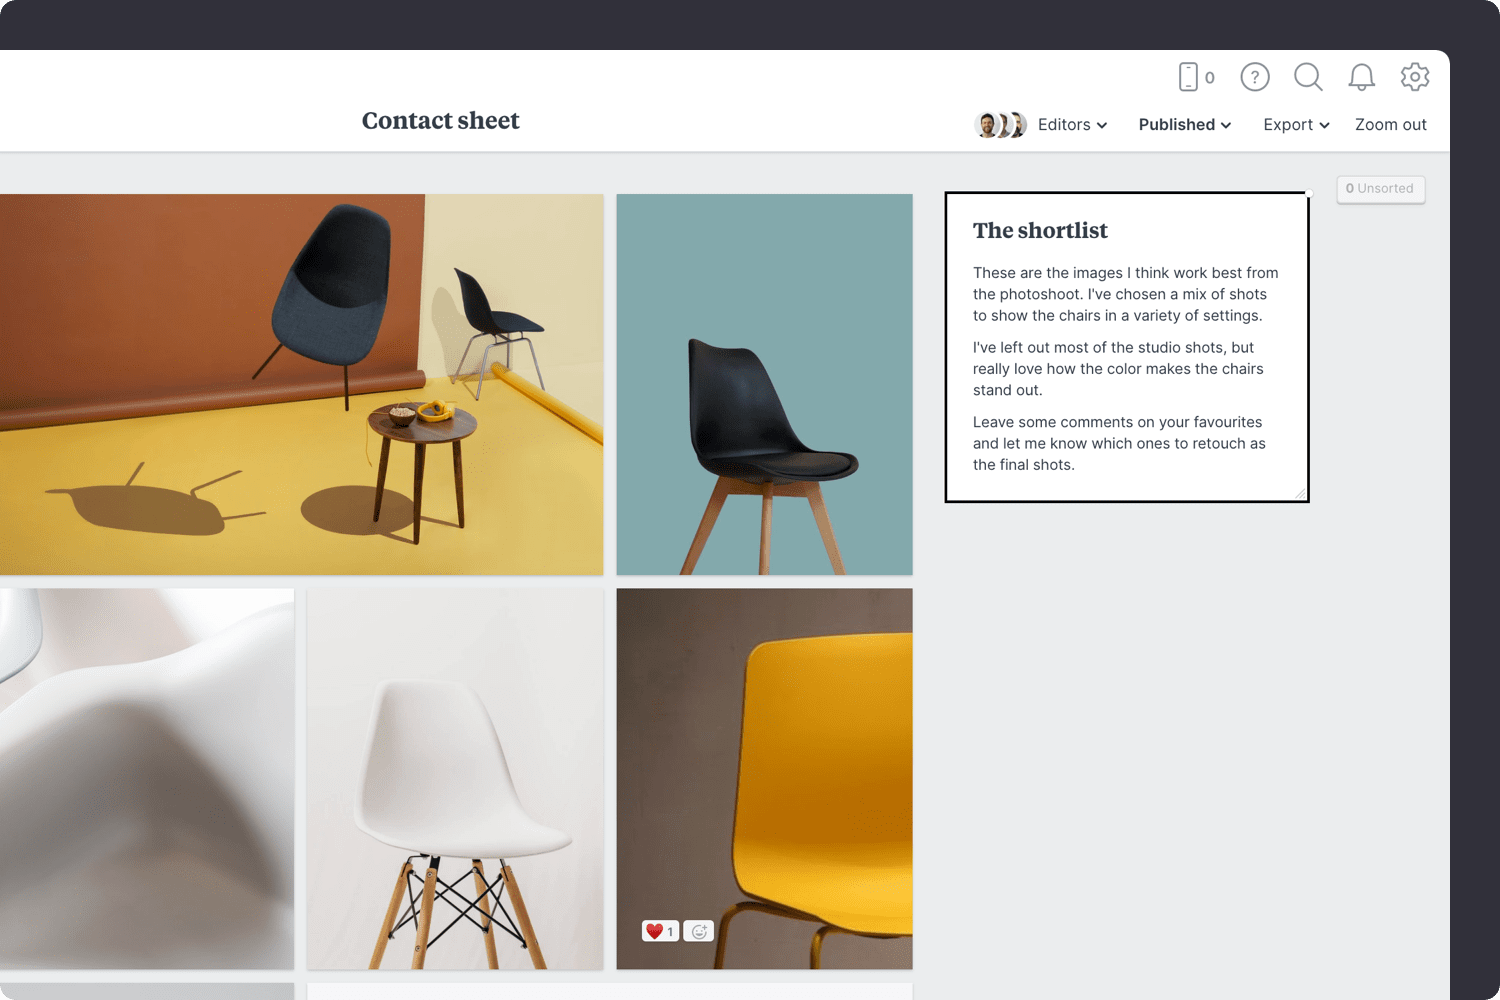
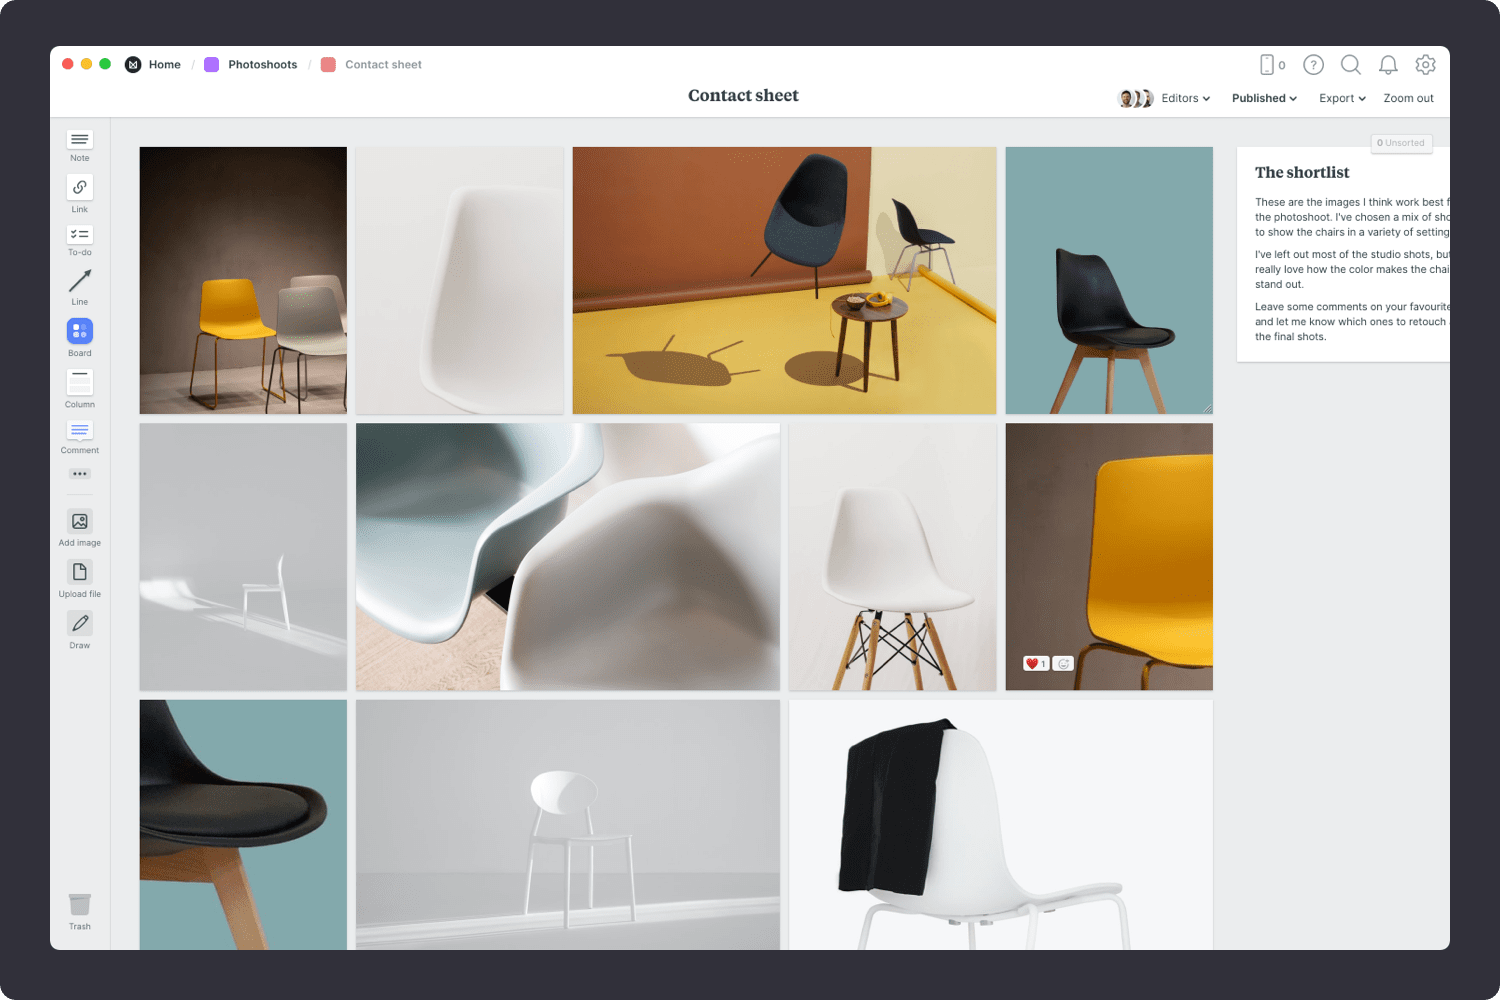
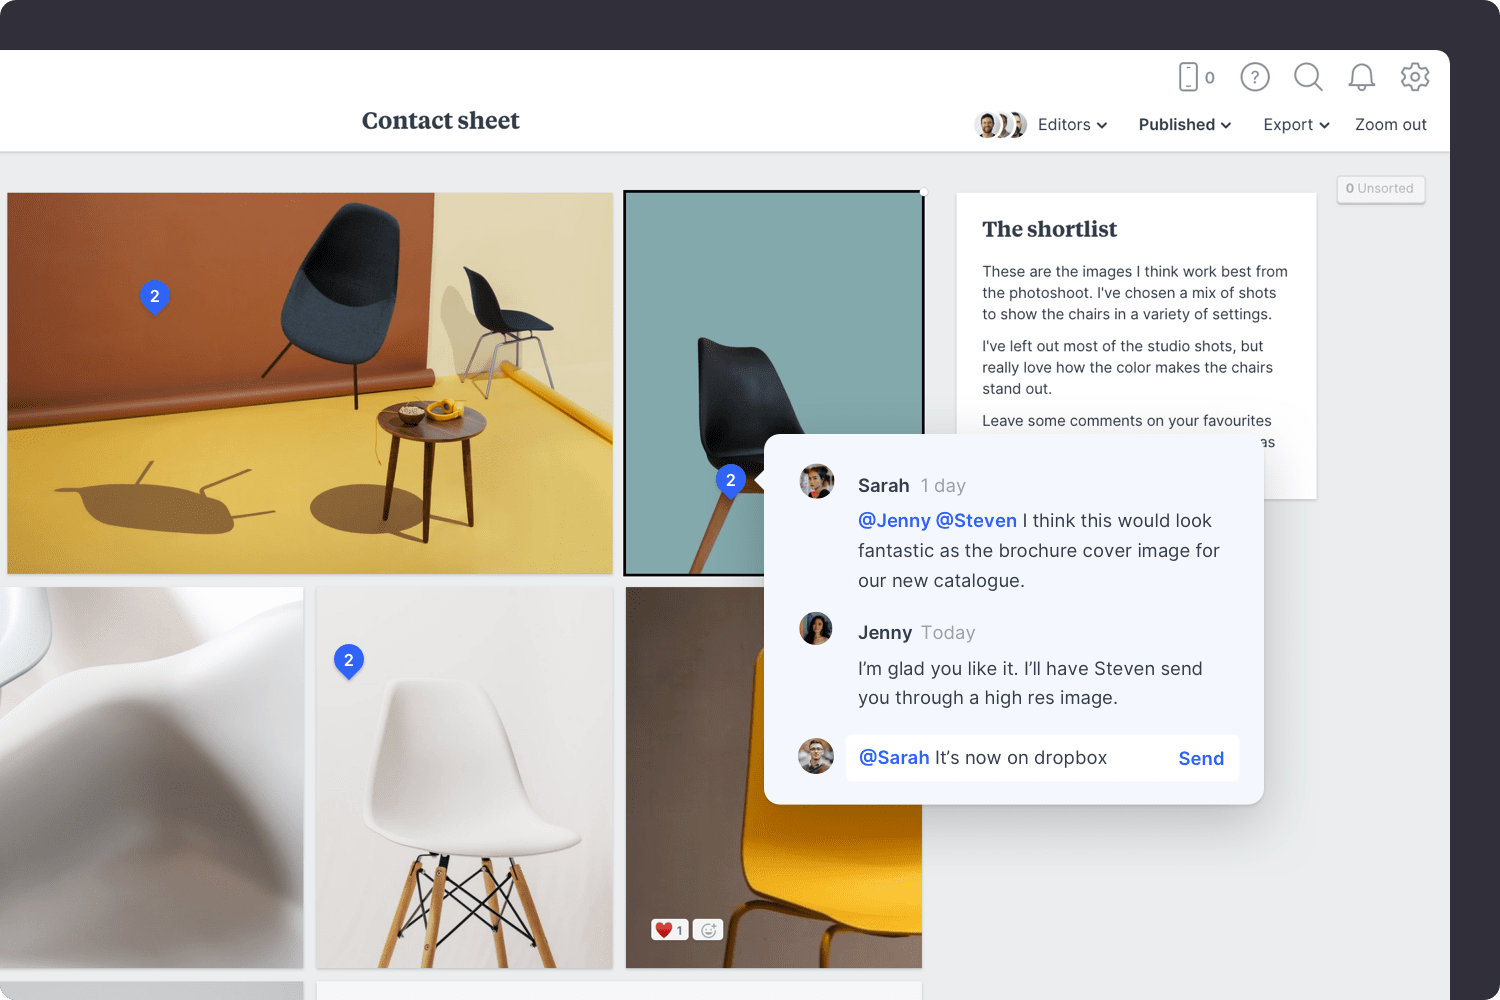
A contact sheet is an online gallery of the best images from your shoot. It's a simple way for you and your client to review the shortlist and select the final images for the project.

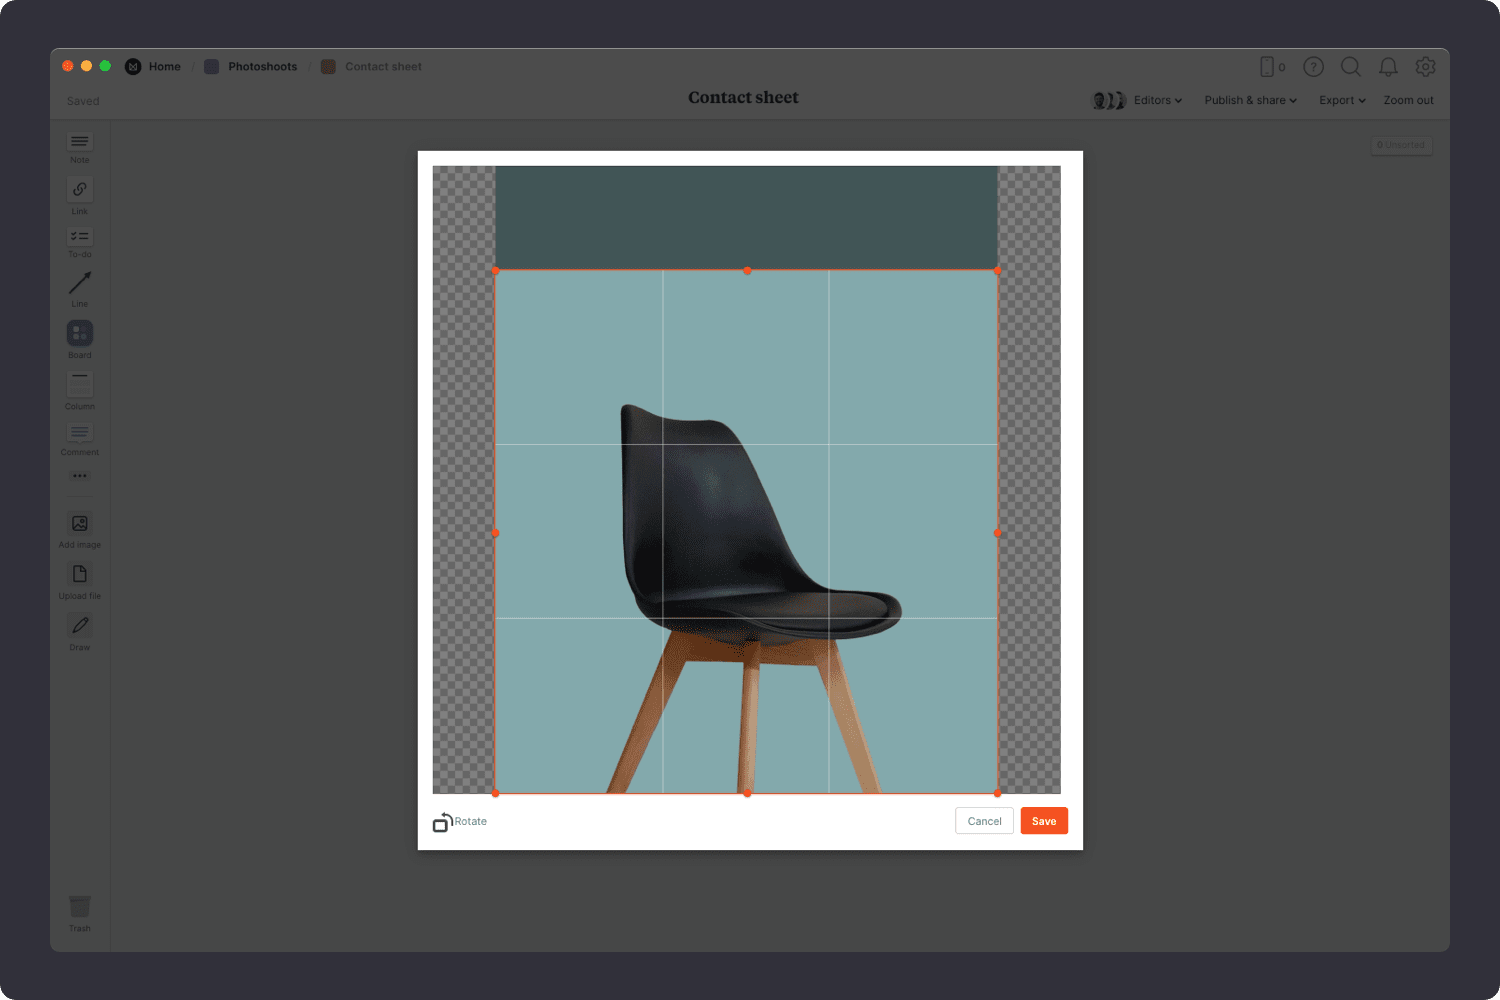
It's a huge time saver for everyone involved. The client doesn't have to sift through every photo taken and the photographer only needs to retouch the ones the client likes.

This template is part of our guide on How to plan a photoshoot.

  • Organize visually
  • Share with your team
  • Comment & gather feedback
  • Export to PDF

How to use this template

Follow this step-by-step guide to learn the modern process of making a photography contact sheet in Milanote, a free tool used by top creatives.

1. Start with an empty template

The Contact Sheet template is filled with a grid of landscape and portrait image placeholders.

photoshoot contact sheet step01
How to do this in Milanote
  1. Create a new board for your contact sheet.

    Create a new board

    Drag a board out from the toolbar. Give it a name, then double click to open it.

  2. Choose the built-in Contact Sheet template.

    Choose a template 

    Each new board gives you the options to start with a beautiful template. Find the Creative Brief template, then choose "Use this template".

2. Upload your best shots

You might have captured 200 images from your photoshoot but your client only needs 5 final images. It's time to reduce your list and upload a group of unedited images you want your client to choose from.

photoshoot contact sheet step02
How to do this in Milanote
  1. Upload images to your board.

    Upload a image or document  

    Click the "Upload file" button or just drag a file onto your board. You can add images, logos, documents, videos, audio and much more.

3. Crop and resize

While you can likely imagine the final composition of an image in your head, your client may not be able to. Spend a few minutes resizing or cropping the images where necessary, cutting out any background noise and getting the framing right so your client can see what the end result will be.

photoshoot contact sheet step03
How to do this in Milanote
  1. Crop images.

    Crop images

    Double-click an image and press edit to crop or rotate it.

4. Explain your thinking

Providing some background on why you selected this shortlist of images will help your client understand your thinking. What is it that you love about these images? Share your thoughts on the lighting, composition or something special you see in them. Refer back to the brief or moodboard you created to tie the images into the initial concept.

photoshoot contact sheet step04
How to do this in Milanote
  1. Add a note to explain your thinking.

    Drag a note card onto your board

    Start typing then use the formatting tools in the left hand toolbar.

5. Share it with your client

Once you've prepared your contact sheet, it's time to share it with your client. This is an exciting moment for them as it's usually the first time they've seen the output from your photoshoot.

photoshoot contact sheet step05
How to do this in Milanote
  1. Invite someone else to view and comment.

    Publish and share your board.

    Click the "Publish and share" link at the top of your board, choose "Allow comments & reactions" then press "Publish via secret link". Copy the link and share it with your client.

6. Collaborate to pick the final images

Encourage your client to highlight their favourites and leave comments to explain their thinking. From here, you'll have a clear list of final images to retouch and prepare for handover.

photoshoot contact sheet step06
How to do this in Milanote
  1. Start a conversation about the images.

    Start a comment thread

    Drag out a comment from the toolbar on the left and place it on your board. Other editors can reply to your comment.

  2. Mention teammates to get their attention.

    Mention teammates to get their attention

    Type '@' in any text field to mention someone who has access to your board. They'll receive a notification and be able to respond to your comment.

Start your Contact Sheet

Create a grid of images to share with your client