Logo Design Project Plan Template

Logo Design Project Plan Template, within the Milanote app

Plan all aspects of your logo in one place

This template is the perfect place to start your next logo design project. It includes beautiful, easy to use boards for all the key parts. From writing an inspiring brief, brainstorming and sketching ideas, collecting inspiration and presenting your design concepts.

Whether you're a designer, creative director or a client, a solid project plan will set you up for success.

  • Includes 6 free templates
  • Organize visually
  • Save reference images & sketches
  • Share with your team
  • Comment & gather feedback

How to use this template

Whether you’re a beginner or a seasoned pro, follow this step-by-step guide to learn the modern process of planning a logo design project in Milanote, a free tool used by top creatives.

1. Open the Logo Design Plan template

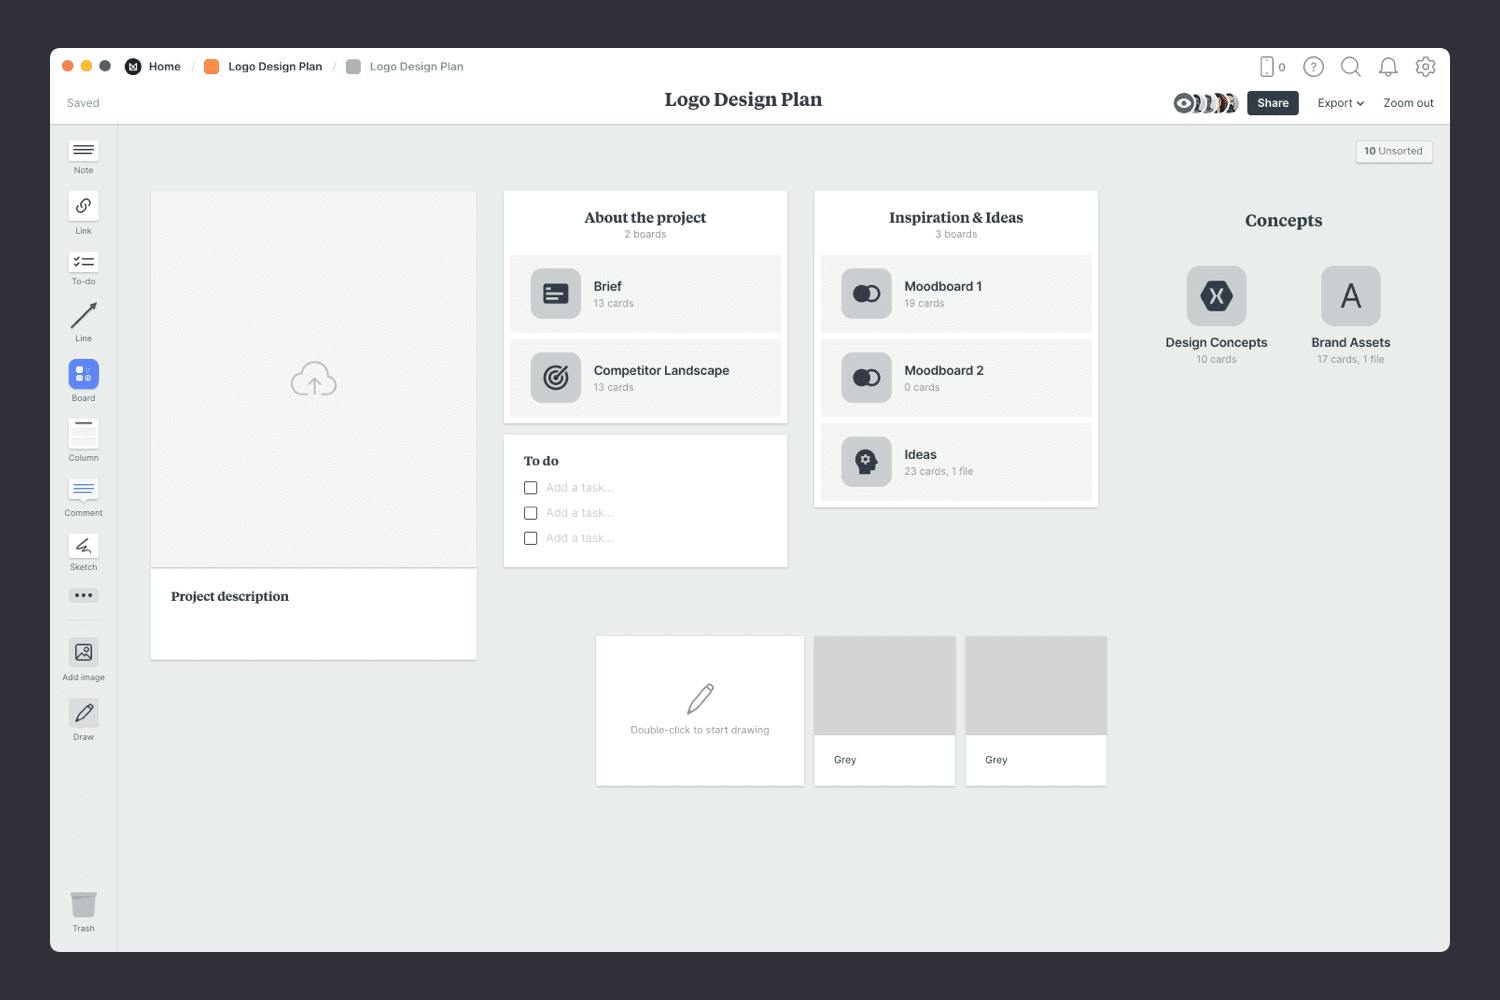
The Logo Design Plan template is the central hub for your project. It includes the key parts of every logo design plan: The brief, your ideas, research, moodboards and concepts. There are also checklists for your workflow so you can stay organized and have everything in one easy-to-access place.

Logo design plan template
How to do this in Milanote
  1. Create a new board for your project.

    Create a new board

    Drag a board out from the toolbar. Give it a name, then double click to open it.

  2. Choose the Logo Design Plan template.

    Choose a template

    Each new board gives you the option to start with a beautiful template.

2. Open the Brief template

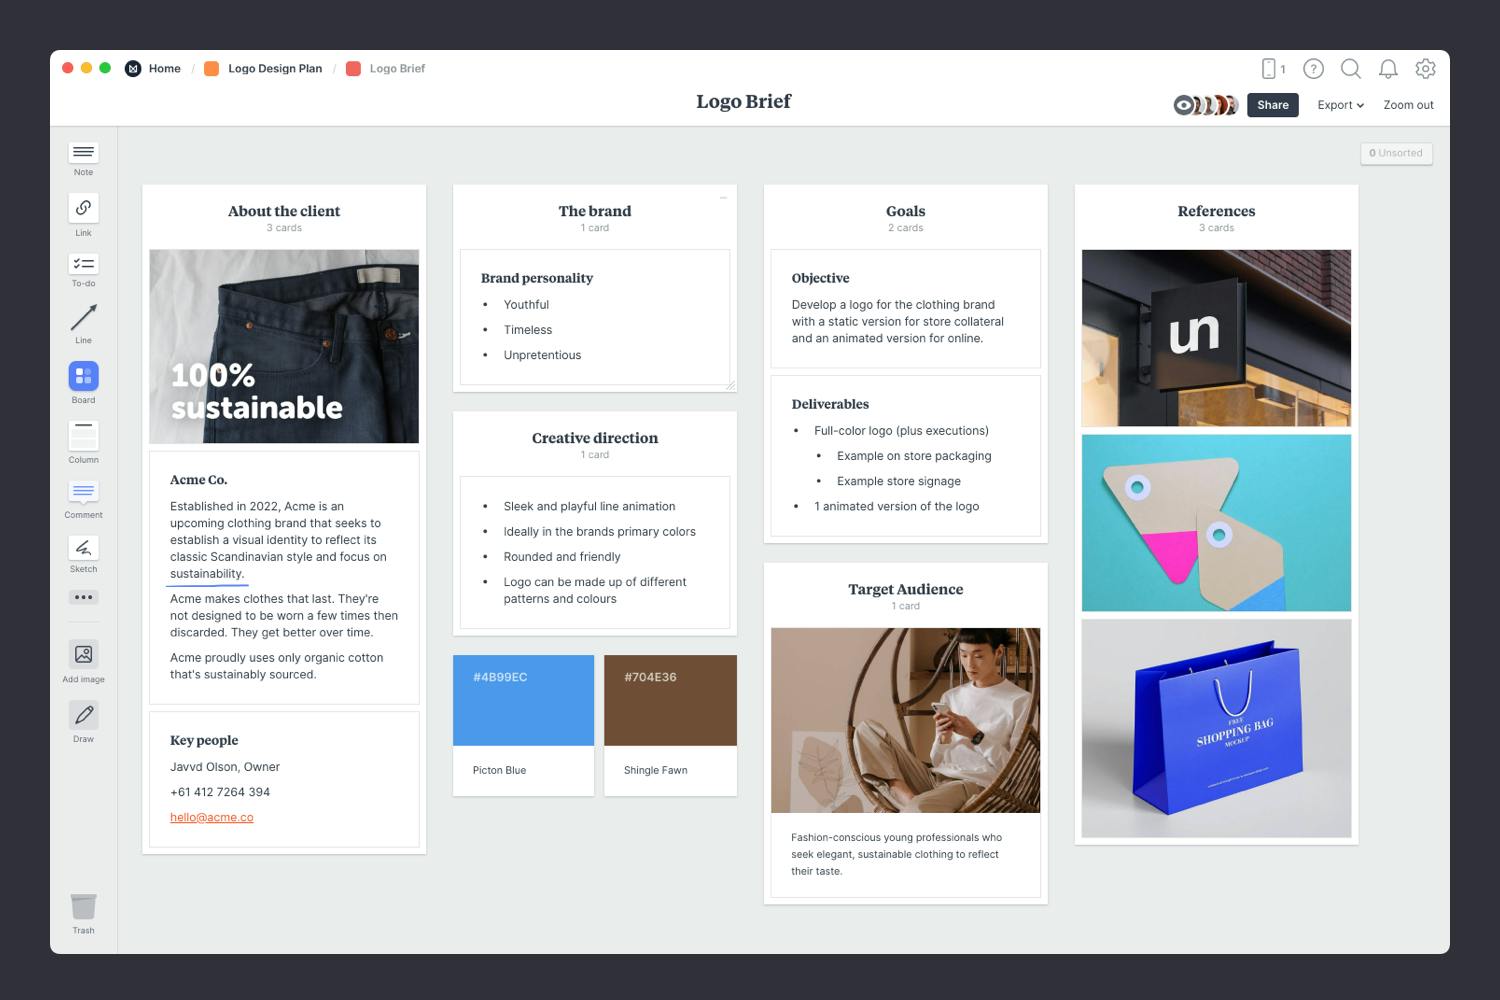
It’s crucial to set a strong foundation from the start. A clear, inspiring, and informative brief provides the structure and direction for designers to do their best work. Logo Design briefs typically include information about the brand/client, goals, specific deliverables, visual references, target audience, and important dates.

logo brief guide step 6
How to do this in Milanote
  1. Open the Brief in your Logo Design Plan.

  2. Choose the Logo Design Brief template.

    Choose a template

    Each new board gives you the option to start with a beautiful template.

3. Set goals & deliverables

Fill in the placeholder cards in the Brief template. Start by adding some background on your client and the project. Then, list the goals, deliverables and important dates. Finally, describe the target audience—the people you hope to appeal to with your logo design.

logo brief template step 4
How to do this in Milanote
  1. Add a note to describe the project and goals.

    Drag a note card onto your board

    Start typing then use the formatting tools in the left hand toolbar.

  2. Create a new to-do list for the deliverables.

    Drag a to-do list onto your board

    Start typing then press "Enter" to create a new item. Add a title to your to-do list using the left hand toolbar.

4. Share the brief with your team

Once you’ve made any final tweaks, it’s time to share the completed brief with the your team and client so everyone's is on the same page form the beginning.

logo brief guide step 8
How to do this in Milanote
  1. Share the brief with your team and client.

    Share a read-only link with others.

    Click Share in the top right of your board. You can add a Welcome message for viewers, allow comments, set a password or embed the board in another app or website.

5. Open the Brainstorming template

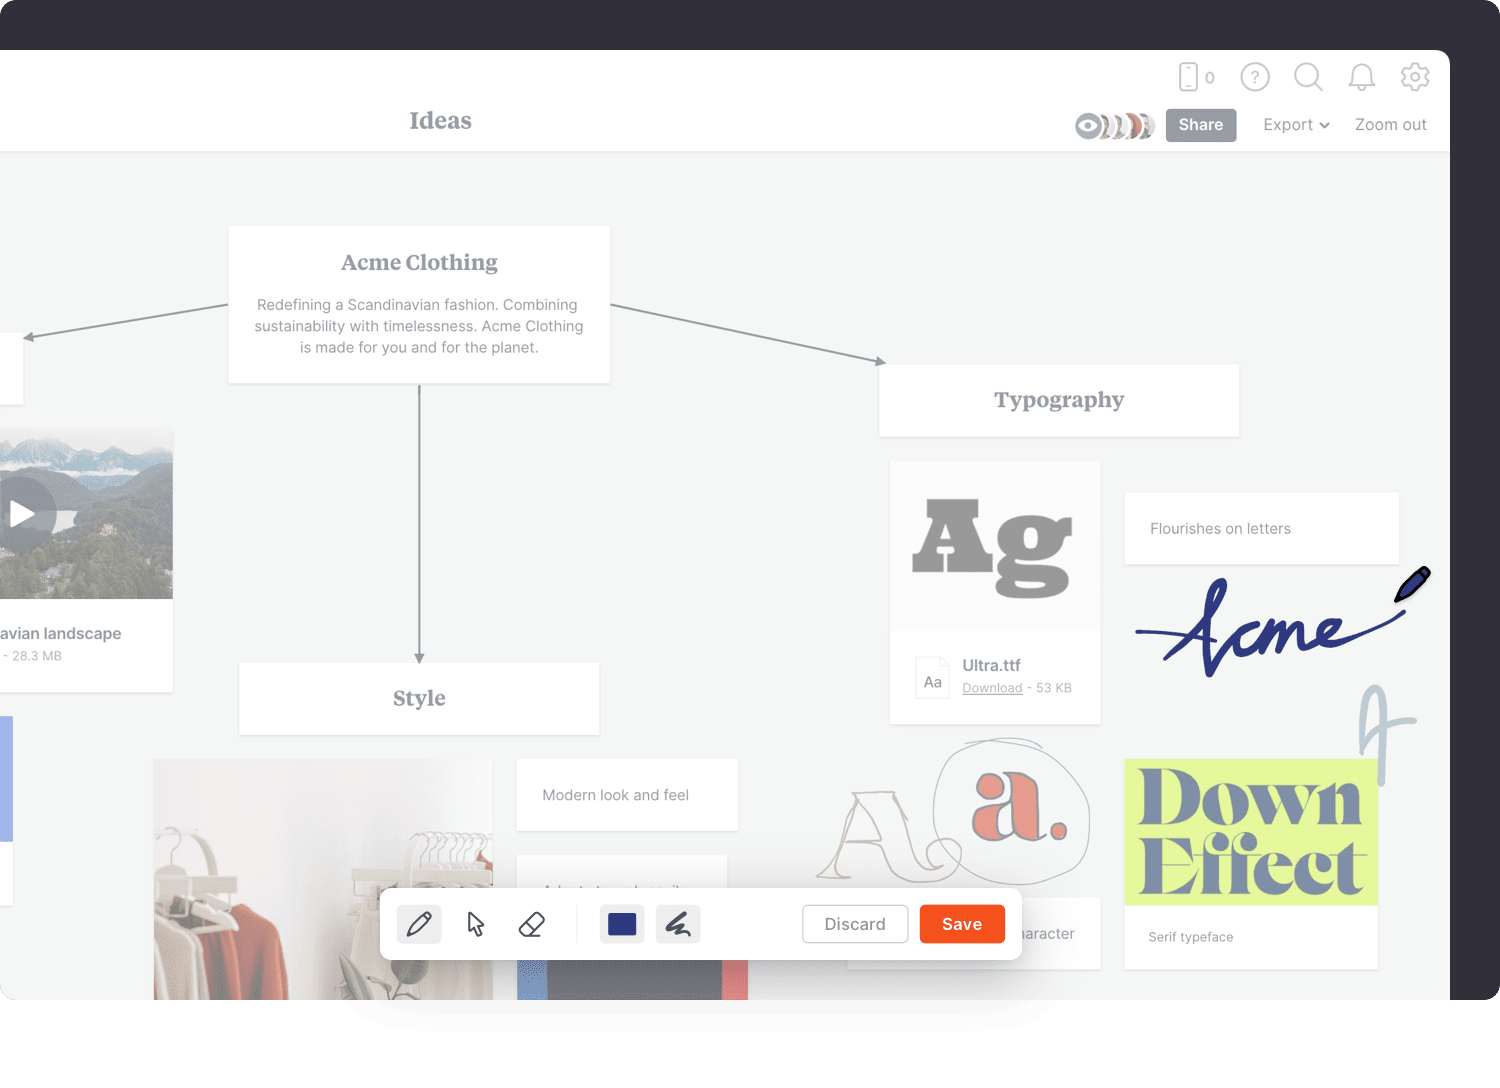
When a new logo design project kicks off, you'll be bursting with ideas. Now is the perfect time to go wild and explore as many different options as you can. And brainstorming is the perfect way to do it!

Brainstorming is a classic creative technique for generating new ideas quickly. You can use it to help dream up new styles, explore color combinations, or as a sketchbook for logo ideas. It’s best thought of as a way to light up our imagination.

Logo Design Brainstorming Template Step 07
How to do this in Milanote
  1. Open the Ideas board in your Logo Design Plan.

  2. Choose the Logo Brainstorming template.

    Choose a template

    Each new board gives you the option to start with a beautiful template.

6. Generate lots of ideas

Start by writing a short note that describes the project so everyone can reference it as they're generating ideas. Next, spend 5 minutes adding as many ideas as you can. Your ideas can take any form—notes, sketches, images, even video!

Think about how you'd like to use color, the shapes or symbols the could reflect the company, and the overall style you're trying to achieve. Finish by sorting the best ideas into groups. This gives you a strong foundation for your logo design.

Logo Design Brainstorming Template Step 06
How to do this in Milanote
  1. Add a note for each idea.

    Drag a note card onto your board

    Start typing then use the formatting tools in the left hand toolbar.

  2. Upload images from your computer.

    Upload a file or document

    Click the "Upload" button or just drag a file onto your board. You can add images, logos, documents, videos, audio and much more.

7. Open the Moodboard template

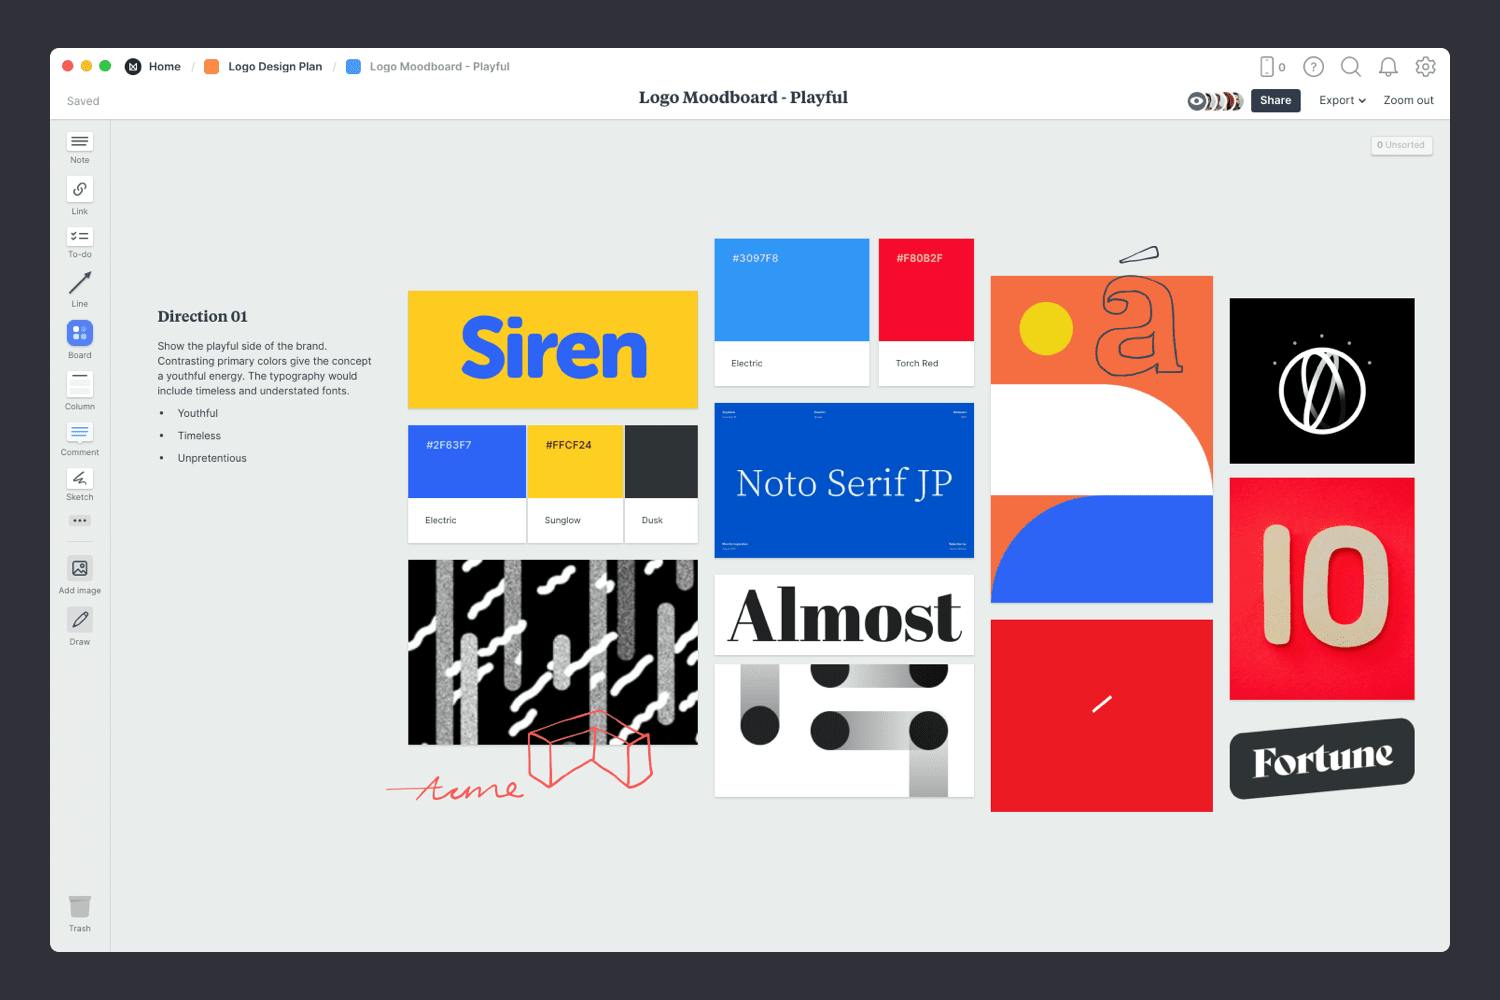
During brainstorming, you imagined the different parts of your project. It's time to start exploring some visual directions with a moodboard. Moodboards can help you visualize any aspect of your project. They can be literal and practical (featuring fonts, color schemes and images that you actually plan to use in the final design) or they can be more about exploring tone and mood. You can create a moodboard for each of these separately or mix them all into one board. There are no strict rules.

Logo design moodboard template step06
How to do this in Milanote
  1. Open the Moodboard in your Logo Design Plan.

  2. Choose the Logo Design Moodboard template.

    Choose a template

    Each new board gives you the option to start with a beautiful template.

8. Add inspiring images & references

Drag in images from your computer and drop them onto the image placeholders on your moodboard. Then, use the built-in image library to add inspirational references. Finally, move and crop your images to communicate the style you're trying to achieve.

Logo design moodboard template step02
How to do this in Milanote
  1. Drag files from your computer.

    Upload a file or document

    Click the "Upload" button or just drag a file onto your board. You can add images, logos, documents, videos, audio and much more.

  2. Use the built-in image library.

    Use the built-in image library

    Search over 3 million beautiful, free photos then drag images straight onto your board. Powered by Pexels.

  3. Crop images.

    Crop images

    Double-click an image and press edit to crop or rotate it.

9. Open the Presentation template

When you've designed 2 or 3 concepts, it's time to present them to your team and client. How you present your design work is just as important as the actual artwork itself. It's here that you get to tell the story and strategy behind your work, not just share the final artwork.

Whether you're presenting in person or remotely, it's important to display your concepts in a way that's easy for others to compare and discuss, and most importantly shows your work in the best light.

logo presentation step 1
How to do this in Milanote
  1. Open the Design concepts board in your Logo Design Plan.

  2. Choose the Logo Design Presentation template.

    Choose a template

    Each new board gives you the option to start with a beautiful template.

10. Organize your concepts

Start by uploading the concepts you've designed so you can share them with your team or client. Provide a few examples of the logo in different environments. Next, include some written notes about each concept. This will help explain your ideas and keep everything in context.

Ensure that everyone involved agrees on the concept direction before you start finalizing the logo artwork. Try to keep the conversation focused on the strategy behind the logo rather than discussing just the visual aspects.

logo presentation template step 2
How to do this in Milanote
  1. Upload files from your computer.

    Upload a file or document

    Click the "Upload" button or just drag a file onto your board. You can add images, logos, documents, videos, audio and much more.

  2. Add a note to describe each scene.

    Drag a note card onto your board

    Start typing then use the formatting tools in the left hand toolbar.

You're all done!

Hopefully, these templates have helped you become more organized during a logo design project. If you're just starting a new project, use the Logo Design Plan template below to get set up in minutes.

Start your Logo Design Project Plan

Plan all aspects of your logo design project in one place.