
Create a Sitemap
Map out the structure and content for your website in one place.
Create a SitemapSign up for free with no time limit
Sitemaps are the perfect way to plan the content and structure of your website. Designers, copywriters and marketers use them to map out website categories before jumping into the design phase. They become an invaluable reference for the whole team.
Traditionally, a sitemap is just a static document, but they can be so much more. Building a sitemap in Milanote allows you to create the perfect combination of content and structure, setting out both the hierarchy of pages and also what will live on those pages.
In this guide, you'll learn the modern approach to creating a rich, visual sitemap to inform a website design project.
What type of content do you need to include on your website? Get together with your team or client and start adding content ideas. This is the time to get creative—add as many ideas as you can. Consider what's most important to your users as well. Are there insights from recent customer research or surveys you've run?
You may not be sure how many pages you need at this stage. This is fine! It's important to remain open minded, we'll refine it and add some structure in the next few steps.

Create a new board for your Sitemap.
Drag a board out from the toolbar. Give it a name, then double click to open it.
Drag out a board for each category on your website.
Drag a board out from the toolbar. Give it a name, then double click to open it.
Once you've added your content ideas, it's time to start organizing them into groups. The easiest way to do this is to visually group similar content together. Just drag and drop content into clusters. Themes will start to emerge naturally. You can also use color to help unify each group of content.

Drag boards into clusters.
Select a board, then choose the color option in the left toolbar.
There are a few different ways you can structure your website content, but the most common is the tree structure, which we'll use in this example. Start by moving your homepage to the top of your board. All your content categories will fall below home. Next, move your content categories under home and start to tidy things up.
Lastly, use arrows to show the relationship between content. This is a great way to visually explain the hierarchy of your website content. Now you have the perfect birds-eye view of how your website fits together.

Drag lines from one board to another to show relationships.
Most traditional sitemaps finish here and remain as just a diagram. But we're going to start adding content into each category of our sitemap and create a much richer plan for our website. Open a board for one of your categories so you can start mapping out the content.

Double-click a board to open it.
Begin by adding ideas for the written content that might appear on this page. It doesn't have to be the final copy but it will give everyone a feel for what you're aiming to communicate. Think about the key messages you want to communicate, page titles and even SEO keywords you need to include. Don't worry about the structure of it yet—just get it out of your head!

Add a note to capture your content ideas.
Start typing then use the formatting tools in the left hand toolbar.
Next, think about the images that would suit this page. Again, these don't have to be the final images, but they'll help bring it to life. You can use images from the web or open Milanote's built-in image library to quickly find inspiring examples.

Use the built-in image library to find example imagery.
Search over 3 million beautiful, free photos then drag images straight onto your board. Powered by Pexels.
If you have a picture in your head of head of how the page could be structured, grab a pen and sketch it out. Even if it's just some boxes and arrows, it's a great way to figure out which messages are more important than others. A simple sketch is also a useful reference for the developers who will need to build the website.
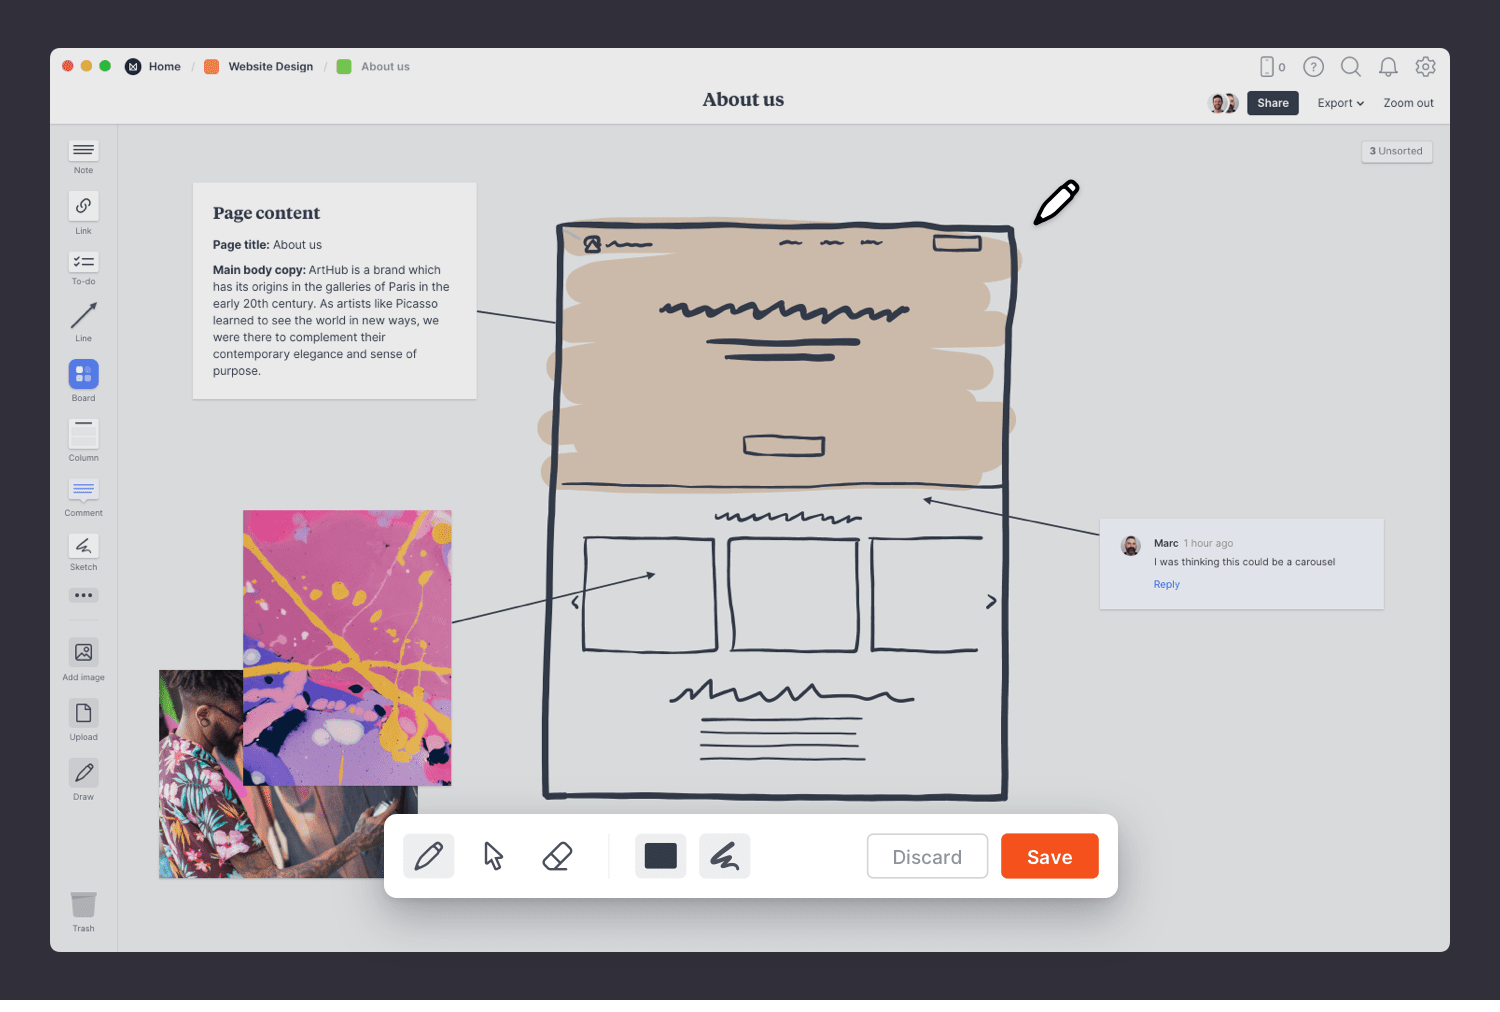
Select the Pen tool to sketch your page layout.
Now that your Sitemap is finished, invite your content and development teams to begin adding their ideas and feedback to the boards. Too often, designers and copywriters work separately and see a mismatch in their ideas later in the process. Collaborating early in the project keeps everyone on the same page from day 1.

Invite others to edit your sitemap.
Open the "Share" menu from the title bar of your board. Add email addresses of the people you'd like to collaborate with—they'll receive an invitation via email.
You now have a great plan for the content and structure of your website. But remember, a website is never finished. You can continue to evolve your sitemap over time by experimenting with new ideas in these boards. If you're starting a new website design project right now, use the free template below or read our full guide on How to plan a website design project.
