Start your moodboard
Get started for free with one of Milanote's beautiful moodboard templates.
Start your moodboardSign up for free with no time limit
A moodboard is a collection of visual materials that evoke a certain style or concept. Designers and illustrators create moodboards to communicate the visual direction of a logo before they jump into the design phase. They're easy to make and ensure that everyone's on the same page from the beginning.
But moodboards have come a long way since the days of attaching printouts to physical boards or creating static PDFs. Digital moodboards have the ability to include video, bring together a remote team, and evolve over time—unlocking a whole new world of creative possibilities.
In this guide, you'll learn the modern approach to creating a logo moodboard using Milanote. Remember, the creative process is non-linear, so you may find yourself moving back and forth between the steps as you go.
Moodboards can be literal and practical (featuring fonts, color schemes and images that you actually plan to use in the final piece of work) or they can be more about exploring tone and mood. You can tackle these different types together, or just do one at a time.
Remember, a moodboard is all about exploration, so don't get too attached to a particular direction. It's important to keep an open mind about what the right solution might be.
Create a new board for each moodboard direction.
Drag a board out from the toolbar. Give it a name, then double click to open it.
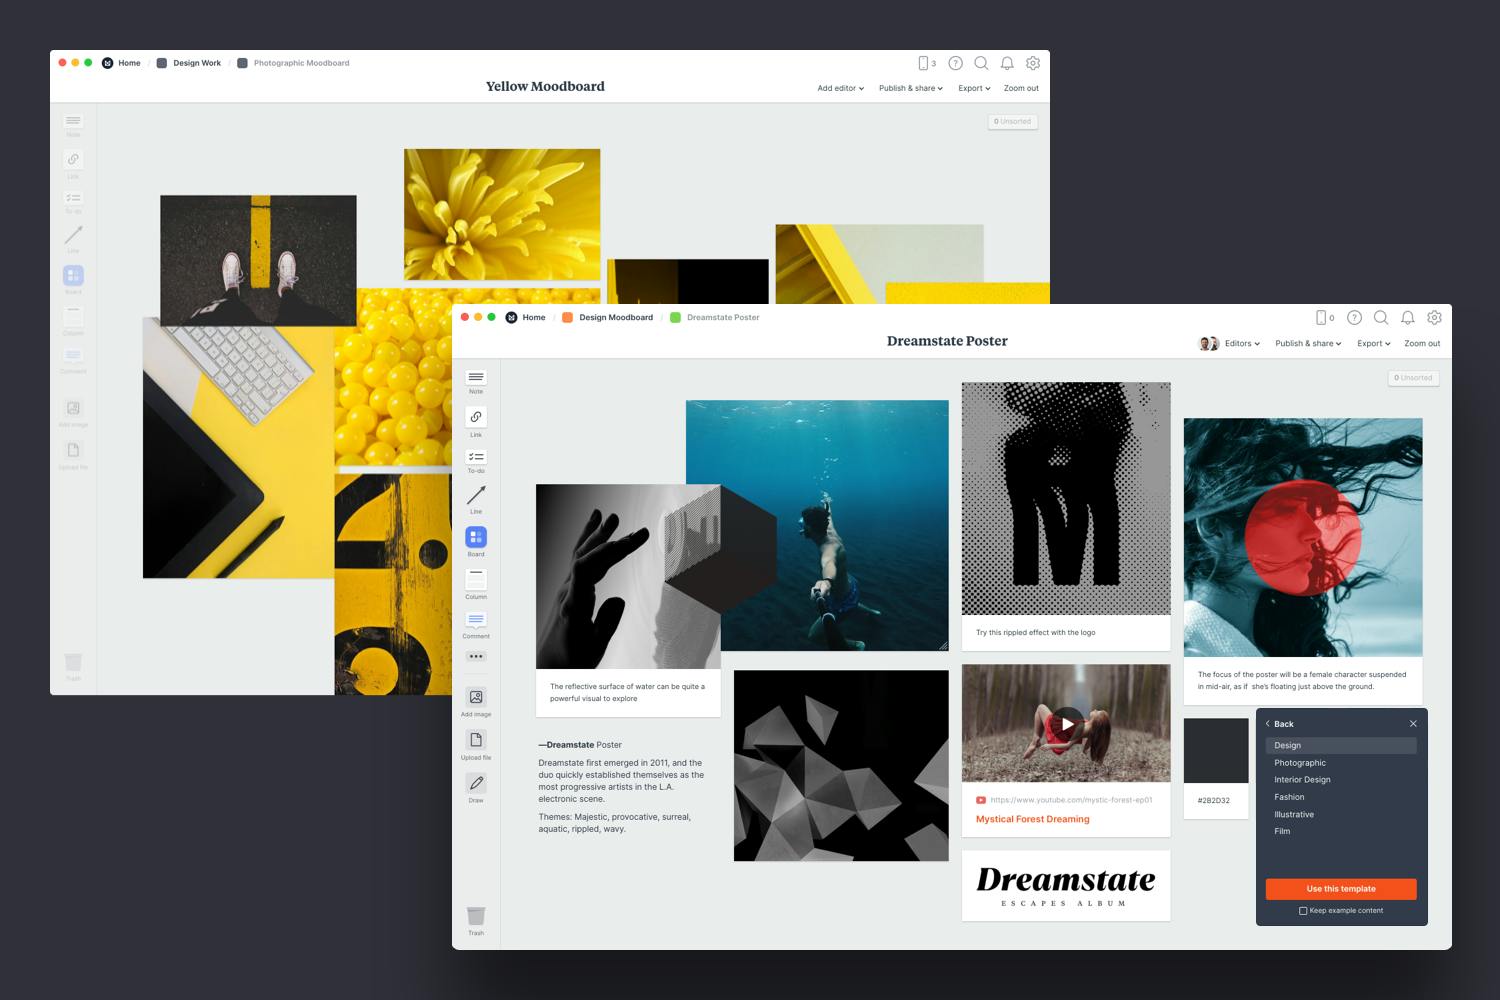
Save time with a logo moodboard template.
Each new board gives you the option to start with a beautiful template.
Creativity often responds well to some constraints or limitations. Picking a keyword, theme, color or style can be a great way to give some direction to your moodboard.
Now that you've established the direction for your moodboard, add any written content you have. This might include client references, positioning statements, tag-lines or any other parts of the logo brief that will inspire you and keep you on track.
Next, add any client references, existing expressions of the brand like websites, design elements or photography. These might not make it into the final moodboard, but they're still a great place to start.
Drag files from your computer.
Click the "Upload" button or just drag a file onto your board. You can add images, logos, documents, videos, audio and much more.
The imagery you choose to include in your moodboard can have big influence on the look and feel of your project, so choose carefully! These images can define things like tone, cropping and color.
If you're the type of person who keeps a collection of images in an inspiration library, now's the time to see if you've already got something that could work. Or you can start by searching for visual elements from around the web. There are lots of fantastic sites where you can find great visual inspiration for free, like Dribbble, Behance and Designspiration.
Don't worry about organizing the images just yet, that step will come later.
Use the built-in image library.
Search over 3 million beautiful, free photos then drag images straight onto your board. Powered by Pexels.
Install the Milanote Web Clipper
Save images from other websites straight to your board.
With the Web Clipper installed, roll over an image (or highlight text), click Save, then choose the destination in Milanote. Return to your board and find the content in the "Unsorted" column on the right.
With an online moodboard it's possible to embed examples showing how movement and animation could contribute to your project. Often, a logo will have an animated version that appears on a website or social profile so it's a good idea to start exploring this early in the process.
Grab some animated GIFs from Giphy, video from YouTube to add motion and depth to the look and feel of your board.
Embed Youtube videos or audio in a board.
Copy the share link from Youtube, Vimeo, Soundcloud or many other services. Drag a link card onto your board, paste your link and press enter.
Enjoying this guide? Share it with your creative community...
"Learn how to make a beautiful moodboard in minutes".
Click to tweet
How you use color and fonts can have a huge impact on your logo. Both elements contribute to your brand mark being recognizable and memorably. Color especially can be a great way to express a particular feel, personality or energy. As painter Johannes Itten said, “Color is life.”
Add color swatches and start exploring combinations as part of your moodboard. A handy trick is to pick colors directly from the images and photos you've added to the board.
This is also the perfect time to start collecting inspiring fonts that communicate the feel or personality you'd like to create. Typography galleries like Typewolf are a great way to explore different font combinations and weights.
Add a color swatch to a board.
Drag a Color Swatch card onto your board from the left-hand toolbar. Double-click the swatch to choose a different color.
Upload a file or document.
Click the "Upload" button or just drag a file onto your board. You can add images, logos, documents, videos, audio and much more.
Once you have all your inspiration in one place, the next step is to arrange your ideas to create the perfect composition.
This process can take a while, and it’s common to feel like you have no idea how the moodboard will come together. You'll probably have more material than you need and it might look scattered. That’s okay! Creativity is an act of transformation.
Start by exploring composition and introducing hierarchy. Place a key element such as a logo to anchor your board, and change the size and position of the remaining elements to indicate their importance and relationships to one another.
Resize your images to add hierarchy.
Drag the corner of an image to resize it. Double-click the corner to return it to its original size.
Crop images.
Double-click an image and press edit to crop or rotate it.
Step away—the best creative thinking often happens in the idle moments where we allow our mind to wander. So make space, be open to new ideas and connections and embrace the mess.
You never know where or when you'll find inspiration—it could strike you in the shower, or as you're strolling the isles of the grocery store. So make sure you have an easy way to capture new ideas on the go.
As creative director Grace Coddington said, "Always keep your eyes open. Keep watching. Because whatever you see can inspire you."
Download the Milanote mobile app
Save photos straight to your Moodboard.
Shoot or upload photos directly to your board. When you return to a bigger screen you'll find them in the "Unsorted" column of the board.
If you’re a visual thinker, a moodboard is an invaluable tool to convey the look and feel of your logo in a way that sometimes words cannot. But if you’re planning to share your moodboard with a client or team it’s important to include some written notes about your thought process. This will help explain your ideas and keep everything in context.
You don’t have to go into too much detail—in a modern moodboard this could be in the form of notes, labels or even emojis.
Add a caption to an image.
Select an image and just start typing.
Add notes to your board.
Start typing then use the formatting tools in the left hand toolbar.
Whether you're working on a client project or collaborating with a team it can be helpful to bounce ideas off other people. As writer Louisa May Alcott said, "It takes two flints to make a fire."
A digital moodboard is especially helpful for this step as you can easily connect and collaborate online. Bringing everyone onto the same page (figuratively and literally!) in real-time allows you to collaborate on concepts, ensuring a consistent look and feel for your project.
Invite someone else to edit to your board.
Open the "Share" menu from the title bar of your board. Add email addresses of the people you'd like to collaborate with—they'll receive an invitation via email.
Collaborate in real time.
When multiple people on your team edit a board at once you'll see their updates appear in real-time.
With any creative technique or project, it’s important to be open to constructive criticism. Now that the first version of your moodboard is done it's time to ask for specific feedback on color, tone, mood, and type. Make sure you stay open to suggestions and improvements and try not to take criticism personally.
If you’re not sure how to deal with the feedback you get, writer Neil Gaiman has some insight: “Remember: when people tell you something’s wrong or doesn’t work for them, they are almost always right. When they tell you exactly what they think is wrong and how to fix it, they are almost always wrong.”
Start a comment thread.
Drag out a comment from the toolbar on the left and place it on your board. Other editors can reply to your comment.
Mention teammates to get their attention.
Type '@' in any text field to mention someone who has access to your board. They'll receive a notification and be able to respond to your comment.
Now that your moodboard is complete, you have a powerful starting point for your logo design project. Remember, you can create multiple moodboards to explore different visual directions. Get inspired with our moodboard templates or read the full guide on How to plan a logo design project.
