Start your storyboard
Get started for free with Milanote's easy to use storyboard template.
Start your storyboardSign up for free with no time limit

Follow this simple step-by-step guide to learn the modern process of storyboarding in Milanote, a free tool used by top creatives.
Firstly, what is a storyboard? Storyboards are a powerful way to visually organize the sequence, scenes and look of a film before you start filming. As director, producer and screenwriter Martin Scorsese said, “The storyboard is the way to visualize the entire movie in advance.”
Traditionally, a storyboard would be sketched on paper, but with a modern digital tool, you can use photography, animation, notes to highlight key characters and scenes and easily go back and make edits. Many people devote their entire careers to storyboarding and they are one of the key tools used by directors, producers, and many other film crew members to communicate and bring a film to life.
Whether you’re creating a storyboard for a documentary, animation or feature film, this guide will take you through every step to refine your process and create a modern storyboard.
When creating a storyboard, it’s crucial to know what story you’re telling. The best starting point is to break up the script or narrative you’ll be working from.
Mark up the key parts of the story by highlighting major beats such as actions, locations, wardrobe, staging, narrative arches, and major plot points. This will help you form the frames for the storyboard and figure out how you’ll move from one scene to the next.
Create a new board for your storyboard.
Drag a board out from the toolbar. Give it a name, then double click to open it.
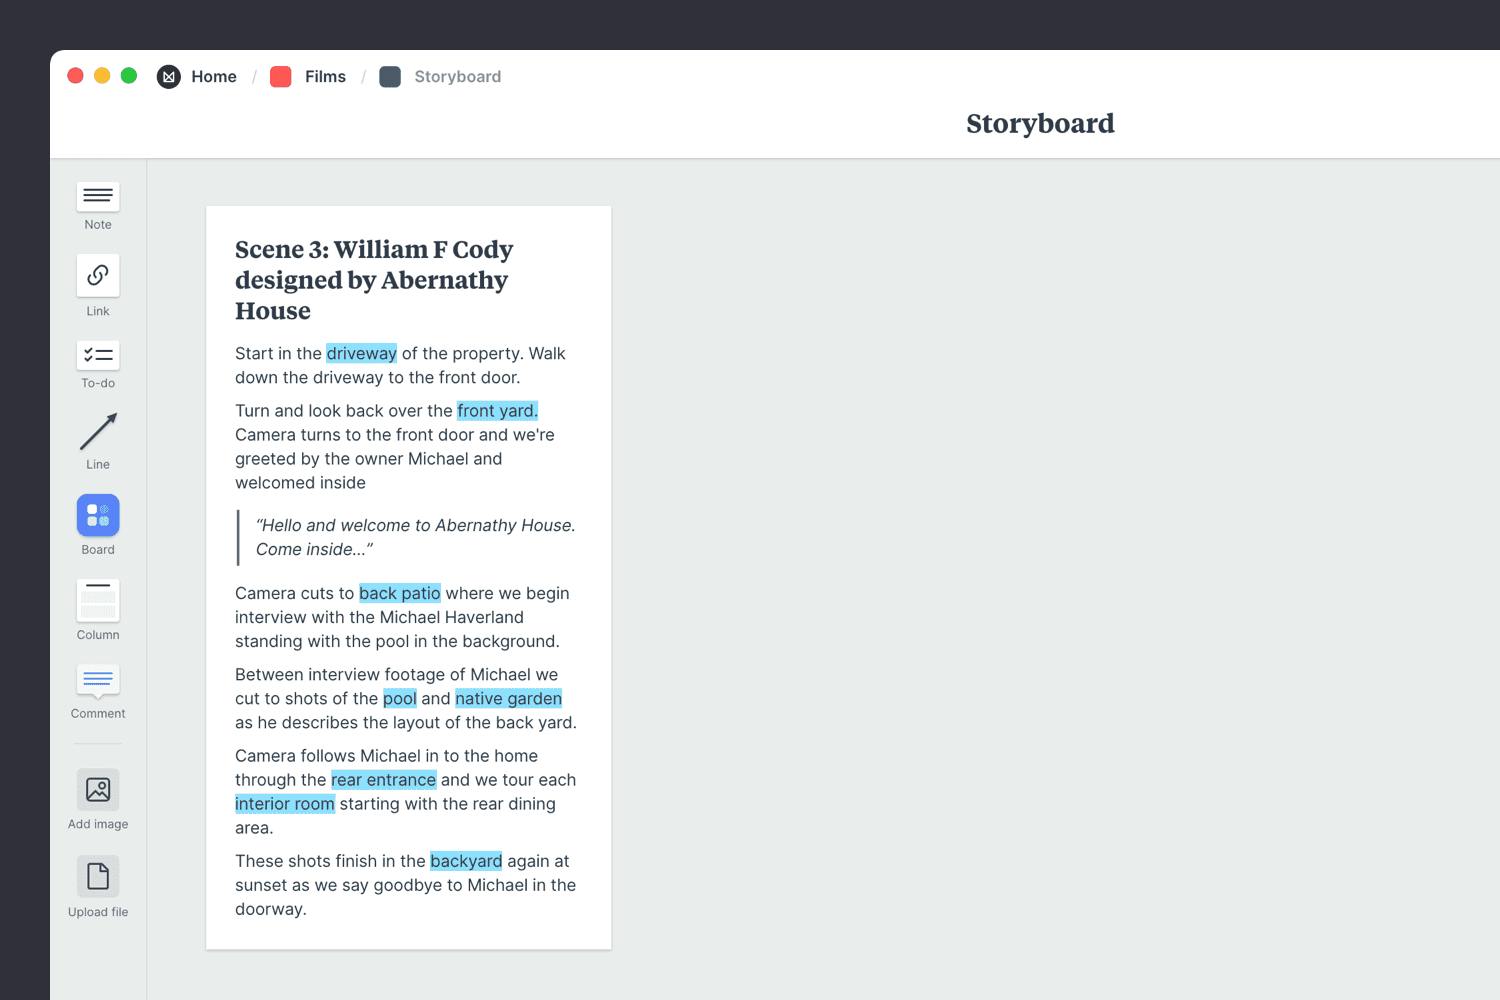
Add a note and paste a scene from your script.
Start typing then use the formatting tools in the left hand toolbar.
Highlight the key scenes with the text highlighter.
Next, map out the scenes you identified in the script. Give each one a number and a relevant title so it's easy to link them back to the broader story in the script.

Add a column for each frame.
Name it, then drag any relevant notes or images into your column
Now it’s time to begin visualizing each scene. This part of the process has been referred to as “idea landscaping”—a place to brainstorm the visual features of each beat within the landscape of a story.
Some storyboard artists might begin sketching with a pen and paper first, but with modern storyboards you can collect reference photography, illustrations, screenshots, location shoots, and even motion from anywhere.

Upload images for each frame.
Click the "Upload file" button or just drag a file onto your board. You can add images, logos, documents, videos, audio and much more.
While each frame is a static image, try to communicate how it will look and feel as a moving sequence. Describes the style, mood, and behavior of characters. As you write out the details of each scene, consider some of the following:

Add a note to describe each frame.
Start typing then use the formatting tools in the left-hand toolbar.
When you're ready, invite your team to review your storyboard and share their feedback. This is the perfect moment to see how others interpret your vision for the story. It's also a great opportunity to make any final tweaks while in pre-production. Adjust the order of your frames or edit the content based on everyone's feedback.

Share the storyboard with your team.
Open the "Editors" menu from the title bar of your board. Add email addresses of the people you'd like to collaborate with—they'll receive an invitation via email.
Start a comment thread.
Drag out a comment from the toolbar on the left and place it on your board. Other editors can reply to your comment.
Mention teammates to get their attention.
Type '@' in any text field to mention someone who has access to your board. They'll receive a notification and be able to respond to your comment.
Traditionally, you'd print out your storyboards to refer to on the day, but online storyboards can be accessed on phones or laptops. This way, you can reference it with ease as you prepare for each scene.

Download the Milanote mobile app.
Now that your storyboard is complete, you have a clear vision for your film! Remember, just as creativity and inspiration are constantly evolving, so are ideas. Come back and edit your storyboard when inspiration strikes. Use the template below to create a new storyboard in minutes or check out our full guide on how to plan a film.
