Customer Persona Template

Customer Persona Template, within the Milanote app

Paint a picture of your ideal customer

Before you start designing a new product or service, it's crucial to figure out who's going to be using it.

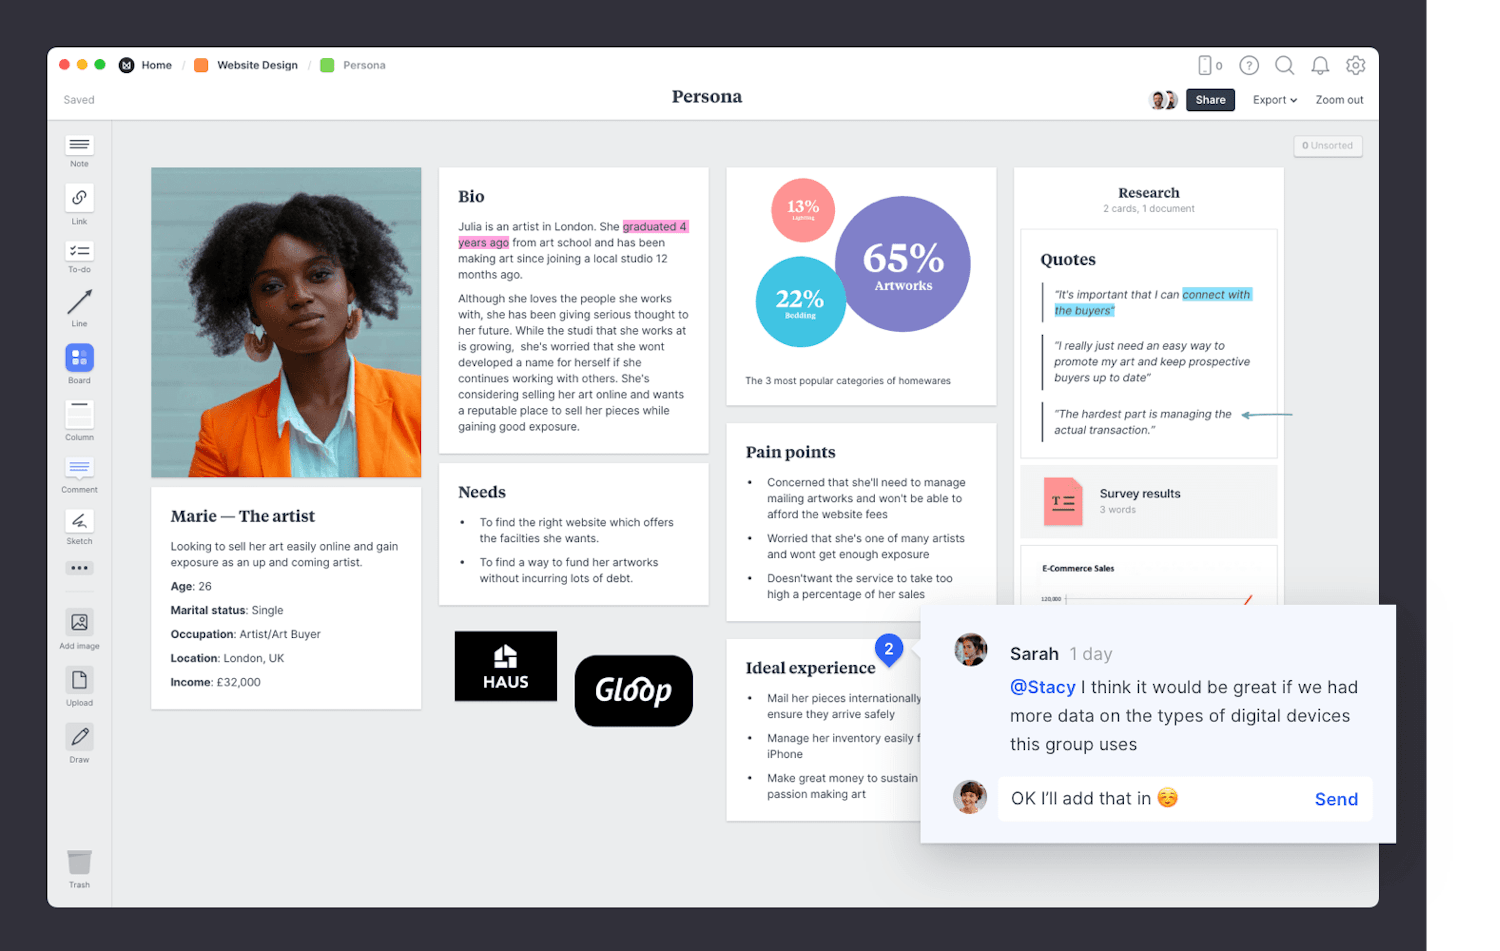
Building user personas helps your design team to understand the people they're designing for, and ensures that everyone understands the user's goals, frustrations and motivations.

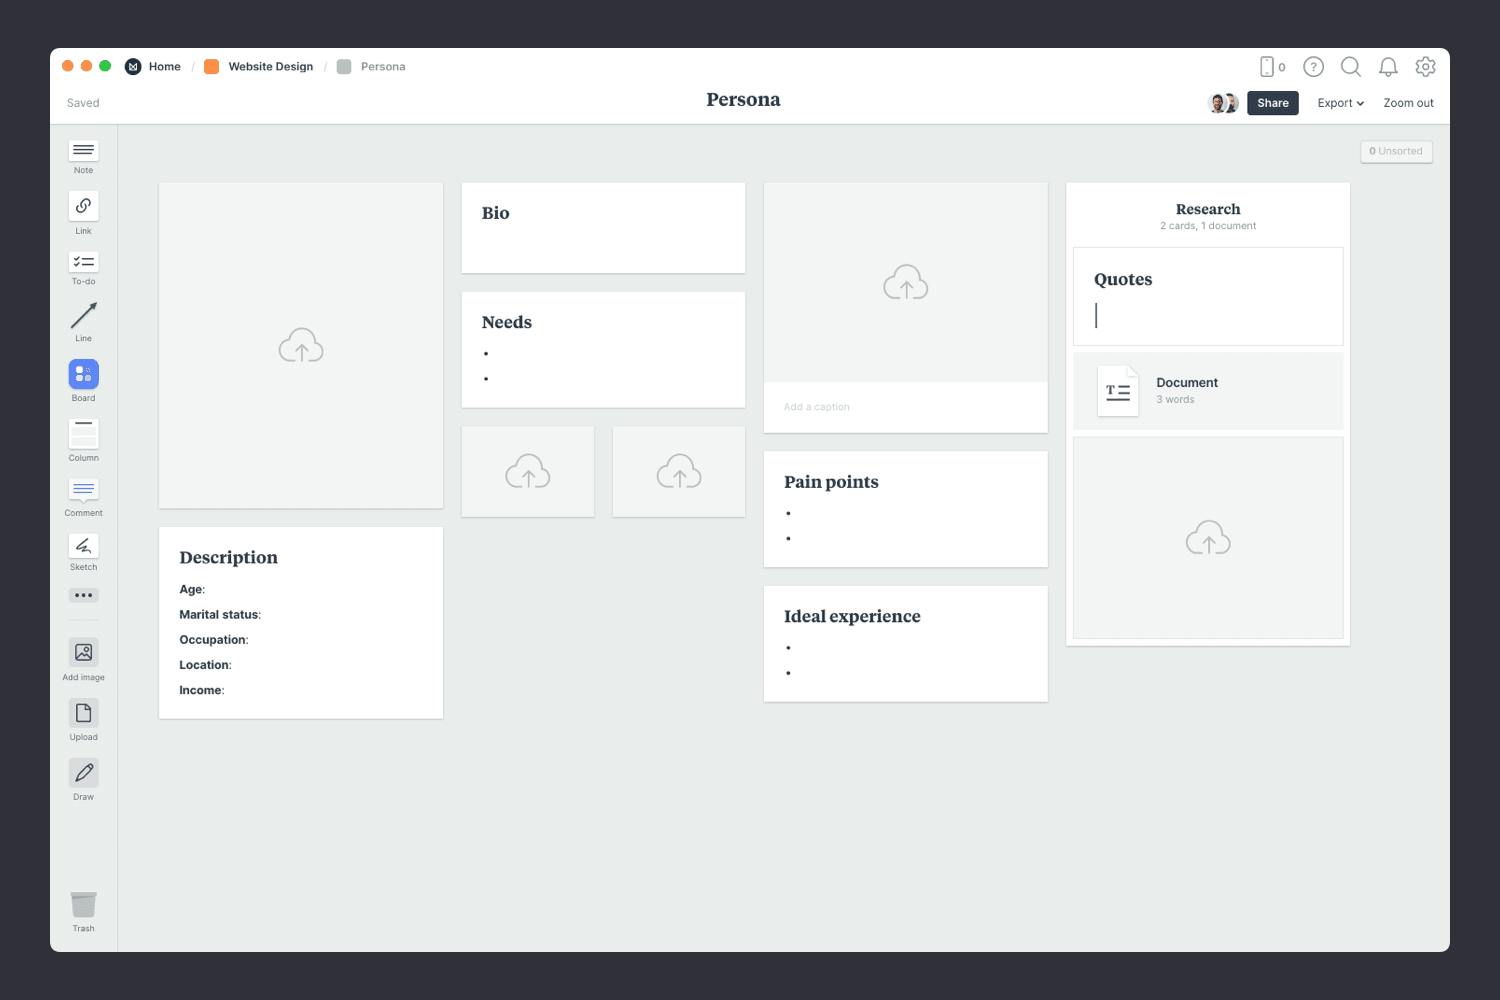
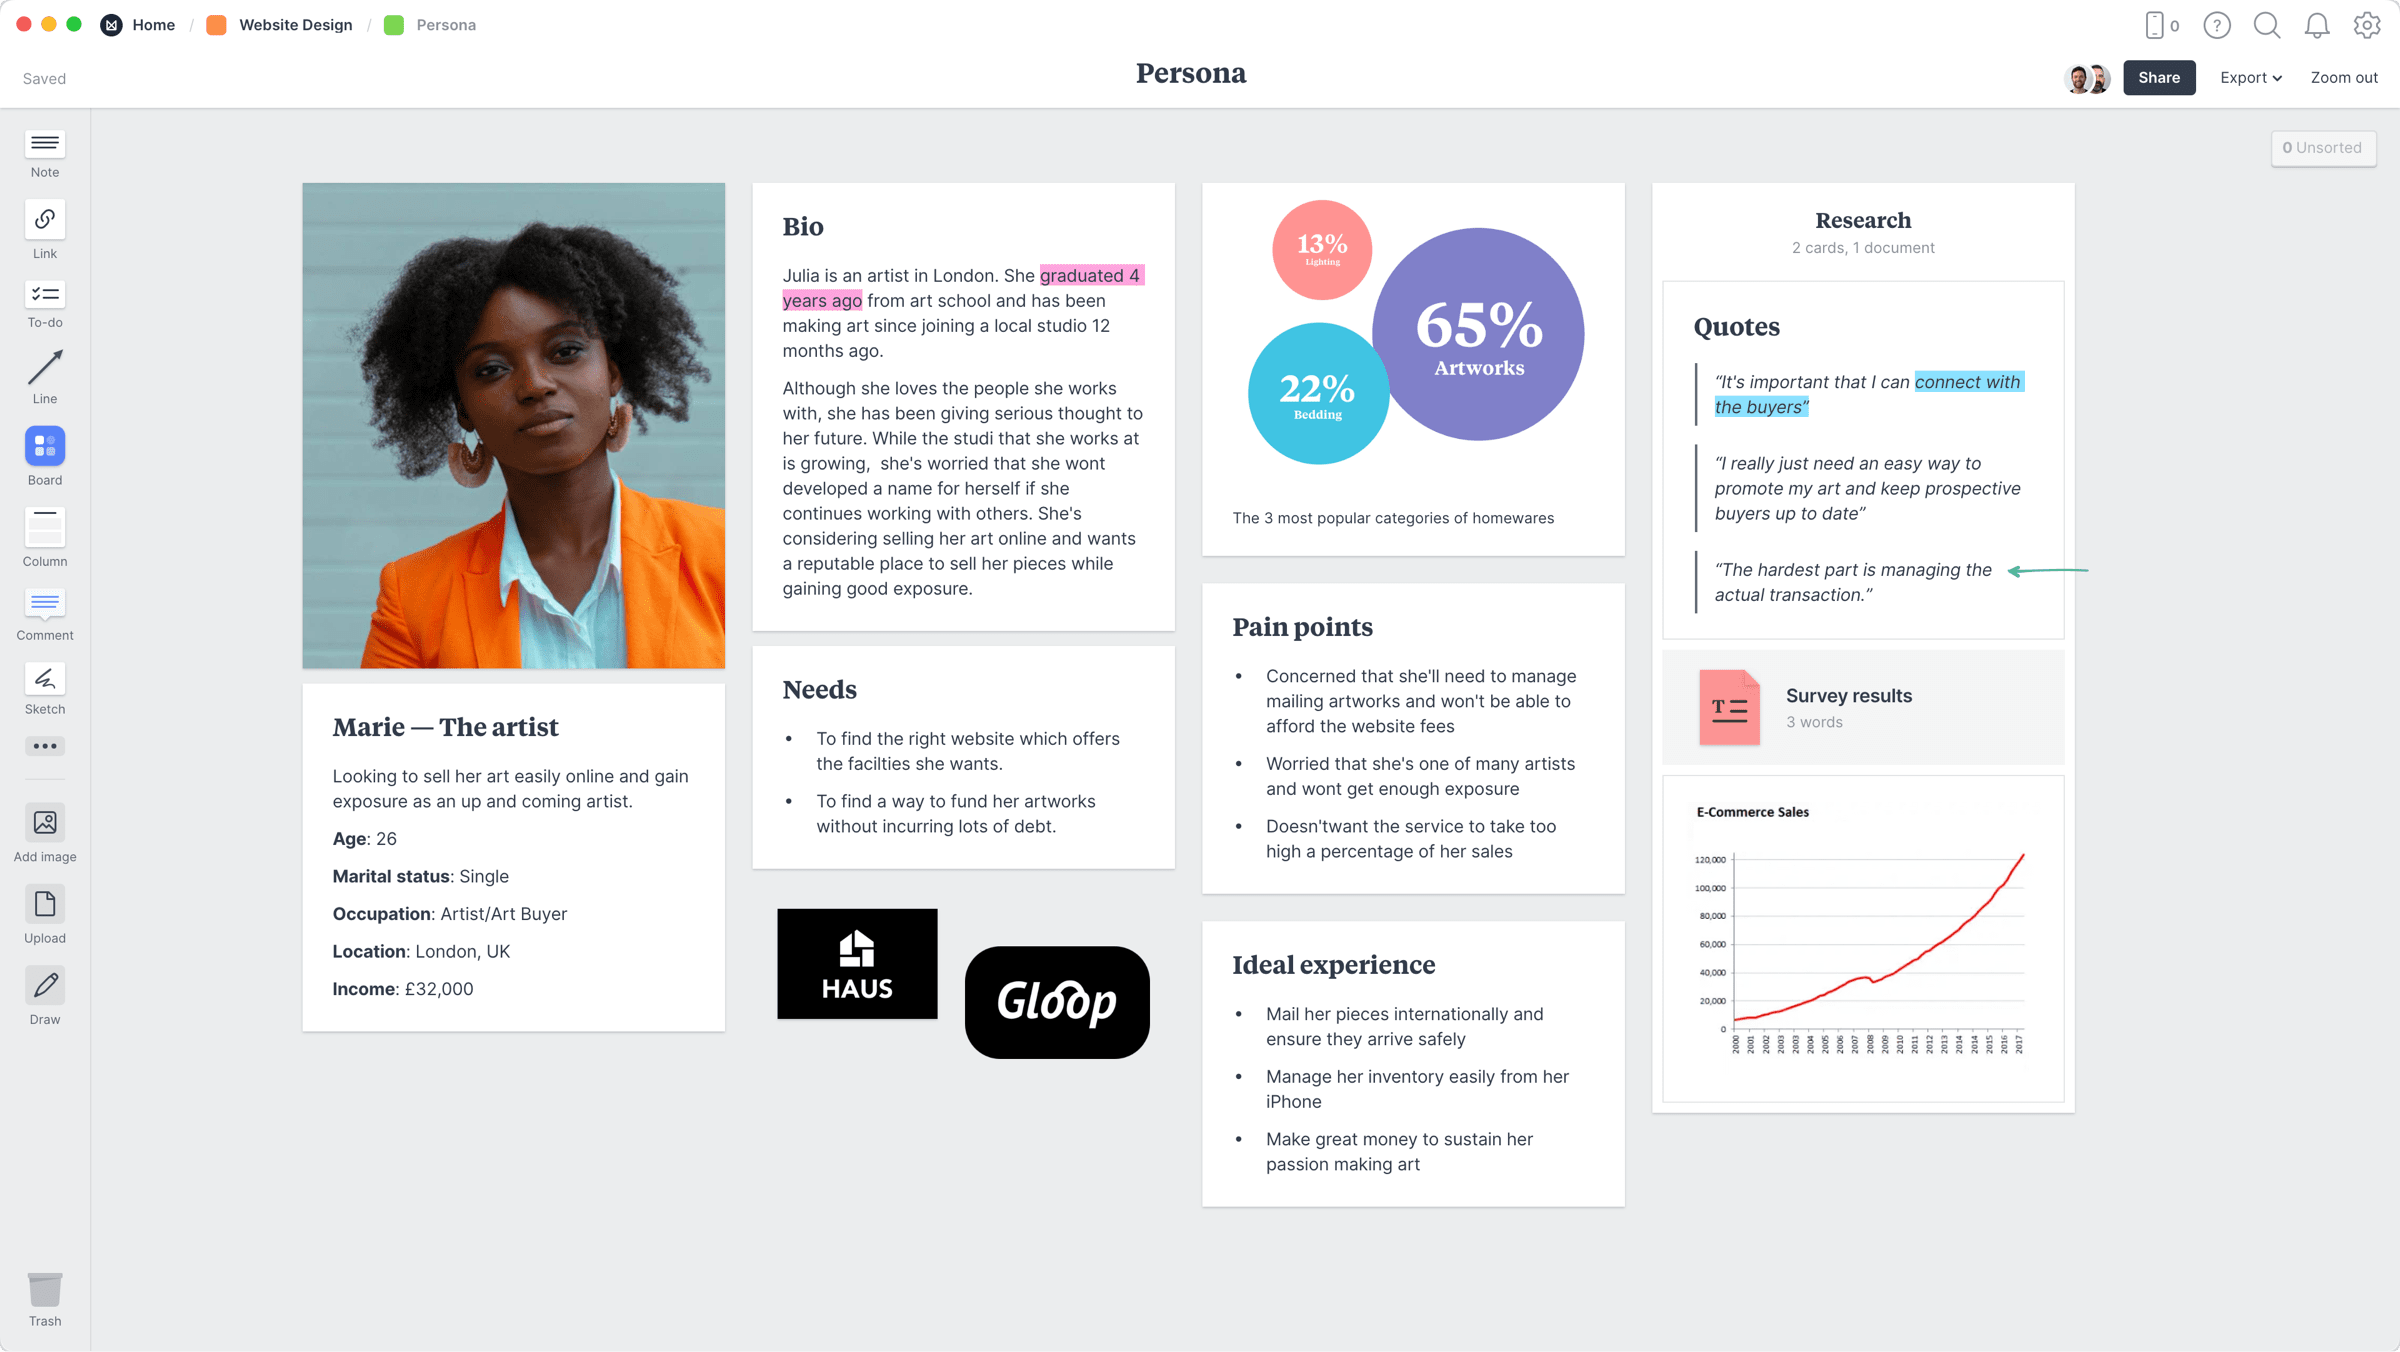
It's important to build out your persona template with real-world data and research. You want to be confident that these people actually exist and aren't just hypothetical. Rather than start from a blank canvas, we've prepared a template to get you started. It's pre-populated with an example persona to give you an idea of what's required.

  • Explore ideas
  • Organize visually
  • Share with your team
  • Gather feedback
  • Export to PDF

How to use this template

Whether you’re a designer, marketer, or client, follow this step-by-step guide to learn the modern process of creating a customer (or buyer) persona in Milanote, a free tool used by top creatives.

1. Start with an empty template

The Persona template contains beautifully composed placeholders for notes, images, video and more to help you create a customer persona in minutes.

customer persona template 01

2. Gather existing customer data

Good personas are built on real data and insights. They're a true representation of your ideal customer or a key segment, not a made-up character.

There are usually many good sources of information available, including your website analytics, recent surveys or real-life conversations with customers. Quotes from actual customers can really help bring your research to life. Start by collecting it all in one place.

customer persona template 02
How to do this in Milanote
  1. Add a Note to capture customer quotes.

    Drag a note card onto your board

    Start typing then use the formatting tools in the left hand toolbar.

  2. Upload research files and documents.

    Upload a file or document

    Click the "Upload" button or just drag a file onto your board. You can add images, logos, documents, videos, audio and much more.

3. Describe pain points & the ideal experience

Defining your customer's needs is extremely important. It allows you to identify how your objectives can align with the interests of your customer. Pain points are just as important, as removing these challenges will likely be the key to winning your customer's loyalty.

Next, combine their needs and pain points to describe the ideal experience. This is the creative part of the process. It's where you can set aside any current limitations and imagine the best experience for your persona.

customer persona template 03
How to do this in Milanote
  1. Add a note to describe the ideal experience.

    Drag a note card onto your board

    Start typing then use the formatting tools in the left hand toolbar.

Pro tip:

Remember that the goal of creating user personas is to foster empathy and understanding. The more you can immerse yourself in their world and see things from their perspective, the better you can design products and services that meet their needs.

4. Bring your persona to life

Now it's time to start adding that carefully collected research. Authenticity is critical for developing empathy. Your persona needs enough detail to allow you to step into someone's shoes and see your products and services from their perspective.

Give your persona a real name and upload a representative photograph. Add in some basic demographic information such as age, marital status, occupation, location or income level as a snapshot.

customer persona template 04
How to do this in Milanote
  1. Add a note to summarize your persona.

    Drag a note card onto your board

    Start typing then use the formatting tools in the left hand toolbar.

  2. Choose a photo to represent your persona.

    Use the built-in image library

    Search over 3 million beautiful, free photos then drag images straight onto your board. Powered by Pexels.

5. Tell your persona's story

Giving your persona an engaging back story is our next task. Here, more is usually better. Write a bio for your persona in as rich detail as you can—based on your research.

You might rely on these details later to lead you to a wonderful insight. Try to avoid adding unnecessary information that adds clutter or causes confusion. If you're stuck for ideas try listing some of the following:

  • Life Events: Describe significant life events or milestones in the persona's past. Understanding these events can shed light on their current goals and motivations.
  • Personal Values and Beliefs: Consider their cultural background, political views, or ethical principles that influence their decision-making. This information can help you tailor messaging and design choices that align with their values.
  • Hobbies and Interests: Include details about the persona's hobbies and passions outside of their primary goals. This provides a more holistic view of their life and can inform marketing strategies.
  • Aspirations and Dreams: Describe the persona's dreams, aspirations, and long-term goals. Understanding what they hope to achieve in the future can help your team design products or services that support these ambitions.
customer persona template 05
How to do this in Milanote
  1. Add a note to tell your persona's back story.

    Drag a note card onto your board

    Start typing then use the formatting tools in the left hand toolbar.

6. Share with your team & client

Now you have the foundation for a great customer persona, it's time to get input from others. Invite team members or clients to give feedback and build on your work. This ensure everyone can add to the persona over time as new information and insights are uncovered.

Persona guide step07
How to do this in Milanote
  1. Invite a team member or client to provide feedback.

    Invite editors to your board

    Open the "Share" menu from the title bar of your board. Add email addresses of the people you'd like to collaborate with—they'll receive an invitation via email.

  2. Start a comment thread.

    Start a comment thread

    Drag out a comment from the toolbar on the left and place it on your board. Other editors can reply to your comment.

  3. Mention teammates to get their attention.

    Mention teammates to get their attention

    Type '@' in any text field to mention someone who has access to your board. They'll receive a notification and be able to respond to your comment.

Start your Persona

Paint a picture of your ideal user.