Start Your Persona
Get started for free with Milanote's easy to use Persona template.
Start Your PersonaSign up for free with no time limit
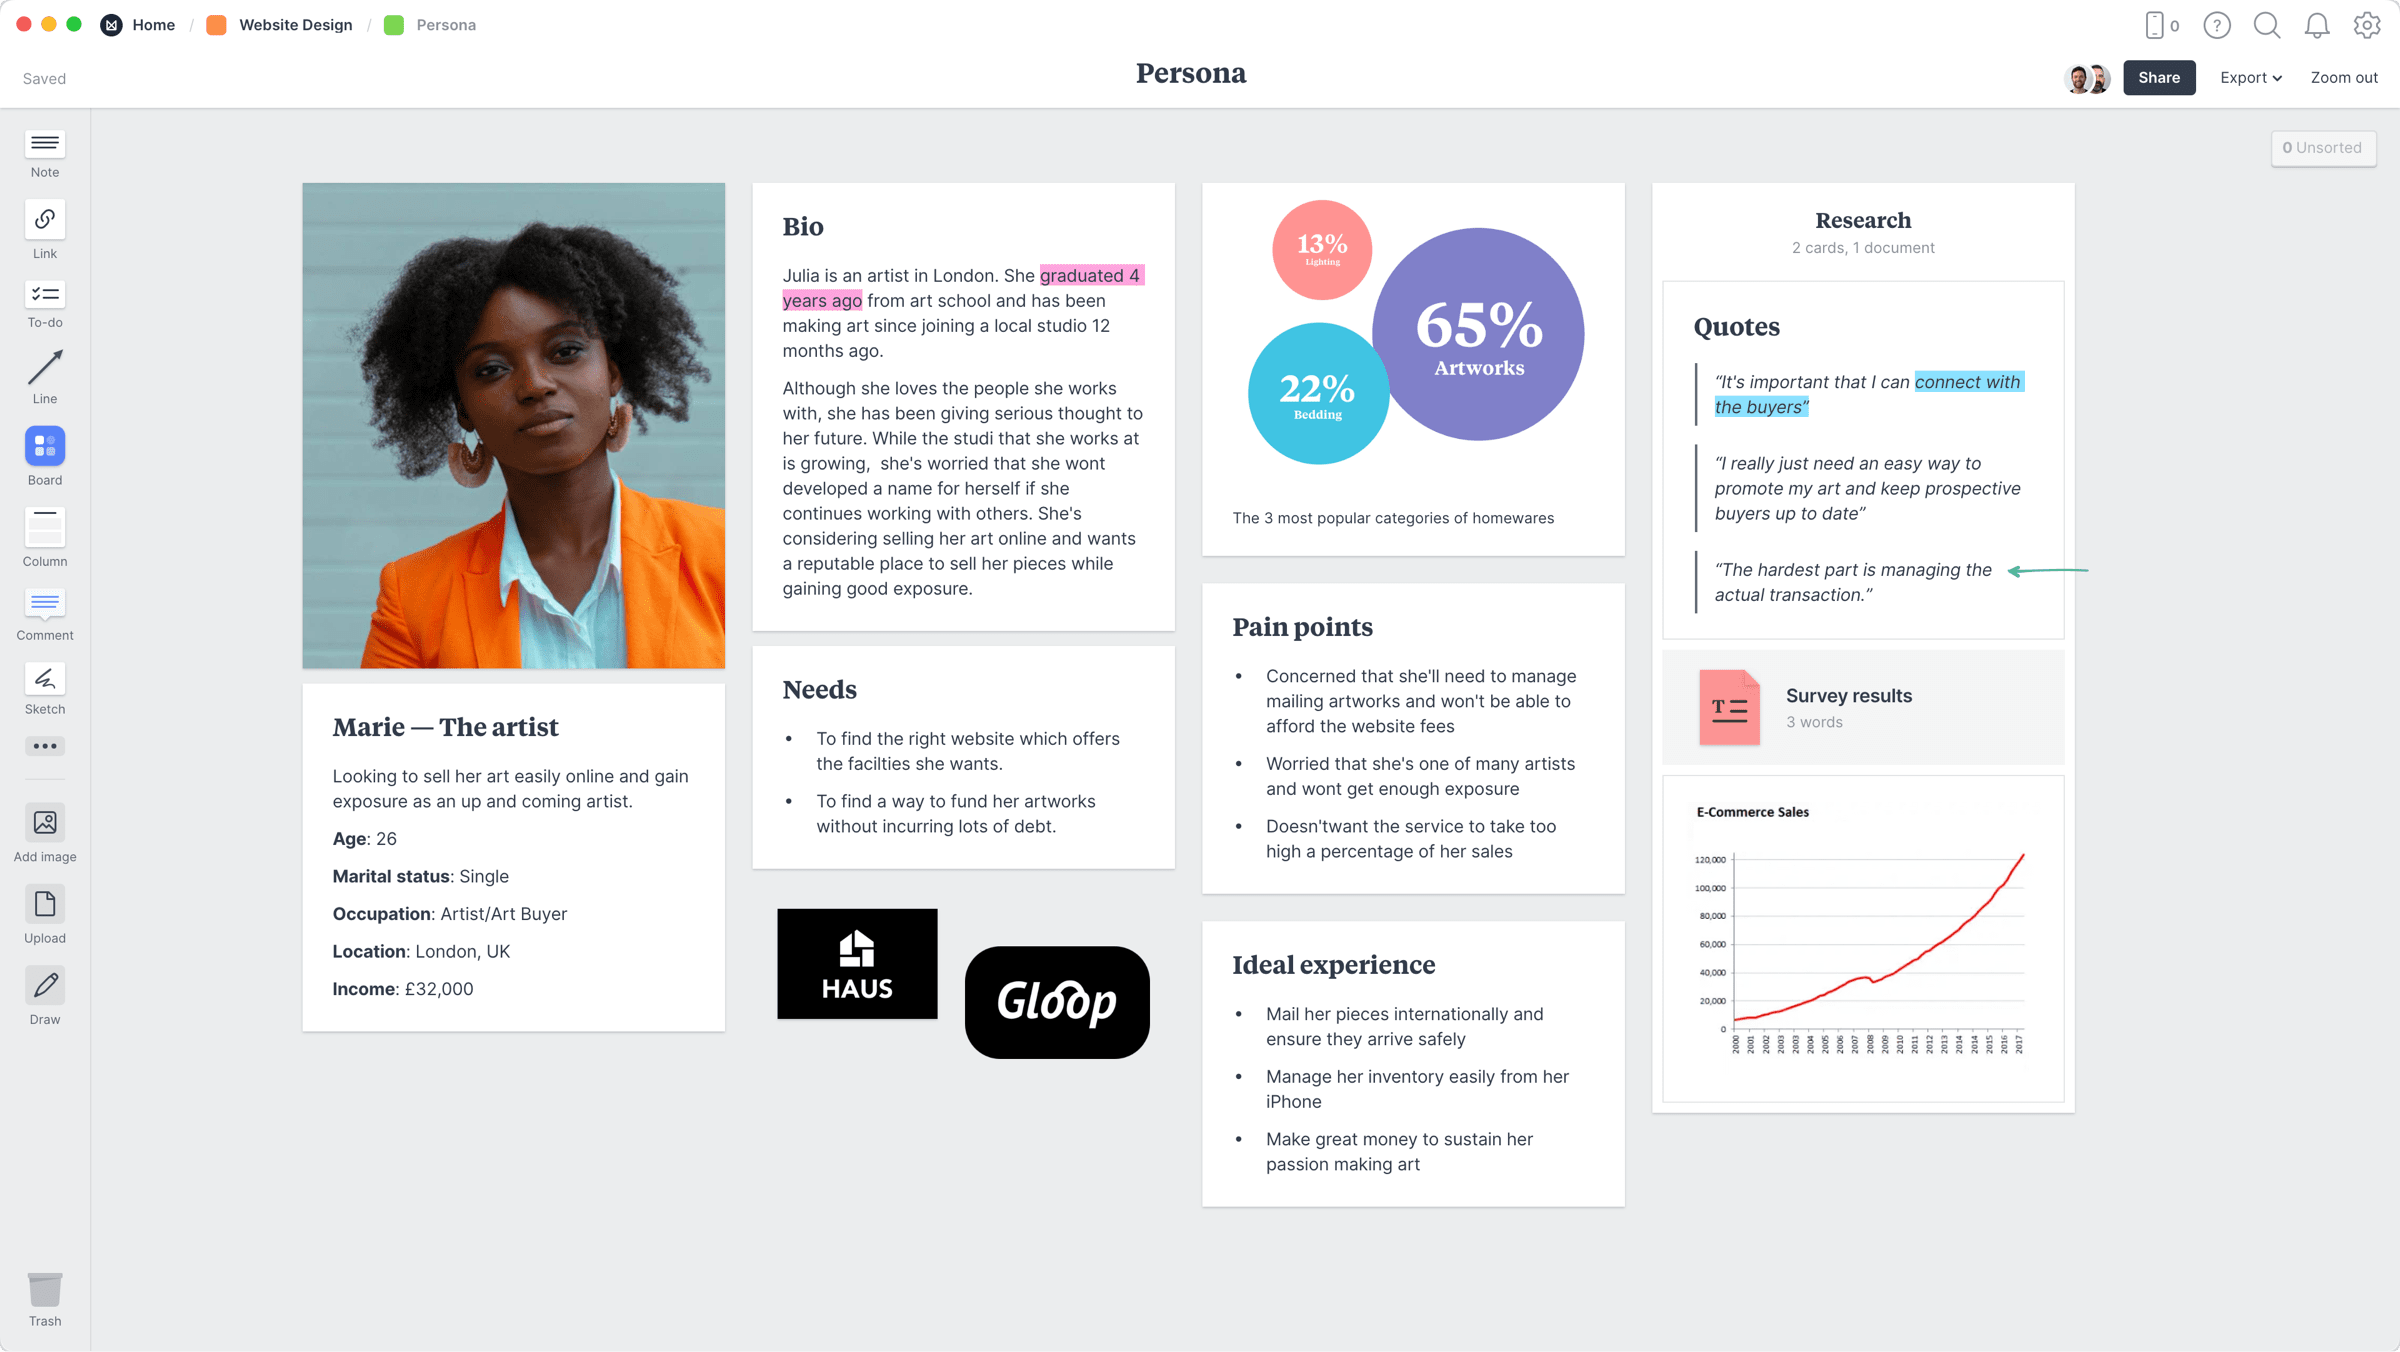
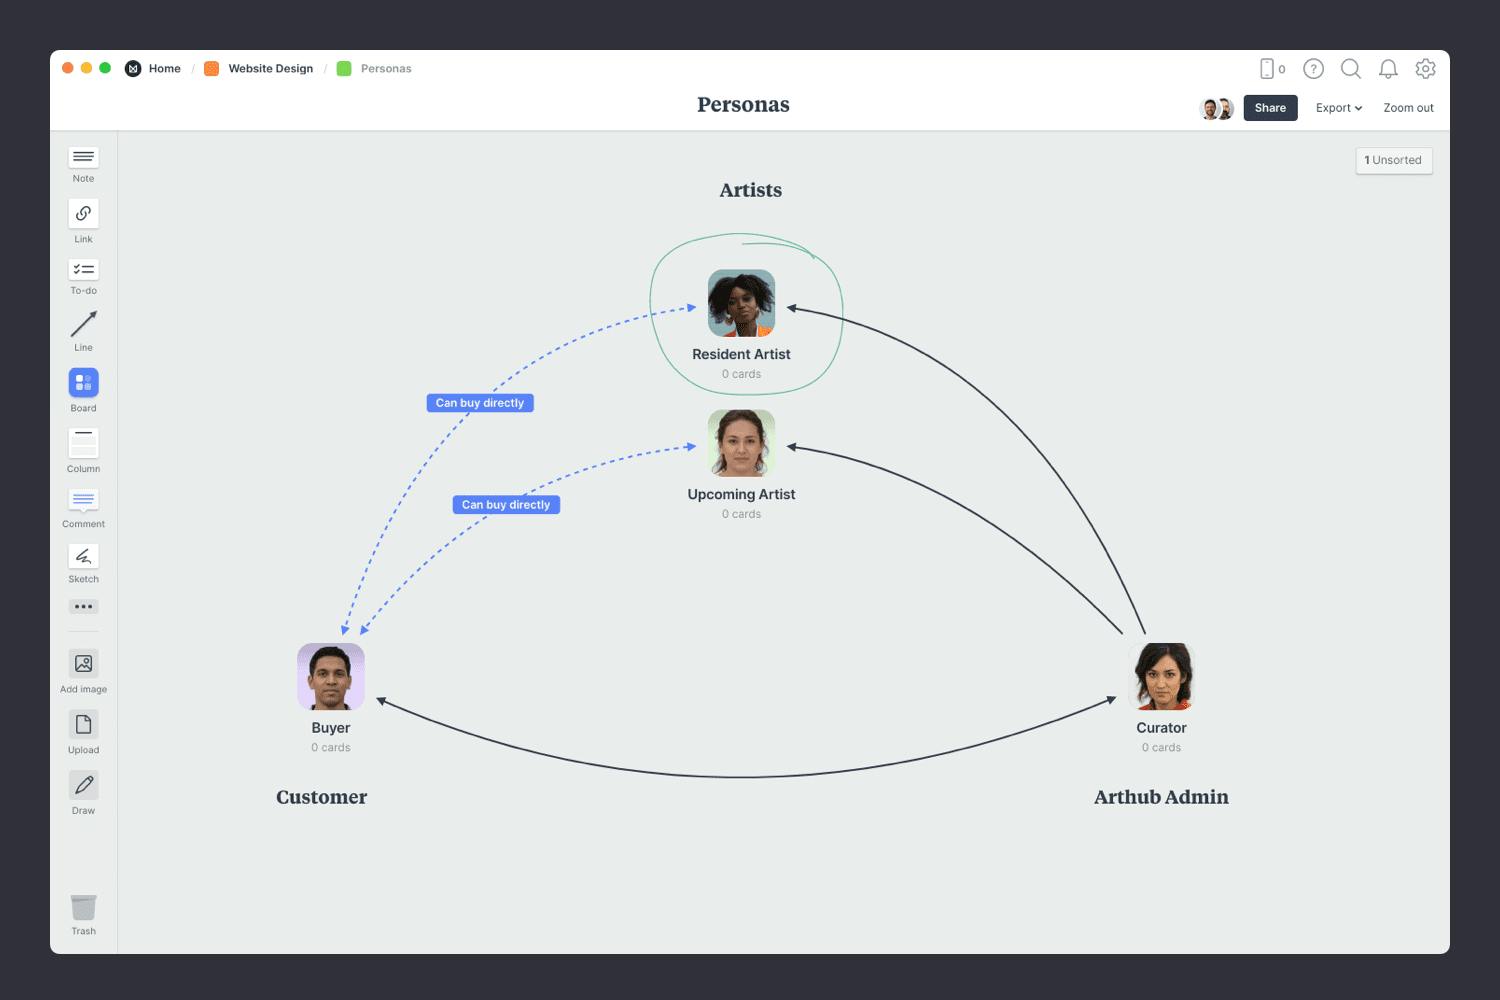
Customer personas (or buyer personas) are fictional, composite characters that represent a segment of your audience—based on customer research. They're used by marketers, designers and creative teams to paint a clear picture of the target audience.
The best personas are more than just static PDFs. They include imagery, video, stats and more to paint a realistic picture. They should grow and evolve naturally as you learn more about your customers over time.
In this guide, you'll learn the modern approach to creating a persona using Milanote. It lets you break out of the linear document and combine text, images, tasks and more to build an engaging, useful snapshot of your customers.
Good personas are built on real data and insights. They're a true representation of your ideal customer or a key segment, not a made-up character.
There are usually many good sources of information available, including your website analytics, recent surveys or real-life conversations with customers. Quotes from actual customers can really help bring your research to life. Start by collecting it all in one place.

Create a new board for your persona.
Drag a board out from the toolbar. Give it a name, then double click to open it.
Drag files onto your board
Click the "Upload" button or just drag a file onto your board. You can add images, logos, documents, videos, audio and much more.
Add a note to capture customer quotes.
Start typing then use the formatting tools in the left hand toolbar.
Defining your customer's needs is extremely important. It allows you to identify how your objectives can align with the interests of your customer. Pain points are just as important, as removing these challenges will likely be the key to winning your customer's loyalty. This step will help give you a clear view of the problems to solve for your customers.
Add notes to describe customer needs and pain points.
Start typing then use the formatting tools in the left hand toolbar.
Next, combine their needs and pain points to describe the ideal experience. This is the creative part of the process. It's where you can set aside any current limitations and imagine the best experience for your persona. A good question to get you started is "if there were no constraints, how would your product or service improve their life? "

Add a note to describe the ideal experience.
Start typing then use the formatting tools in the left hand toolbar.
Now it's time to start adding that carefully collected research. Authenticity is critical for developing empathy. Your persona needs enough detail to allow you to step into someone's shoes and see your products and services from their perspective.
Give your persona a real name and upload a representative photograph. Add in some basic demographic information such as age, marital status, occupation, location or income level as a snapshot.

Add a note to summarize your persona.
Start typing then use the formatting tools in the left hand toolbar.
Choose a photo to represent your persona.
Search over 3 million beautiful, free photos then drag images straight onto your board. Powered by Pexels.
Giving your persona an engaging back story is our next task. Here, more is usually better. Write a bio for your persona in as rich detail as you can—based on your research.
You might rely on these details later to lead you to a wonderful insight. Try to avoid adding unnecessary information that adds clutter or causes confusion. Add a little extra personality by listing their favourite brands.

Add a note to tell your persona's back story.
Start typing then use the formatting tools in the left hand toolbar.
Drag logos or files onto your board.
Click the "Upload" button or just drag a file onto your board. You can add images, logos, documents, videos, audio and much more.
Once you have everything you need, it's time to organize your content into logical topics. The goal here is to present the most important points in an inspiring and concise format. Highlight important parts, add titles and get your persona ready to share with your team or client.
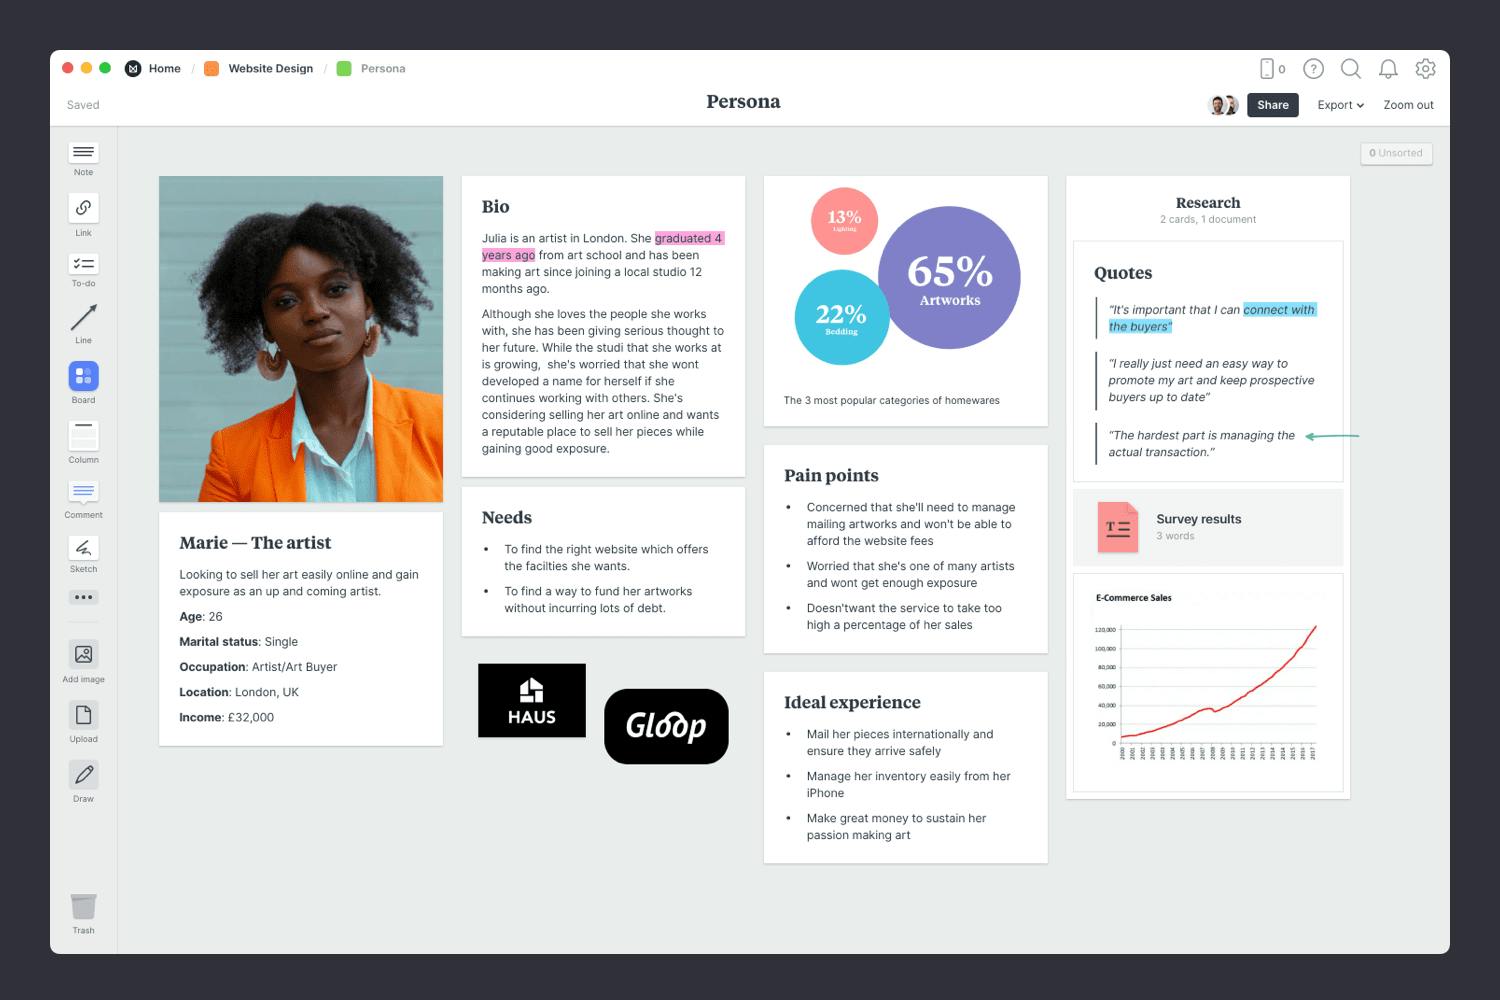
Create a column to group related topics (like research).
Name it, then drag any relevant notes, images or boards into your column to stay organized.
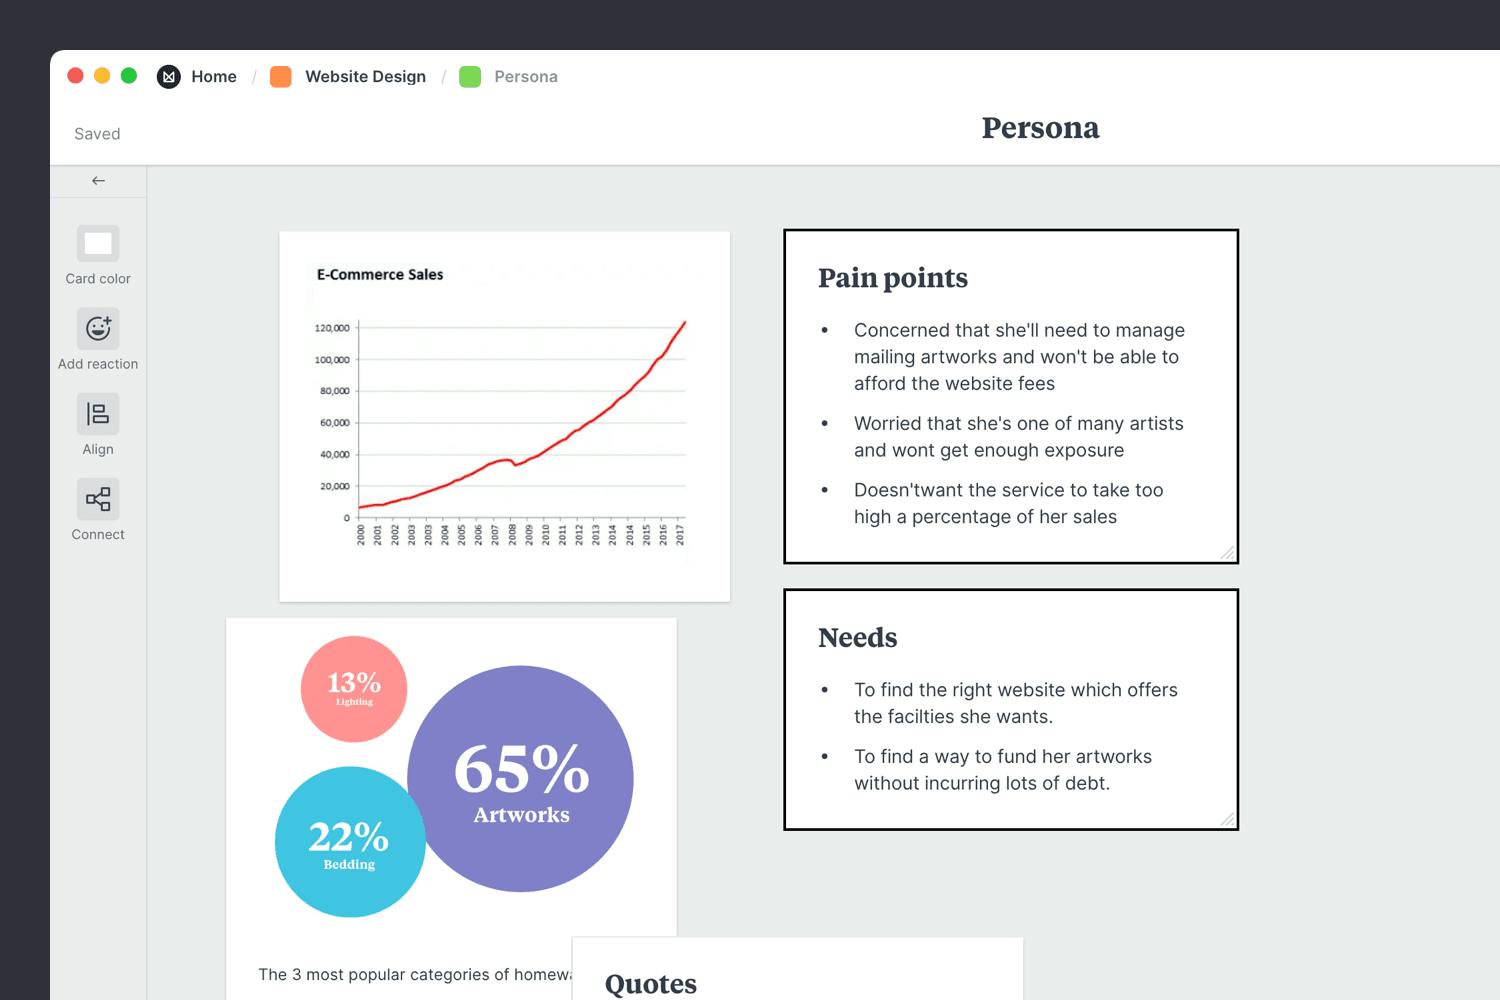
Resize images
Drag the corner of an image to resize it. Double-click the corner to return it to its original size.
Now you have the foundation for a great customer persona, it's time to get input from others. Invite team members or clients to give feedback and build on your work. This ensure everyone can add to the persona over time as new information and insights are uncovered.
Invite a team member or client to provide feedback.
Open the "Share" menu from the title bar of your board. Add email addresses of the people you'd like to collaborate with—they'll receive an invitation via email.
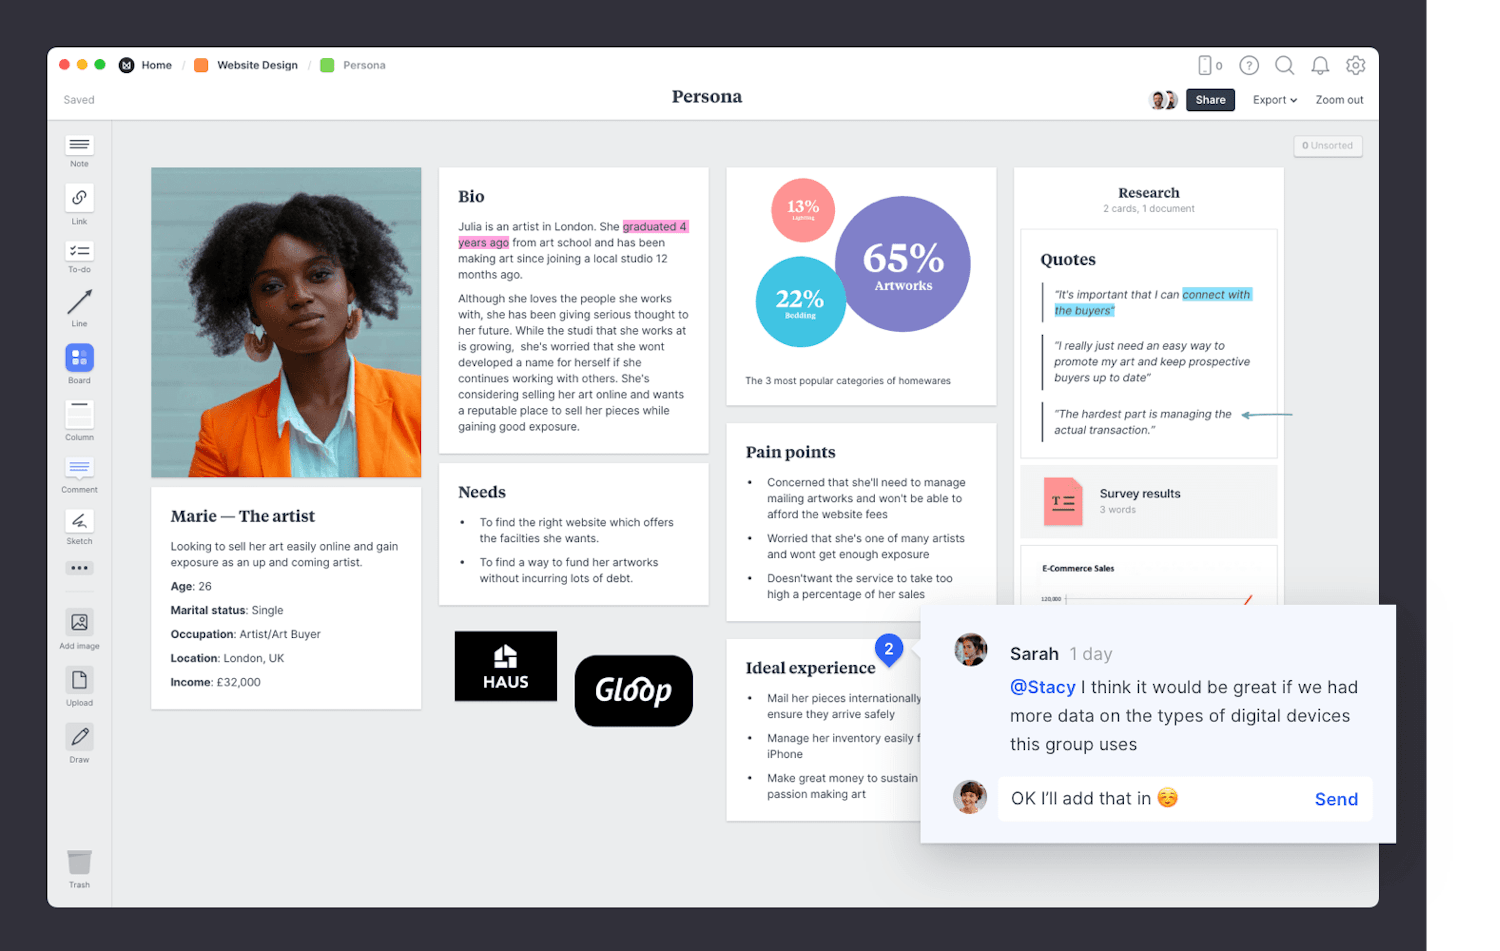
Start a comment thread.
Drag out a comment from the toolbar on the left and place it on your board. Other editors can reply to your comment.
Mention teammates to get their attention.
Type '@' in any text field to mention someone who has access to your board. They'll receive a notification and be able to respond to your comment.
You can now begin to break your audience down into sub-groups or segments. There's no 'correct' number here, but we recommend creating three to five personas to represent your audience; this number is big enough to cover the majority of your customers yet small enough to still be specific.
Create a new board for each persona.
Drag a board out from the toolbar. Give it a name, then double click to open it.
The next part is up to you. Persona development is an important step in a variety of creative projects. An ideal follow-up exercise would be to use your new personas as the focal point of a brainstorming session. What new products and services can you dream up based on your persona? Use the free Persona template below to get started in minutes.
