Start your brief
Get started for free with one of Milanote's inspiring brief templates.
Start your briefSign up for free with no time limit

Follow this step-by-step guide to learn the modern process of writing an interior design brief in Milanote, a free tool used by top creatives.
We've all been there—a budget gets overblown, timelines are delayed, the scope changes mid-project. Everyone's on a different page. These are signs that the foundations weren’t set, which is where the brief comes in.
A strong brief includes everything your team needs to design an amazing interior, in one place. From the goals and deliverables, to visual references, style preferences, and more.
In this guide, you'll learn the modern approach to writing an interior design brief using Milanote. It lets you break out of the word document and combine text, images, tasks and more to create a brief that inspires your team.
The first thing to define is why the project is happening. Spend time with your client, have them lead you through the vision in their own words, and ask questions like... What problem is this project trying to solve? What do you want to keep? What needs to change?

Create a new board for your brief.
Drag a board out from the toolbar. Give it a name, then double click to open it.
Choose the built-in Interior Design Brief template.
Each new board gives you the option to start with a beautiful template.
Add Notes to describe the background.
Start typing then use the formatting tools in the left hand toolbar.
Once you have a clearer idea of why the project is happening, it’s time to describe the visual style your client has in mind. List any specific details and capture the vision in your clients' words. If you have a floor plan for the project, add it to your brief so you have everything in one place.

Add Notes to describe the requirements.
Start typing then use the formatting tools in the left hand toolbar.
Upload the relevant project files to your board.
Click the "Upload" button or just drag a file onto your board. You can add images, logos, documents, videos, audio and much more.
This is the part that you'll revisit throughout the project, so try and be as specific as possible. List each space or room that needs to be designed, alongside the goals for the project.
Add a note to describe the goal of the project.
Start typing then use the formatting tools in the left hand toolbar.
Create a new to-do list for the specific deliverables.
Start typing then press "Enter" to create a new item. Add a title to your to-do list using the left hand toolbar.
If you're working on a commercial interior project, it's important to understand who will use the space. This will help you design a space that's not just beautiful, but functional as well.
Who are they? What are they into? What's their current relationship with your brand? How do you want them to feel in the space? Answering these questions will enable your team to think about the project from the perspective of your audience.
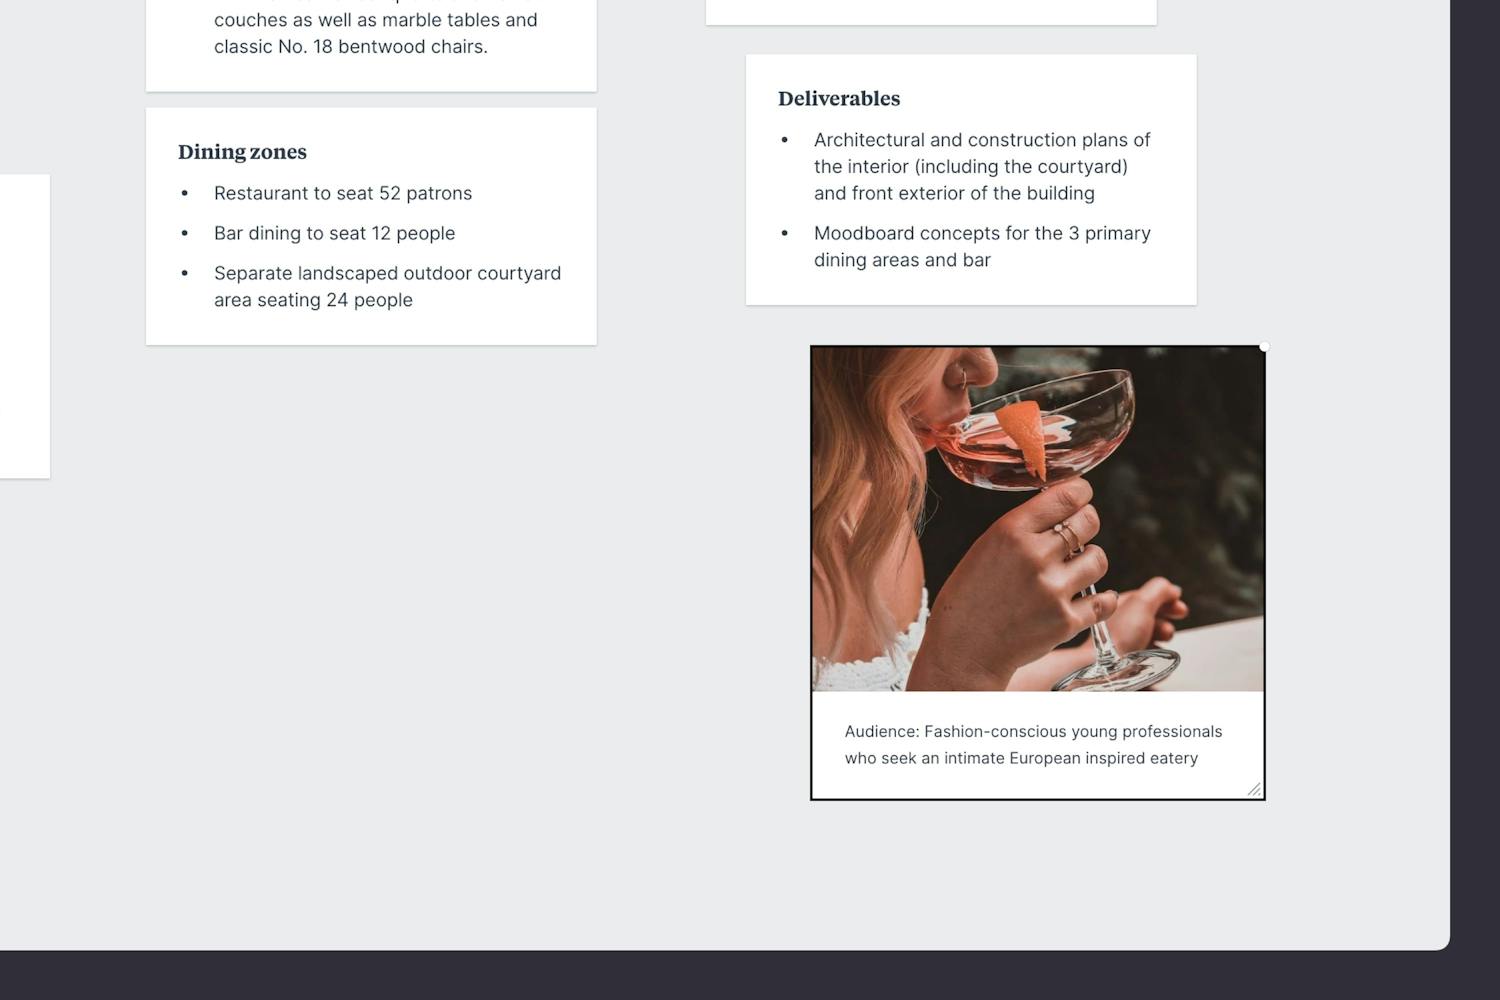
Add a note to describe the audience.
Start typing then use the formatting tools in the left hand toolbar.
Choose a photo to represent your audience.
Search over 3 million beautiful, free photos then drag images straight onto your board. Powered by Pexels.
Your client likely has a vision for the style of space they're trying to create. Add any visual references they've provided to your brief. This might include specific products, furniture, colors, materials, or textures.
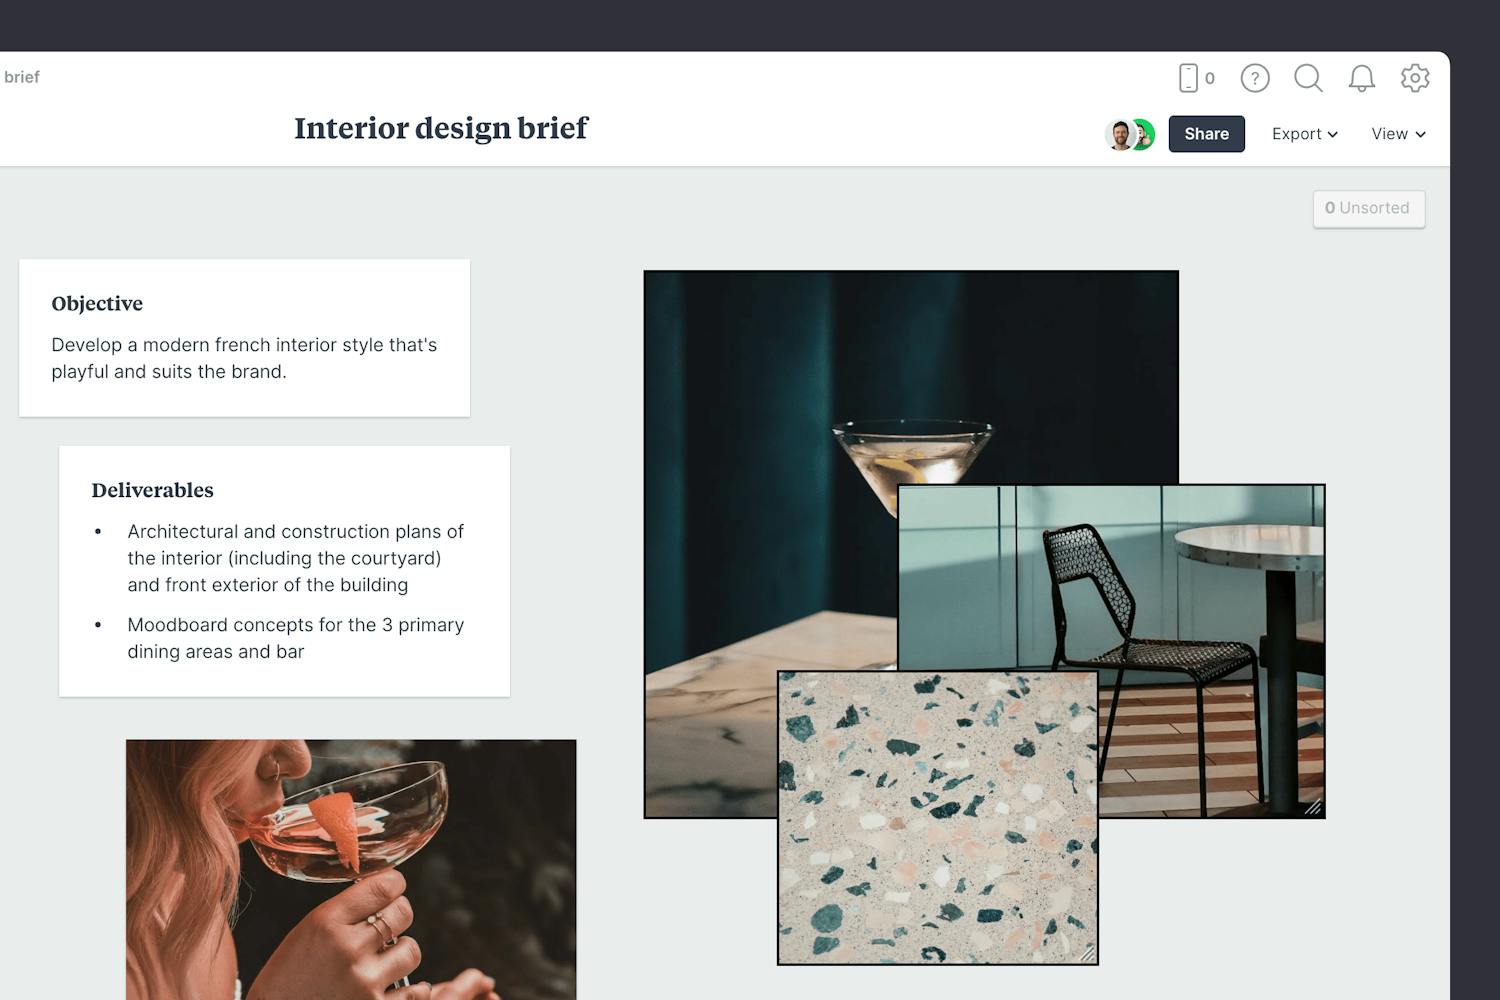
Add images to the board.
Click the "Upload" button or just drag a file onto your board. You can add images, logos, documents, videos, audio and much more.
Find inspiration in the built-in image library.
Search over 3 million beautiful, free photos then drag images straight onto your board. Powered by Pexels.
Once you have everything you need, it's time to organize your content into logical parts. The goal here is to present the most important points in an inspiring and concise format. Remember, it's called a brief. In its simplest form, writer and illustrator Maira Kalman says a brief consists of "a deadline and a dream".

Create a column for each of the main topics in the brief.
Name it, then drag any relevant notes, images or boards into your column to stay organized.
While a brief is typically written by one person, the best briefs will be run past clients or team members for feedback before final approval. This is a great chance to ensure that timelines, budgets, and goals are understood and that everyone is on the same page before embarking on the project.

Invite a team member or client to provide feedback.
Open the "Share" menu from the title bar of your board. Add email addresses of the people you'd like to collaborate with—they'll receive an invitation via email.
Start a comment thread.
Drag out a comment from the toolbar on the left and place it on your board. Other editors can reply to your comment.
Mention teammates to get their attention.
Type '@' in any text field to mention someone who has access to your board. They'll receive a notification and be able to respond to your comment.
Once you’ve made any final tweaks, it’s time to share the completed brief with the your team, organize a kickoff meeting and start the project.

Publish and share the brief with your team.
Click Share in the top right of your board. You can add a Welcome message for viewers, allow comments, set a password or embed the board in another app or website.
Now that your brief is complete, you have an inspiring starting point for your next interior design project. Remember to revisit your brief at each stage of the project. It's a great way to ensure you're still headed in the right direction!
